6 Maintenance
6-4
05/04 1006-0453-000
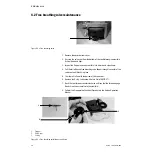
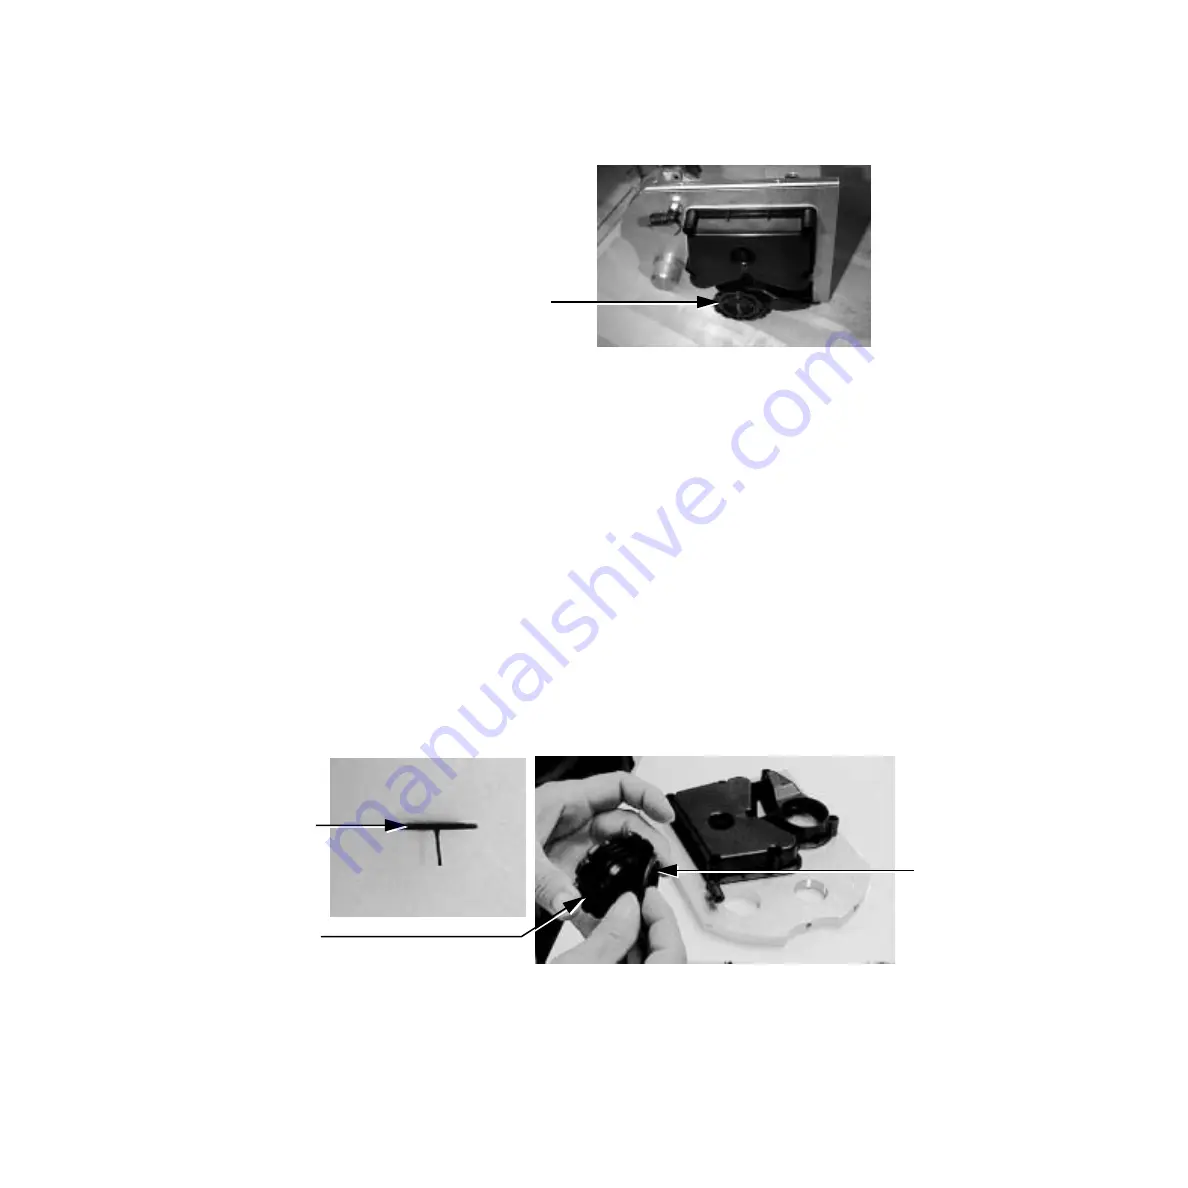
6.2 Free breathing valve maintenance
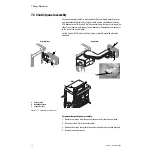
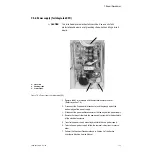
Figure 6-2 • Free breathing valve
1. Remove the absorber rear cover.
2. Unscrew the valve seat from the bottom of the ventilator engine manifold.
It should be hand tight.
3. Inspect the flapper and valve seat for nicks, debris and cleanliness.
4. Pull the tail of the new free breathing valve flapper through the center of the
valve seat until it locks in place.
5. Trim the tail in line with the bottom of the valve seat.
6. Replace the O-ring. Lubricate with a thin film of KRYTOX™.
7. Back the seat threads counter clockwise until you feel the thread engage.
Hand screw the assembly into the manifold.
8. Perform the Preoperative Checkout Procedure in the Aestiva Operation
Manual.
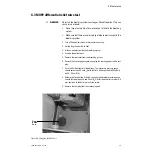
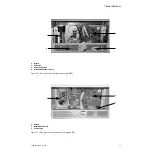
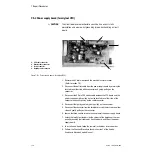
1.
Flapper
2.
Valve seat
3.
O-ring
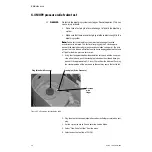
Figure 6-3 • Free breathing valve flapper and O-ring
1
2
3
Summary of Contents for Aestiva 7900 SmartVent
Page 1: ...Aestiva 5 7900 Anesthesia Ventilator Technical Reference Manual ...
Page 44: ...Notes 2 28 05 04 1006 0453 000 ...
Page 82: ...Notes 4a 36 05 04 1006 0453 000 ...
Page 116: ...Notes 4b 34 05 04 1006 0453 000 ...
Page 150: ...Notes 5 34 05 04 1006 0453 000 ...
Page 158: ...Notes 6 8 05 04 1006 0453 000 ...
Page 182: ...Notes 7 24 05 04 1006 0453 000 ...
Page 202: ...Notes 8 20 05 04 1006 0453 000 ...
Page 203: ......

