7 Repair Procedures
7-4
05/04 1006-0453-000
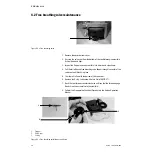
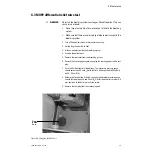
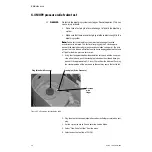
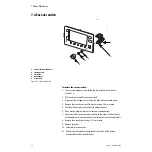
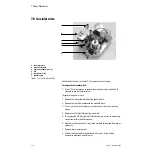
7.3 Encoder switch
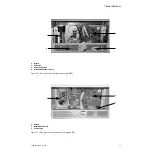
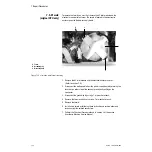
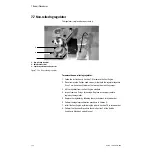
1. Encoder switch with harness
2. Locking washer
3. Flat washer
4. Mounting nut
5. Control knob
Figure 7-3 • Encoder switch
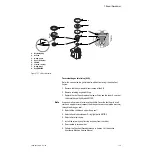
To replace the encoder switch:
1. To access the encoder switch, follow the disassembly instructions in
2. Pull the control knob off the encoder shaft.
3. Disconnect the encoder harness from the back of the keyboard panel.
4. Remove the mounting nut and flat washer using a 14-mm wrench.
5. Gently pull the encoder switch from the keyboard panel.
6. Place a lock washer on the shaft of the new encoder switch.
7. Align the shaft of the new encoder switch with the hole in the front panel
circuit board, push it through and place a flat washer on the encoder shaft.
8. Replace the mounting nut using a 14-mm wrench.
9. Replace the knob.
10. Assemble in reverse order.
11. Perform the Checkout Procedure found in Section 3 of the Aestiva
Anesthesia Machine Service Manual.
3
4
5
AB.29.072
1
2
Summary of Contents for Aestiva 7900 SmartVent
Page 1: ...Aestiva 5 7900 Anesthesia Ventilator Technical Reference Manual ...
Page 44: ...Notes 2 28 05 04 1006 0453 000 ...
Page 82: ...Notes 4a 36 05 04 1006 0453 000 ...
Page 116: ...Notes 4b 34 05 04 1006 0453 000 ...
Page 150: ...Notes 5 34 05 04 1006 0453 000 ...
Page 158: ...Notes 6 8 05 04 1006 0453 000 ...
Page 182: ...Notes 7 24 05 04 1006 0453 000 ...
Page 202: ...Notes 8 20 05 04 1006 0453 000 ...
Page 203: ......

