7 Repair Procedures
7-20
05/04 1006-0453-000
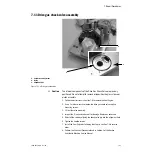
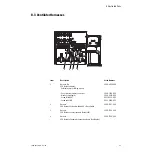
7.10 Mechanical Overpressure Valve (MOPV assembly)
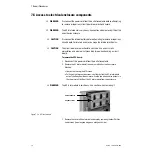
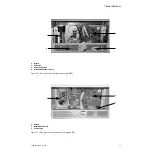
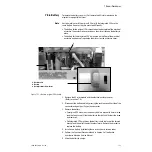
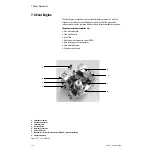
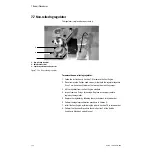
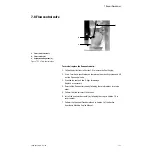
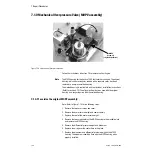
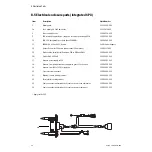
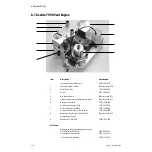
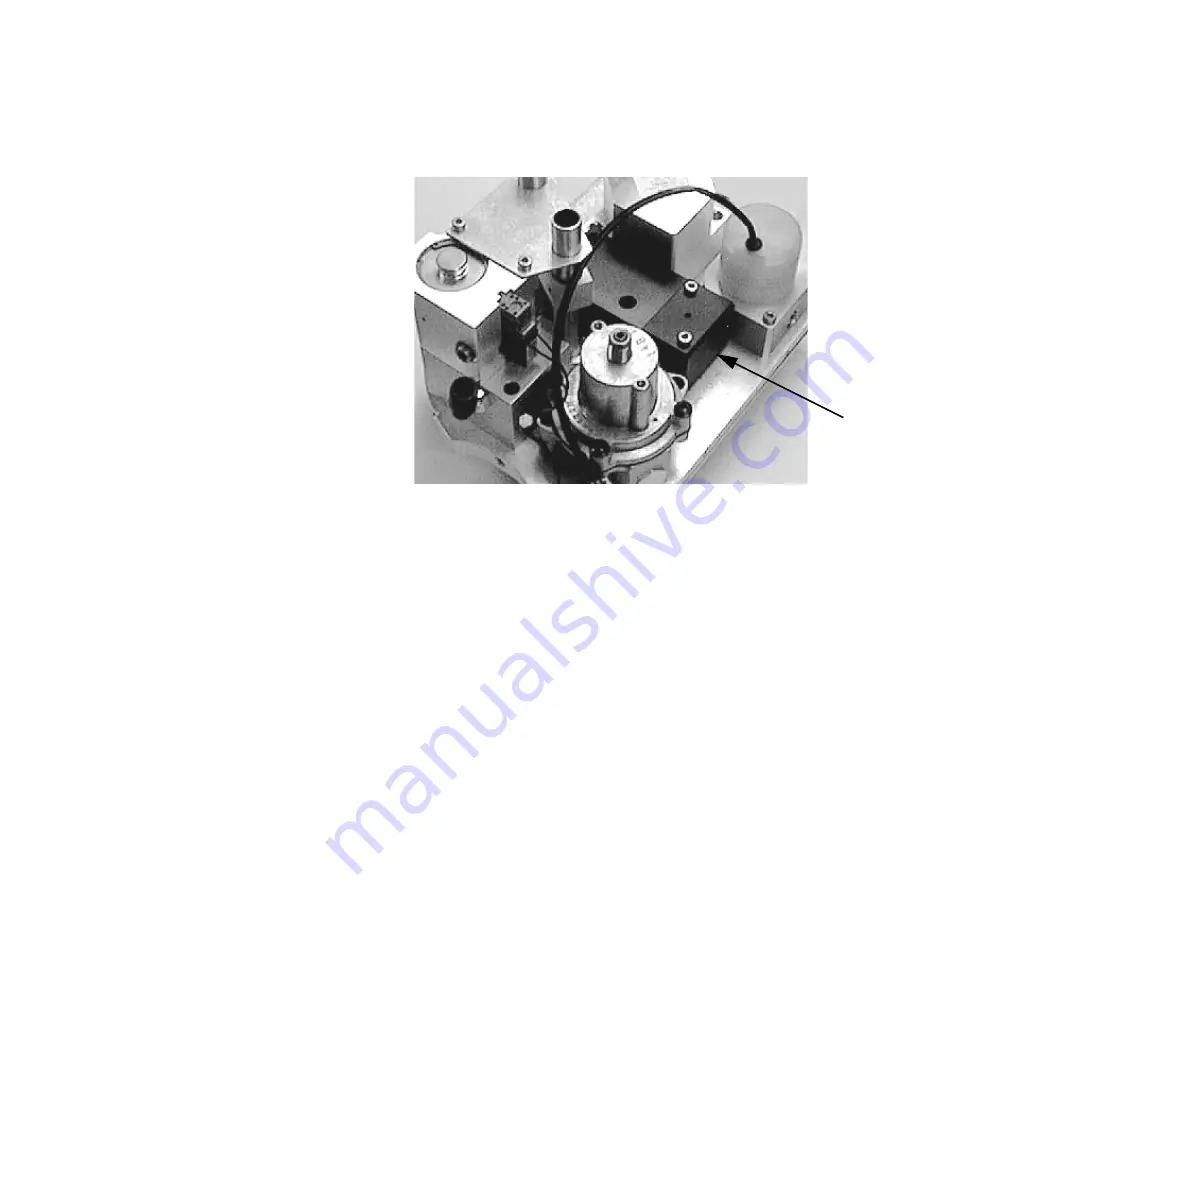
Figure 7-18 • Mechanical Overpressure Valve
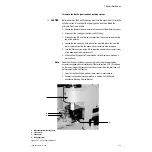
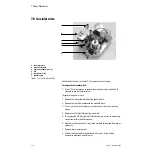
Follow the instructions in Section 7.6 to remove the Vent Engine.
Note
The MOPV housing for the Aestiva 7900 Ventilator has changed. The original
housing, which was rectangular-shaped with a separate cover, has been
replace by a one-piece molded housing.
The molded housing is available in a kit that includes installation instructions
(Refer to section 8.7.2). The alignment tool that was used with the original
housing is no longer required with the molded housing.
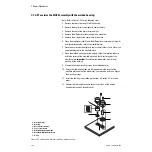
7.10.1 To service the original MOPV assembly:
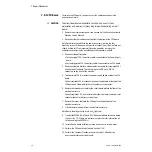
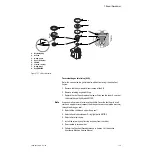
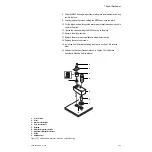
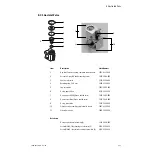
Note: Refer to Figure 7-19 for the following steps.
1. Remove the two cover screws and cover.
2. Remove the over pressure weight and seal assembly.
3. Replace the seal of the over pressure weight.
4. Remove the two screws holding the MOPV housing to the manifold plate
and remove the MOPV housing.
5. Remove the differential pressure weight and diaphram.
6. Replace the o-ring over the center hole in the plate.
7. Replace the diaphram and differential pressure weight in the MOPV
housing. The diaphram should be flush with the MOPV housing when
properly installed.
MOPV
Assembly
(original style shown)
Summary of Contents for Aestiva 7900 SmartVent
Page 1: ...Aestiva 5 7900 Anesthesia Ventilator Technical Reference Manual ...
Page 44: ...Notes 2 28 05 04 1006 0453 000 ...
Page 82: ...Notes 4a 36 05 04 1006 0453 000 ...
Page 116: ...Notes 4b 34 05 04 1006 0453 000 ...
Page 150: ...Notes 5 34 05 04 1006 0453 000 ...
Page 158: ...Notes 6 8 05 04 1006 0453 000 ...
Page 182: ...Notes 7 24 05 04 1006 0453 000 ...
Page 202: ...Notes 8 20 05 04 1006 0453 000 ...
Page 203: ......

