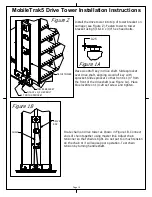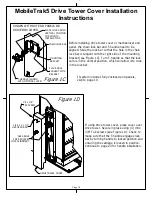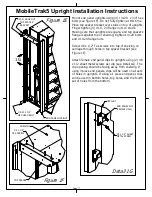
Figure C
Figure D
Figure E
Page 3
MobileTrak5 Rail Installation Instructions
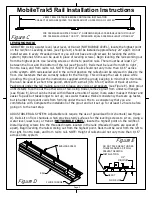
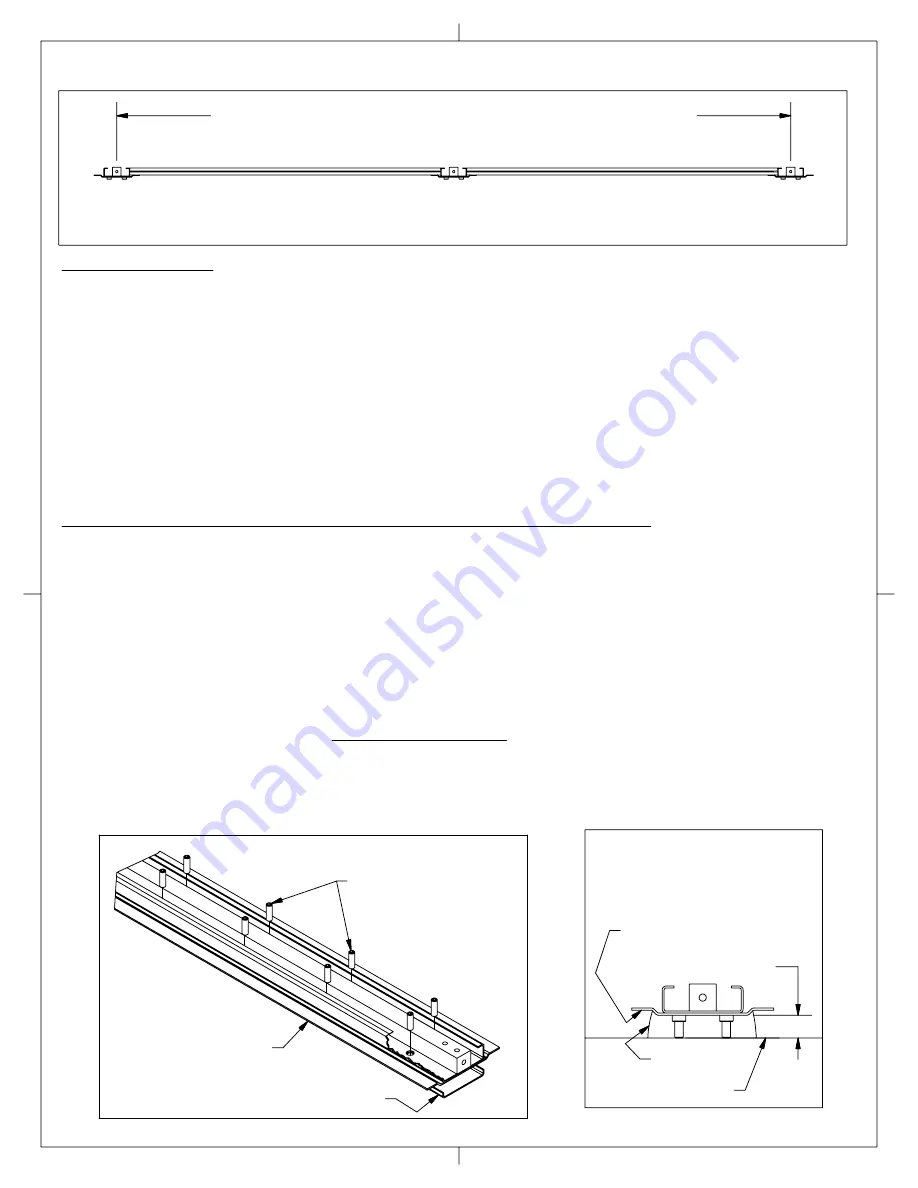
VERIFY RAIL DISTANCE BEFORE CONTINUING INSTALLATION
CORRECT SPACING REQUIRED TO ENSURE SMOOTH OPERATION OF SYSTEM
RAIL
LEVELING SCREW
GROUT
FLOOR LINE
1/2"
MINIMUM
LEVELING RAILS
GROUTED: Using a water level, laser level, or transit (NOT BUBBLE LEVEL), locate the highest point
on the rail/floor. Leveling screws (see Figure D) should be installed approximately 24" apart. Do not
install screws in every threaded insert or you will not have enough screws for leveling the entire
system (Optional: Shims can be used in place of leveling screws). Begin leveling the rails working out
from the highest point. Use leveling screws or shims to position rails. There must be at least 1/2"
between the floor and the bottom of the rail (see Figure E). Rails must be level from left to right ,
front to back, and from rail to rail. NOTE: Height of rails should not vary more than 1/16" across
entire system. With rails leveled and in the correct position the rails should be screwed in place to the
floor. Use fasteners that are correctly suited for the flooring. This will keep the rails in place while
grouting. Mix grout (as per the instructions supplied with the grout) keeping in mind not to mix more
than can be used in a short time period. Work with a small (4 to 6 foot) section of track at a time.
Pack grout under the rail making sure not to leave any voids or air pockets (see Figure E). Pack grout
until it starts to come out the other side of rail. Using trowel, remove grout from under rail flanges
(see Figure E). Grout can be mixed with different amounts of water; more water makes it thinner and
easier to pack but takes longer to set up; less water makes a thicker consistency that sets up faster,
but is harder to prevent voids from forming under the rail. Mix to a consistency that you are
comfortable with. Complete the installation of the grout and let it set up for at least 12 hours before
going on to the next step.
ADJUSTABLE RAIL SYSTEM: Adjustable rails require the use of galvanized floor channels (see Figure
D). Rails sit on floor channels, which provide sturdy surfaces for the leveling screws to sit on. Using a
water level, laser level, or transit (NOT BUBBLE LEVEL), locate the highest point on the rail/floor.
Install leveling screws into the threaded inserts located in the rails (threaded inserts are spaced 6"
apart). Begin leveling the rails working out from the highest point. Rails must be level from the left to
the right, front to back, and from rail to rail. NOTE: Height of rails should not vary more than 1/16"
across entire system.
FLOOR CHANNEL
FOR CARRIAGES SHORTER THAN 72", DIMENSION EQUALS CARRIAGE LENGTH MINUS 12"
FOR CARRIAGES LONGER THAN 72", DIMENSION EQUALS CARRIAGE LENGTH MINUS 24"
DO NOT PACK GROUT UNDER
THESE FLANGES AS IT WILL
PREVENT DECKING
INSTALLATION.
Summary of Contents for MobileTrak5
Page 7: ...THIS PAGE INTENTIONALLY LEFT BLANK Page 7 MobileTrak5 Installation Instructions ...
Page 18: ...MobileTrak5 Installation Instructions THIS PAGE INTENTIONALLY LEFT BLANK Page 18 ...
Page 22: ...MobilTrak5 Completed Mechanical End Panel Page 22 3 PIECE SHOWN 1 PIECE SIMILAR ...
Page 23: ...Page 23 MobileTrak5 Installation Instructions THIS PAGE INTENTIONALLY LEFT BLANK ...


