4 MAINTENANCE
4.1 General rules
Minimal, simple, accurate, and constant maintenance allow for long-lasting and smooth operation in the dosing valve
time, while maintaining performance.
4.2 Valve Disassembly - Re-assembly
If it is necessary to disassemble the DA 250 valve, proceed as follows:
1) Disconnect the pneumatic supply
2) Disconnect the fluid supply after discharge
3) Remove the valve from the support to which it is attached
4) Remove the four M4 Allen screws on the front
5) Remove the front part of the PTFE section and clean them carefully
6) Remove the membrane by unscrewing it
7) Remove the 4 screws on the back
8) Pull out the piston, making sure not to squeeze the cylinder
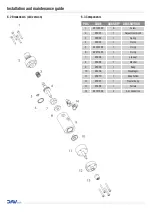
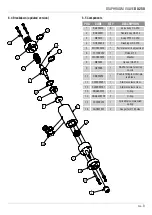
Before reassembling, following the procedure listed here replace the damaged parts (in addition to all the o-rings) by
helping with the explosion shown below.
5 TROUBLESHOOTING
5.1 Problems and solutions
Installation and maintenance guide
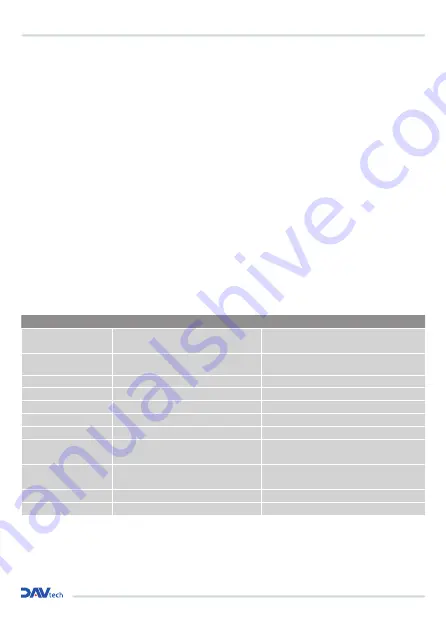
PROBLEM
POSSIBLE CAUSE
SOLUTION
Nothing or little adhesive Valve does not receive the command
Check the control (solenoid) of valve. Perform
a manual test.
The pressure of the adhesive is too low
or absent.
Check the pressure of the power supply fluid
and possibly increase it.
The nozzle is clogged
Remove and clean the nozzle.
The filter is dirty (if any)
Clean or replace the filter.
A tube is bent
Check the fluid supply pipe
Actuating pressure is not sufficient
Verify the actuation pressure (6 bar)
Residual fluid in the system to clean
Remove any solid particles
Flow of adhesive
compass
Moulded gasket damaged
Replace the molded seal
The nozzle drips also
if the valve is not pilot
Presence of dirt in the nozzle
Clean or replace nozzle
The valve opens late
Pressure drive is not enough
Check the operating pressure (6 bar)
O-ring on the piston damaged tire
Replace O-ring on the piston pneumatic


