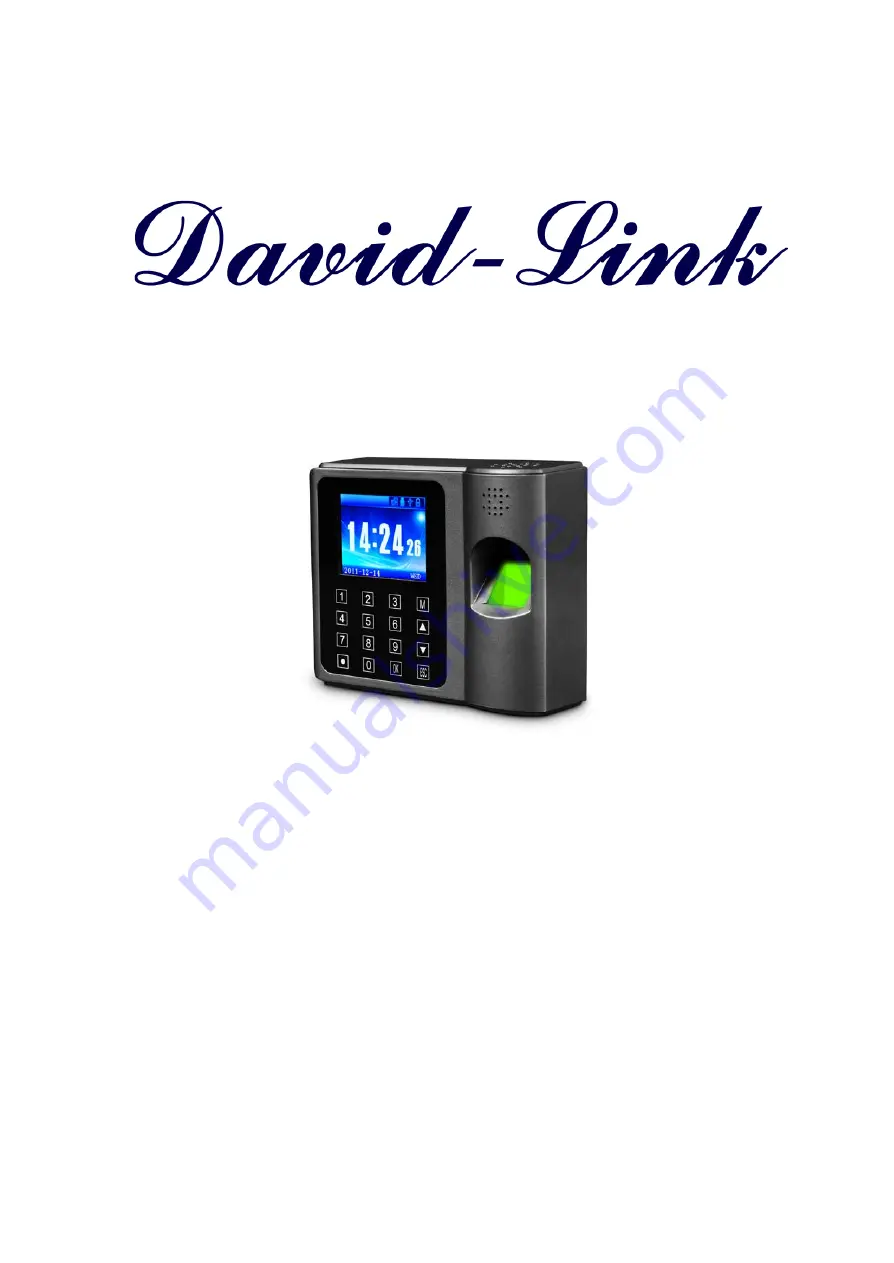
background image


DL-A Biometric Access Control System 


USER'S MANUAL 


Summary of Contents for DL=A

Page 1: ...DL A Biometric Access Control System USER S MANUAL ...

Page 2: ... 6 Start up 5 2 2 How to Place the Finger 6 2 2 1 More Tips for Fingerprint Record 7 3 Enrollment and Verification Procedures 8 3 1 Enrolling User 8 3 1 1 Types of Enrollment 9 3 1 2 Fingerprint Password 11 3 2 Testing an Enrollment 12 3 3 Backup Enrollment 12 4 System Options 13 4 1 System Options 13 4 1 1 Date Time 13 4 1 2 Language 13 4 1 3 Format 13 4 1 4 Advanced Options 14 4 2 Log Options 15...

Page 3: ... Grouping Function 18 4 4 5 User Access Control Setup 20 4 4 6 Lock Delay 20 5 System Information 21 6 Specification 22 CAUTION Changes or modifications not expressly approved by the party responsible for compliance could void the user s authority to operate the equipment ...

Page 4: ...details External Overview Keypad Function 1 2 3 M 4 5 6 7 8 9 0 OK C OK Press to confirm your settings and or present operation M Press to enter the menu options Admin manager s fingerprint authentication if any will be required C Press to exit the menu options and or cancel present operation LCD Display Keypad Fingerprint Sensor Proximity Sensor 4 ...

Page 5: ...ºF 0 43ºC Keep the terminal away from heat sources 2 This terminal is intended to be used as Door Access Control System Do not use this terminal for other purposes The terminal warranty does not cover defects or damages arising from improper installation improper storage abuse ordinary wear and tear or unauthorized service 3 Please save your data and records in USB thumb drive or in your computer ...

Page 6: ...tion live fingerprint scan is compared with the matching stored fingerprint template to confirm user s identity Each enrollment process takes less than 1 second All ten fingers can be enrolled and assigned to the same ID number or the same user Ideally one finger from each hand should be enrolled so that in case one finger is injured the alternate finger can still be verified It is recommended to ...

Page 7: ...rification difficulty one can enter ID number before fingerprint verification 1 1 match or lower the matching threshold 1 N Table 2 1 Match threshold description 2 1 4 User ID number Before the fingerprint enrollment a user is assigned with a User ID Number This ID number is matched with a user s identity and the matching fingerprint template during verification process An ID number is assigned se...

Page 8: ...e of the fingerprints is injured or damaged a user can always user the alternate finger for entries Each user can enroll 1 to 10 fingerprints in the terminal DL A requires each fingerprint to be pressed 3 times in order to successfully enroll the user Place your finger in the middle of the sensor To ensure better fingerprint reads each time press the finger flat and firmly on the center of the sen...

Page 9: ...ined Lower Note Please adopt the correct way to place your finger David Link is not responsible for the malfunctioning results arising from improper pressing manners 2 2 1 More Tips for Fingerprint Reads 9 ...

Page 10: ... is an Enrollment Manager or above authority level enrolled in the system you will need a manager or above authority level to confirm for a new enrollment by verifying the enroller or above authority level personnel s fingerprint before new user enrollment There are many verification method options for a new user enrollment fingerprint proximity card password or any combination of the above three ...

Page 11: ...Enrollment Then select from the following verification method options Press OK to start the New Registration process The following message is then displayed 3 1 1 Types of Enrollment 1 Fingerprint Enrollment 1 Select Fingerprint and press OK for new user enrollment and a new enroll ID will appear 11 ...

Page 12: ...lete the enrollment Lift your finger each time when you hear a beep sound When you have successfully been enrolled in the terminal the display will show Enroll OK 2 Password Enrollment 1 Select Password and press OK for new user enrollment and the following message appears 2 Input the Enroll No Range 1 to 999999999 or simply press OK to use the first available Enroll No in the terminal the followi...

Page 13: ...e the enrolled data you may repeat the same processes again for another enrollment 3 ID Card 1 Select ID Card and press OK for new user enrollment the following message will appear 2 Input the Enroll No Range 1 to 999999999 or simply press OK to use the first available Enroll No in the terminal the following message appears 13 ...

Page 14: ...llment the following message appears 2 Input the Enroll No Range 1 to 999999999 or simply press OK to use the first available Enroll No in the terminal it will then prompt you to place your finger into the scanner 3 Press the same finger three 3 times to complete the enrollment Lift your finger each time when you hear a beep sound When you have successfully been enrolled in the terminal the follow...

Page 15: ...ment the following message appears 2 Input the Enroll No Range 1 to 999999999 or simply press OK to use the first available Enroll No in the terminal it will then prompt you to place your finger into the scanner 3 Press the same finger three 3 times to complete the enrollment Lift your finger each time when you hear a beep sound When you have successfully been enrolled in the terminal the followin...

Page 16: ...case of the event the fingerprint quality is poor try using another finger or other verification methods password and proximity card for enrollment 3 3 Backup Enrollment To create back up enrollment for any existing user you must select either Finger Password or ID Card option when prompted Input the correct employee ID to create back up enrollment Then repeat the steps for different types of enro...

Page 17: ...Each time a user is deleted the terminal deletes only 1 fingerprint or password If a user is registered with multiple fingerprints the Delete process has to be repeated until all registered fingerprints and passwords are deleted For example if a user with 2 registered fingerprints is to be deleted during the first delete process a user s first registered fingerprint will be deleted The following a...

Page 18: ... users attendance records to USB thumb drive without deleting records saved in the terminal Enroll Data Allows you to transfer all employee data including ID numbers fingerprint templates proximity cards and password to USB thumb drive This serves as a purpose that if there are multiple terminals via USB thumb drive eliminates the need of having employees to register with multiple terminals Load D...

Page 19: ... Qnty Set up number of managers allowed in the terminal 5 Volume Set system volume 1 10 6 1 N Identify Verify sensitivity setup users are not recommended to change this setting 3 Init 1 1 Verification sensitivity for ID and Fingerprint setup users are not recommended to change this setting 40 Verify Verify user by fingerprint ID Card and or password Select from F P C fingerprint password or ID car...

Page 20: ...s memory capacity can only save more log records before the memory is full Enter the number of log records to remind you of the terminal s memory capacity approaching to its limit 1 number of Administrator s records for reminder warning 2 number of User s records for reminder warning 4 Press 3 to set number of minutes before a user s other punch is accepted by the terminal This function serves the...

Page 21: ...99999 Server IP Enter the IP address according to your networking options The default IP address is 192 168 1 200 Server Port Networking connection with the terminal setup Server Required Gives you the option to require a server 4 5 Access Control Features Grouping access control Access control and simple attendance records included Inner integrated single door controller simple installation Red a...

Page 22: ...m in minutes 9 Turn off alarm Turn the alarm off This function is for an authorized manager to turn off overwrite the device alarm after the device alarm goes off when an unauthorized fingerprint is rejected 5 times illegal login 4 5 1 Access Control Function Each user setup is a combination of group identification group time period and user time period Grouping is dispatch user to certain group G...

Page 23: ...ettings depending on your working schedule may differ based on employee s schedule 4 5 3 Grouping Function Define Group Time Zone function up to 5 groups categorizes users into groups and Combine different groups into up to three 3 Time Zones 1 Select Define Group Time Zone The screen is displayed as following 2 Select Group then Press OK to access the setup screen you can assign up to three 3 Tim...

Page 24: ...hen the following appears 5 1 Storage Detail 1 Press M and select ViewInfo Press OK 2 Select Reg Data the following appears Description 1 User Reg View number of users registered in the terminal 2 Manager Reg View number of Administrators registered in the terminal 3 Finger View number of fingerprints enrolled in the terminal 4 Password View number of password combinations stored in the terminal 5...

Page 25: ...w 5 Preview User Rec in order of date To view a specific user s log records input the user s ID number and press OK to view 6 Delete All Rec View number of user s log records saved in the terminal David Link is not responsible for any lost data and record Please make sure you save all your data and records in a safe place Log records cannot be recovered after you delete all log records saved in th...

Page 26: ...moval Alarm Output ETC Electronic Lock Control 12V DC 3A Relay Output Attendance Function optional Support David Link Access Control Software Other Output Magnetic Lock Electric Strike Door Bell Alarm Networking Ethernet USB RS485 Wiegand Output Wiegand 26 Output Display LCD Display Power 12V DC Standby Current 50mA work current 400mA Verify Speed 1 second FRR 1 FAR 0 0001 Temperature Operation 0 ...

Reviews: