background image


FD-777 FACIAL RECOGNITION 

USER'S MANUAL 


For Access Control or Time & Attendance  

Summary of Contents for FD-777

Page 1: ...FD 777 FACIAL RECOGNITION USER S MANUAL For Access Control or Time Attendance ...

Page 2: ...Verification Procedures 7 3 1 Enrolling User 7 8 3 2 Types of Enrollment 8 3 2 1 Face Enrollment 8 3 2 2 Password Enrollment 9 10 3 2 3 Face Password 10 11 3 3 Edit User 11 12 3 4 Delete User 12 4 Network Setup 13 5 Access Control 14 6 System Option 15 16 7 System Detail 17 CAUTION Changes or modifications not expressly approved by the party responsible for compliance could void the user s authori...

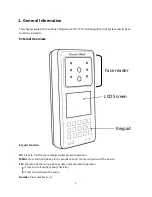
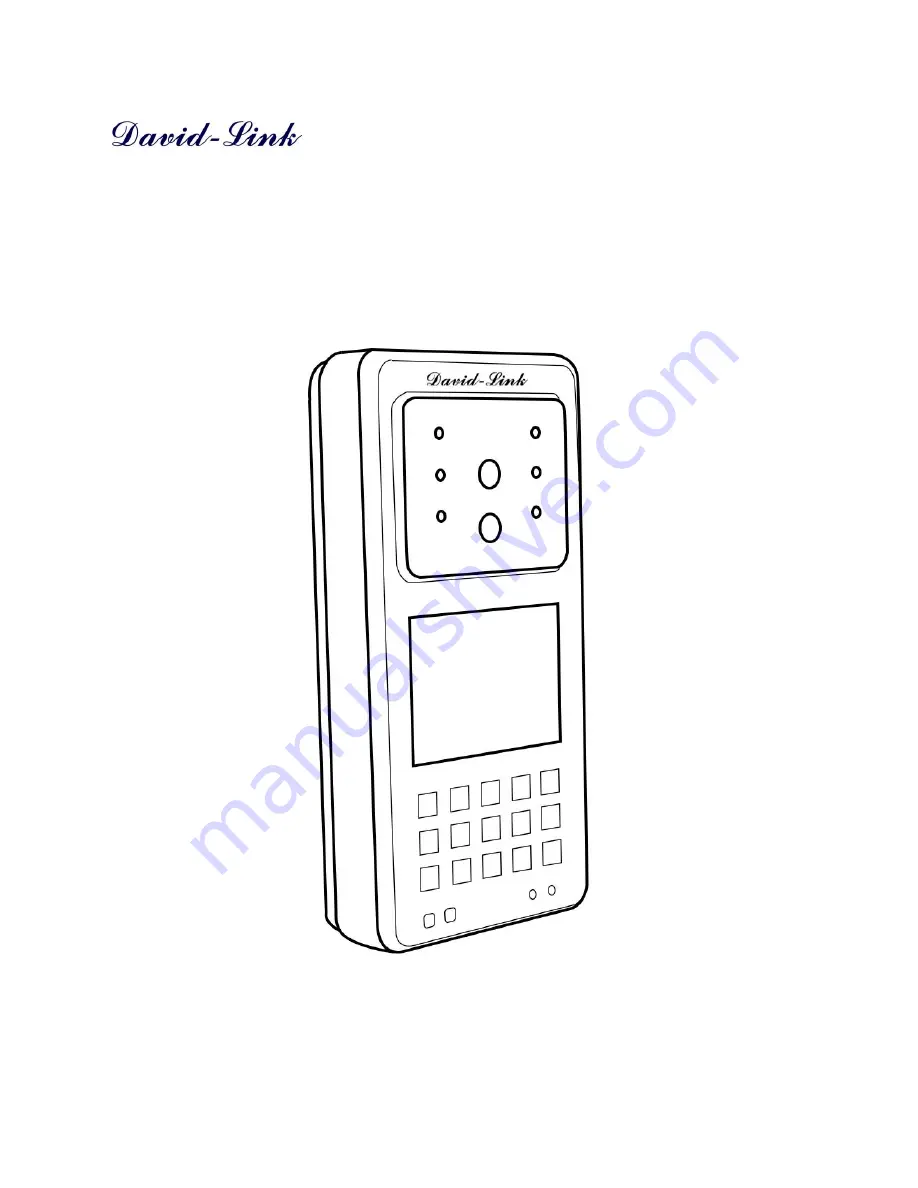
Page 3: ... Overview Keypad Function OK Press to confirm your settings and or present operation MENU Press and hold the key for 3 seconds to enter the menu options of the device ESC Press to exit the menu options and or cancel present operation Press to scroll up the menu Check IN Press to scroll down the menu Number Press number 0 9 Keypad LCD Screen Face reader ...

Page 4: ...ay from heat sources 2 This device is intended to be used as Door Access Control and Time Management System Do not use this device for other purposes The device warranty does not cover defects or damages arising from improper installation improper storage abuse ordinary wear and tear or unauthorized service 3 Please save your data and records in USB thumb drive or in your computer periodically Dav...

Page 5: ...ccess Control output Wiegand 26 Normally Open Normally Closed DC Current 12V 3A Lock Group Function YES Size 141mm X 65mm X 26mm Operating Temperature 22 to 130 F 2 0 Basic concepts This section contains definitions and descriptions of David Link Biometric Door Access Control concepts including User Enrollment User Verification Match Threshold Levels User ID Numbers Authority Status Levels 2 1 Use...

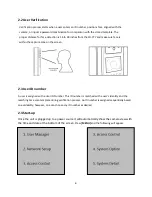
Page 6: ...e capture zone on the screen 2 3 User ID number A user is assigned with a User ID Number This ID number is matched with a user s identity and the matching Face scan template during verification process An ID number is assigned sequentially based on availability however one can choose any ID number as desired 2 4 Start up Once the unit is plugged up to a power source it will automatically show the ...

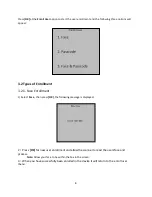
Page 7: ...the first enrollment in the new system everyone is allowed to enroll himself herself in to the system There are three verification method options for a new user enrollment Face read Password or the combination of the above two Face read enrollment is ideal because it allows you to be hands free and less likely to obtain germs from multiple people touching the product To start the enrollment proces...

Page 8: ...ent 3 2 1 Face Enrollment 1 Select Face then press OK the following message is displayed 2 Press OK for new user enrollment and allow the scanner to read the users face and process Note Allow your face to be within the box in the screen 3 When you have successfully been enrolled in the device it will return to the enroll user menu ...

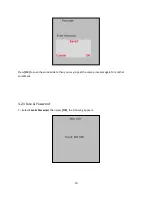
Page 9: ...owing message appears 2 Input the Enroll No Range 001 to 999 or simply press OK to use the first available Enroll No in the device the following message appears 4 Input the password up to 5 digits then Input the password again then press OK the following message appears ...

Page 10: ...10 Press OK to save the enrolled data then you may repeat the same processes again for another enrollment 3 2 3 Face Password 1 Select Face Password then press OK the following appears ...

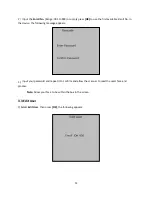
Page 11: ...ble Enroll No in the device the following message appears 3 Input your password and repeat it to confirm and allow the scanner to read the users face and process Note Allow your face to be within the box in the screen 3 3 Edit User 1 Select Edit User then press OK the following appears ...

Page 12: ...sers face It will then return to the User Manage menu Second Option select Password and press OK and Input the password up to 5 digits then press OK It will then return to the User Manage menu 3 4 Delete User 1 Select Delete User then press OK the following appears 2 It will give you two options to either choose Delete ID or Delete All Users Delete ID will allow you to delete the individual user I...

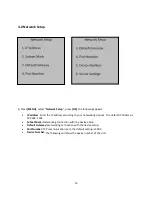
Page 13: ...cording to your networking options The default IP address is 192 168 1 204 Subnet Mask Networking connection with the device setup Default Gateway Networking connection with the device setup Port Number TCP communication port the default setting is 5005 Device Number The following will show the device number of the unit ...

Page 14: ...rs now you can set up to 50 Time Zones to restrict more on entry access during different time of the day Each Time Zone consists of up to 7 different time periods one week Each user can be applied to up to 3 Time Zones meaning even the user is registered on the device he she can be granted access only within specified times zones Note System default time period setting allows a registered user to ...

Page 15: ...and the following will appear Select Date and it will allow you to change the date that appears on the screen To change the date press and Then input the correct numbers on the keypad Finally press OK to complete Select Time and it will allow you to change the time that appears on the screen ...

Page 16: ...quency of a non authorized user is falsely recognized and granted access to the system FRR the frequency of an enrolled and authorized user who should be granted access to the system is denied on the basis that the system did not recognize FAR and FRR affect each other Lower FAR yields to higher FRR You can set match threshold levels on a per use basis The higher the threshold is set the higher th...

Page 17: ...nto the system Storage Details Allows you to view the available space in your system Delete Logs This option will ask to confirm to delete all logs Device model This will display the device model of the device Serial Number This will display the serial number of the system Firmware Version This will display the firmware version of the system ...

Reviews: