10/31/2016
DAVID DAVID 5 Manual
http://www.david3d.com/en/support/david5/printversion
21/37
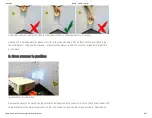
Place the scanner and the object in front of each other, at the same distance as during setup and
calibration. With a wrong working distance, the camera image and projected stripes would be blurred. If
necessary, correct the distance between object and scanner, but by no means change the focus of camera
or projector.
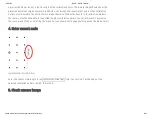
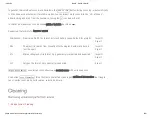
Before each scan please check that the red sine curves are not cropped / overdriven (relevant only in
the areas where the wave pattern is visible). If adjustment is necessary, adjust the
Projector Brightness
in the software.
2. Select pattern parameter profile
Select the pattern parameter profile
Quality
,
Default
(recommended) or
Speed
. This setting affects scan
quality and scan time. See also
3. Click "Start"
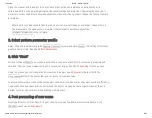
With each click on
Start
a new scan is generated. A sequence of patterns is successively projected and
recorded. This can take between settings 2-4 seconds or longer. See also
for scan options.
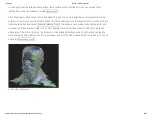
Using the mouse, you can change the 3D view onto the object (see
for details). With the
Live Camera
button in the top toolbar you can return to live video feed.
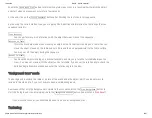
To assure that multiple scans of the same object can be well combined later, they must overlap sufficiently.
You usually will need about 6-8 scans all around the object, maybe plus some angular views of top and
bottom. Textures can help later when aligning multiple scans.
4. Post processing of new scans
Modify parameters of "Scan Result" to your need. You will see the filtering result immediately in the
3D Scan
view. See also
.


