37
5. 3D Scanning
5.1. Menu ”Structured Light“:
Z
Place the scanner and the object in front of each other,
at the same distance as during setup and calibration. With
a wrong working distance, the camera image and projected
stripes would be blurred. If necessary, correct the distance
between object and scanner, but by no means change the
focus of camera or projector.
Important: Before each scan please check that the red sine
curves are not cropped / overdriven (relevant only in the areas
where the wave pattern is visible). If adjustment is necessary,
adjust the ”Projector Brightness“ in the software.
Z
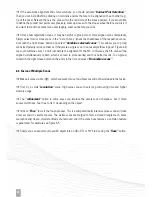
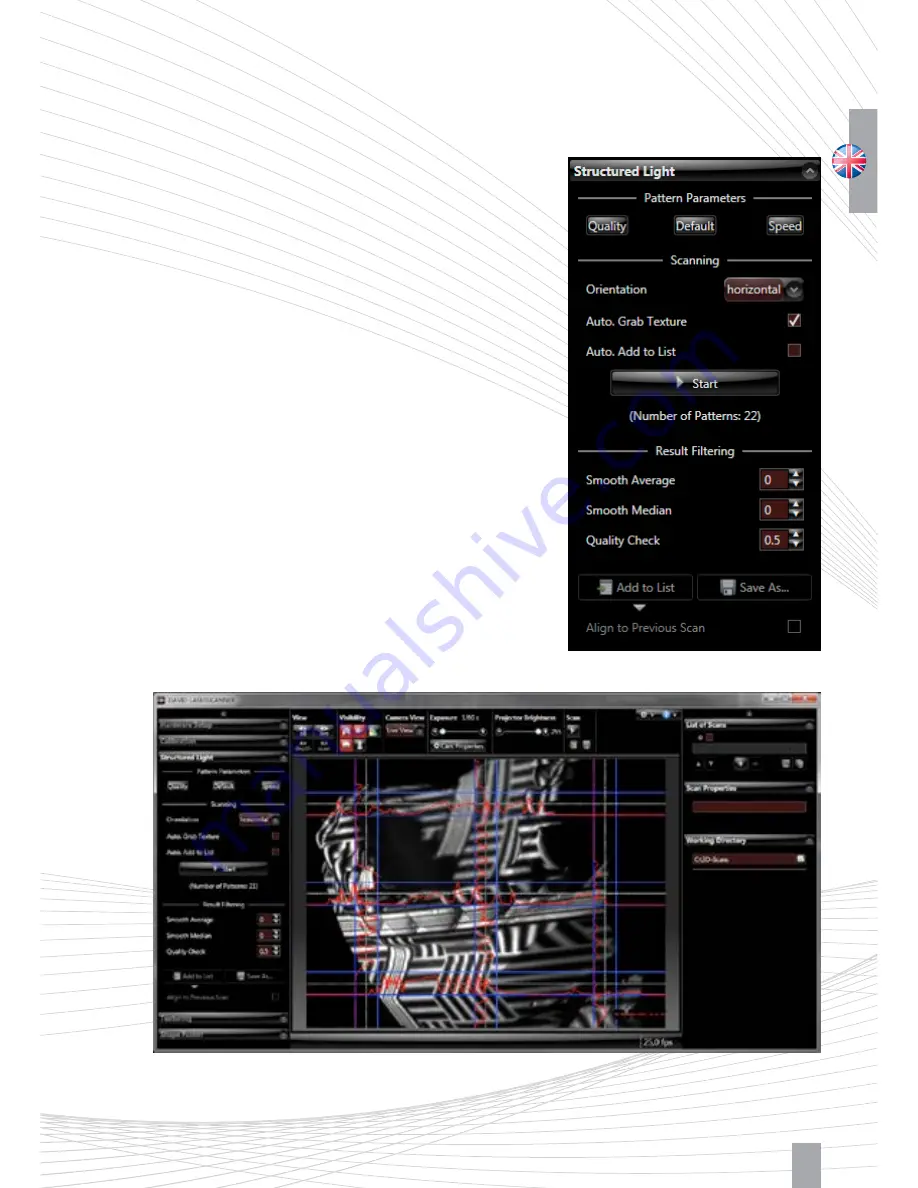
Select the pattern parameter ”Quality“, ”Default“ (recom-
mended) or ”Speed“. This setting affects scan quality and
scan time.
Z
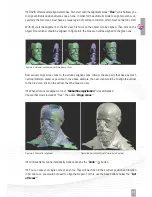
With each click on
”Start“
a new scan is generated. A
sequence of patterns is successively projected and recorded.
This can take between settings 2-4 seconds or longer.
Figure 5.1: Menu ”Structured Light“
Figure 5.2: Typical camera image immediately before the scan
Summary of Contents for SLS-2
Page 1: ...QUICK GUIDE...


