39
5.2. Menu ”Texturing“:
You can grab a color texture with each scan. Because of the
monochrome camera of the SLS-2, the color texture of the ob-
ject will be determined by measuring the reflective properties.
Therefor the projector pictures different colors on the object
surface. DAVID is able to interpret the reflections and con-
verts them into a real color texture.
For the texture grabbing, different lighting conditions may
be ideal. When the ”Texturing“ menu is open, you can make
optimizations (projector brightness, exposure time, camera
properties) without influencing the scan settings. A good
texture is like a clear photo: evenly lit, not too bright, not
too dark. The projected color stripes should be visible in the
camera image as light gray stripes (not too dark, but not white).
If necessary, it is advisable not to use the projector as a light source (
”Projector Brightness“
to 0) but to provide diffuse ambient light in the room. In that case, of course, the monochrome camera
can only grab a gray-scale texture.
White Balancing:
Whenever you change the texture settings, you should re-perform the white balancing. That means DAVID
calibrates color transmission characteristics of the entire system (projector, camera), in order to be able to
measure the colors of the object correctly. For white balancing, the camera image must show exclusively a
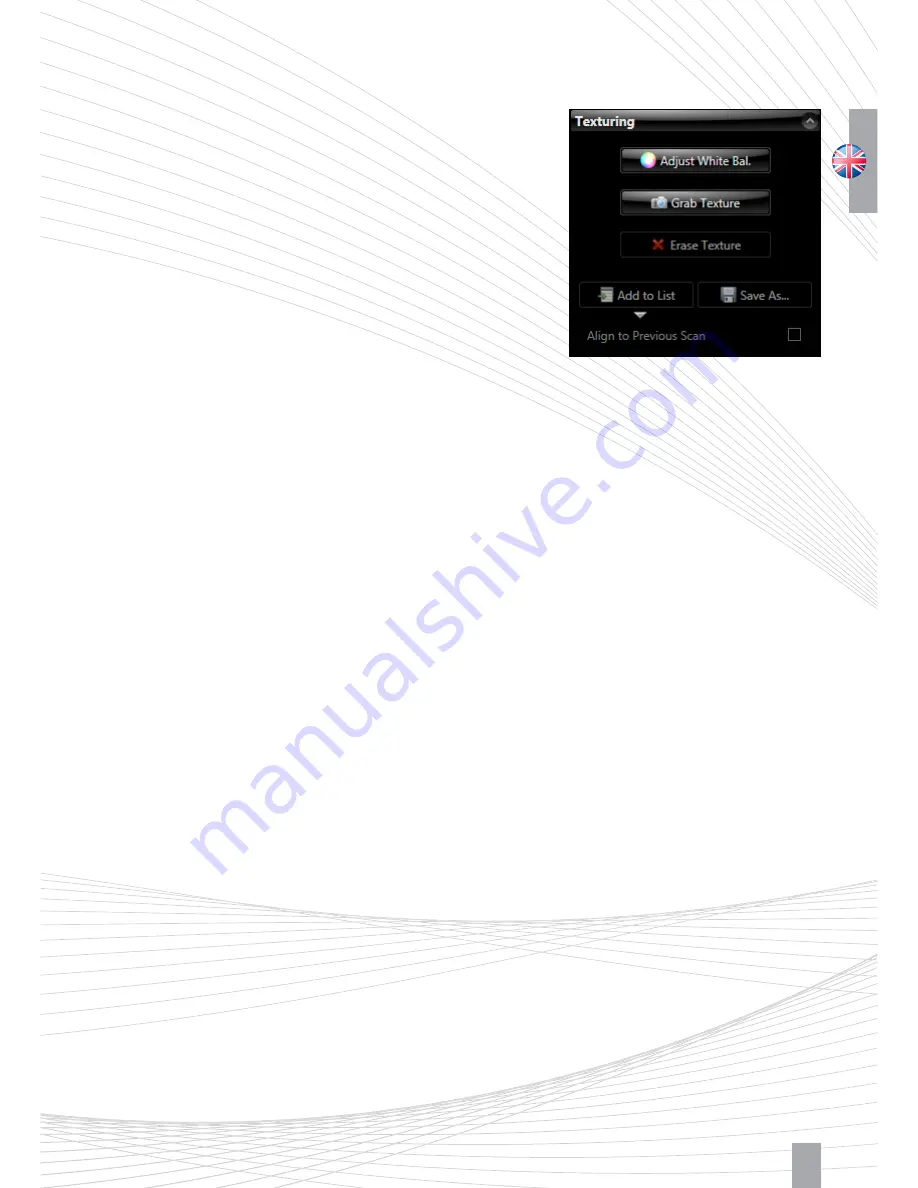
large white object (such as the glass calibration panels or a white wall). Then click
”Adjust White Bal.“
Z
With the
”Grab texture“
button, the current scan is provided with a new texture.
Z
Settings here are stored separately. For the following scans, you will not have to go to the menu ”Tex-
turing“ each time, instead you can activate the
”Auto. Grab Texture“
option in the ”Structured Light“
menu (See Figur 5.1).
Figure 5.4: Menu ”Texturing“
Summary of Contents for SLS-2
Page 1: ...QUICK GUIDE...


