

Page 2
Multi-Purpose Shelter
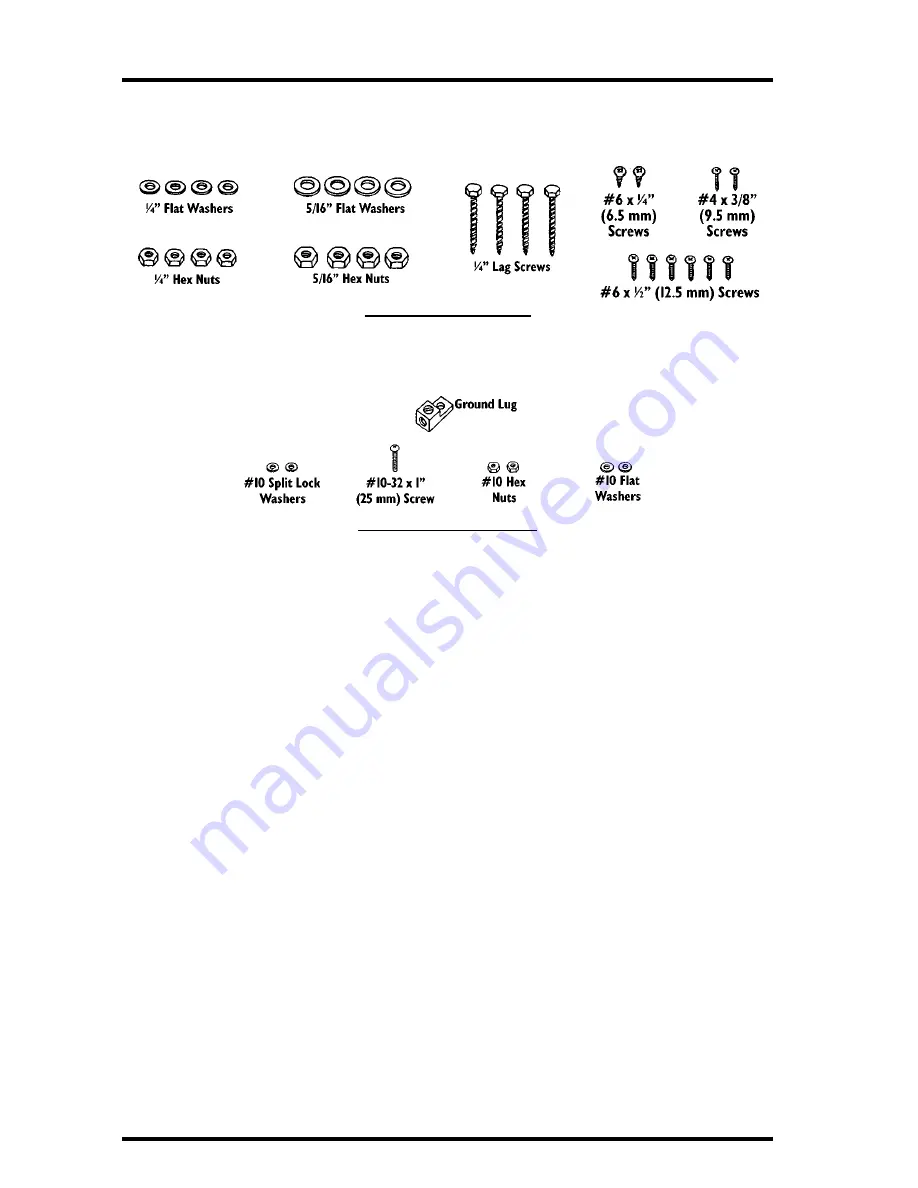
The hardware kit included with the MPS includes the following components.
Please make sure that you have all the components before continuing.
H
ARDWARE
K
IT
C
OMPONENTS
The ground lug kit included with the shelter includes the following compo-
nents. Please make sure that you have all the components before continuing.
G
ROUND
L
UG
K
IT
C
OMPONENTS
T
OOLS
AND
M
ATERIALS
N
EEDED
FOR
I
NSTALLATION
You may need some of the following tools and materials in order to install the
shelter.
✦
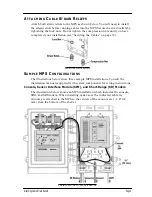
System Components
You will need the various system components you plan to install inside
the shelter. Some sample installation configurations are shown in “Sam-
ple MPS Configurations” on page 3.
✦
Medium Flat Head Screwdriver
✦
Medium Phillips Head Screwdriver
✦
Wrench or 3/8" Nut Driver
✦
Large Adjustable Wrench (1 3/8" Opening)
✦
Wire Cutter
✦
Wire Stripper or Knife
✦
Pliers
✦
Electrical Tape and/or Silicone Caulking
✦
Double-Sided Tape


