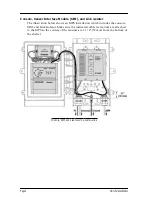
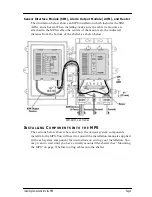

Installing Components into the MPS
Page 7
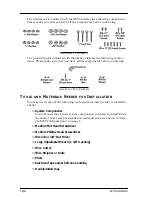
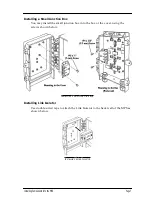
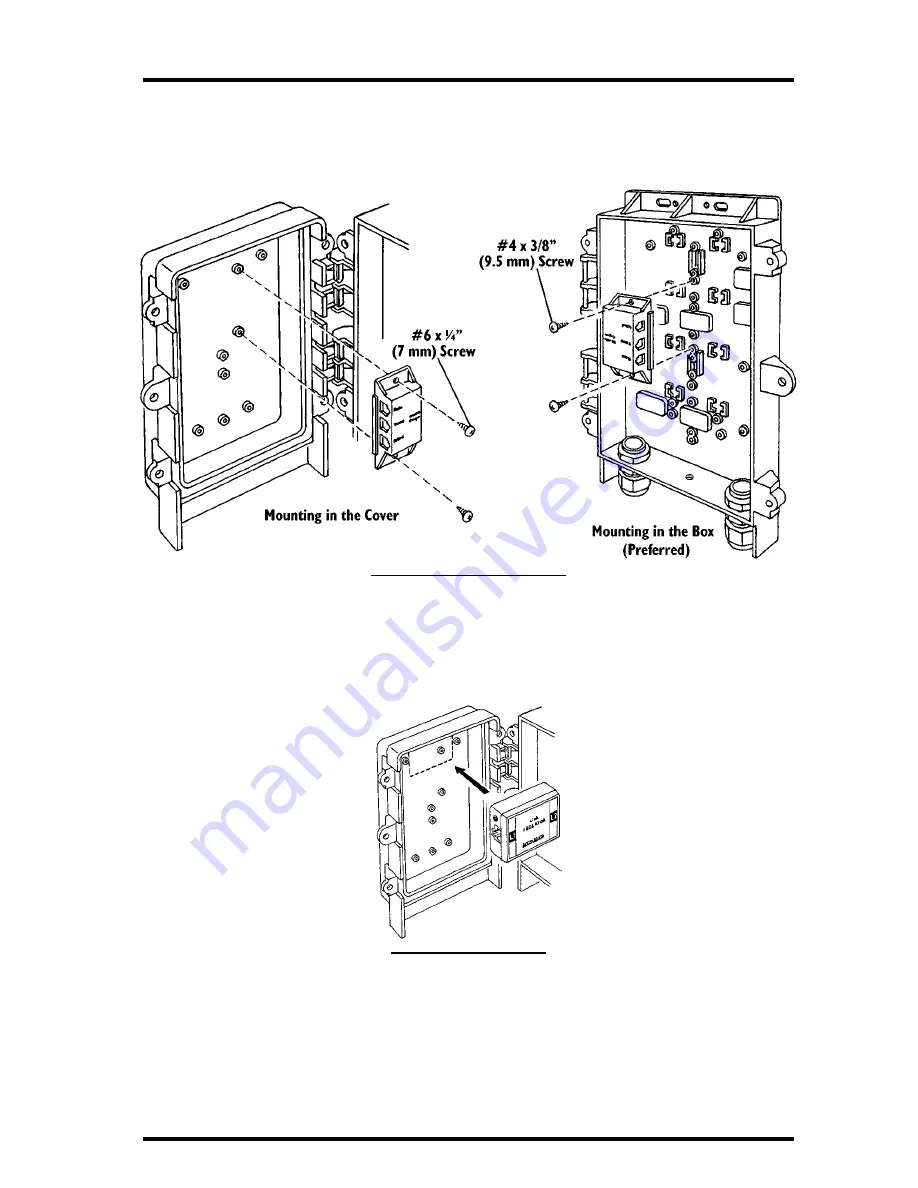
Installing a Small Junction Box
You may install the small junction box into the box or the cover, using the
screws shown below.
I
NSTALLING
A
S
MALL
J
UNCTION
B
OX
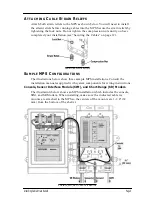
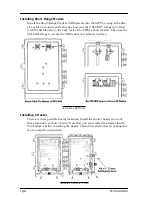
Installing Link Isolator
Use double-sided tape to attach the Link Isolator to the back wall of the MPS as
shown below.
I
NSTALLING
A
L
INK
I
SOLATOR