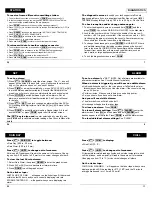
DONE
HI/LOW
Press
DONE
to:
•
Accept an alarm setting.
•
Exit the alarm screen.
•
Silence an alarm.
•
Exit the graph screen
•
Exit the high/low screen.
•
Go to the next message in the setup screen.
Press and hold
DONE
and then press
(
−−
)
to:
•
Enter the setup screen.
Press and hold
DONE
to:
•
Exit the setup screen.
To enter the high/low screen:
Press
HI/LOW
. You will see the
time & date of the DAY HIGHS for the currently selected weather vari-
able, along with a graph showing the highs for the last 24 hours or days.
To view a different weather variable
, press the key(s) for that
variable.
To scroll between highs & lows:
Press
HI/LOW
or
( + )
or
(
−−
)
to scroll between:
Day Highs
•
Day Lows
Month Highs
•
Month Lows
Year Highs
•
Year Lows
The time and date will change as you move between the various highs
and lows. (NOTE: Not all highs and lows are available for all weather
variables. See
Console Manual
for details.)
To go back or forward in time:
Press
( < )
or
( > )
. The time and
date will change and the corresponding dot on the graph will flash.
To exit the high/low screen:
Press
DONE
.
To clear highs & lows
: See "CLEAR."
14
19
CLEAR
LAMPS
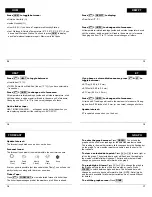
To clear a daily, monthly, or yearly amount:
1. Select the variable you wish to clear.
2. Press
2
ND
then
CLEAR
, holding
CLEAR
down until the digits
stop flashing and zeroes appear in the field.
To clear an alarm setting:
1. Press
2
ND
&
ALARM
to enter the alarm screen.
2. Select the alarm setting (see "ALARM" for detailed instructions).
3. Press
2
ND
, then
CLEAR
, holding
CLEAR
down until the digits
stop flashing and dashes appear in the fields.
4. Press
DONE
to return to the current weather screen.
To clear highs & lows:
Follow the directions above for clearing alarms, except press
HI/LOW
to enter the high/low screen.
To clear ALL
(including highs and lows, alarm settings, and daily,
monthly, and yearly amounts):
1. Press
WIND
.
2. Press
2
ND
then
CLEAR
, holding
CLEAR
down for the entire six-
second countdown until you see CLEARING NOW in the ticker tape.
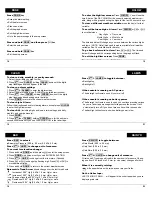
Press
2
ND
&
LAMPS
to toggle between:
•
Backlight on.
•
Backlight off.
If the console is running on AC power:
•
The backlight will remain on until you turn it off.
If the console is running on battery power
,
•
The backlight will remain on as long as you continue pressing
various
keys or a ticker tape message is scrolling across the screen. It will
automatically turn off if you do not press a key within ten seconds.
•
The backlight will not come on when battery power is low.
12
21
BAR
RAIN YR
Press
BAR
to select:
••
Barometric Pressure
(0.00 in, 0.0 mm, 0.0 hPa, 0.0 mb)
Press
2
ND
&
UNITS
to change unit of measure.
To correct for elevation change:
1. Press and hold
DONE
and then press
(
−−
)
to enter the setup screen.
2. Press
DONE
nine times or until you see ENTER ELEVATION.
3. Press
2
ND
&
UNITS
to change from feet to meters, if desired.
4. Press
( + )
or
(
−−
)
to change the flashing digit. Press
( < )
or
( > )
to
move between fields.
5. Press and hold
DONE
to return to the current weather screen.
Barometric Trend Arrow
shows change
over the last three hours:
Increase of 0.06" Hg (2.0 hPa, 1.5 mm Hg) or more.
Increase of 0.02" Hg (0.7 hPa, 0.5 mm Hg) or more.
Change of less than 0.02" Hg (0.7 hPa, 0.5 mm Hg).
Decrease of 0.02" Hg (0.7 hPa, 0.5 mm Hg) or more.
Decrease of 0.06" Hg (2.0 hPa, 1.5 mm Hg) or more.
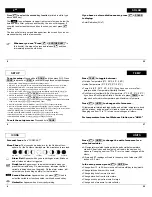
Press
RAIN YR
to toggle between:
•
Rain Month (0.00 in, 0.0 mm)
•
Rain Year (0.00 in, 0.0 mm)
•
Rain Rate (0.00 in, 0.0 mm)
Press
2
ND
&
UNITS
to change unit of measure.
All rain and ET readings will read in the same unit of measure. Chang-
ing one from 0.00 inches to 0.0 mm (or vice versa) changes all others.
When it is currently raining:
will appear between the rain day and rain year fields.
On the ticker tape:
LAST 15 MIN OF RAIN . . . will appear in the ticker tape when you are
displaying rain rate.
10
23


