11
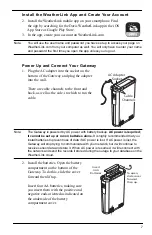
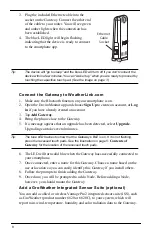
3. Plug in the solar panel cable.
Connect Node to Gateway
1. Take the Node and smartphone to the general location in which you wish to
install your Node. Make sure the phone’s Bluetooth is on.
2. Open the app on the smartphone.
3. Open the door of the Node. (This turns the Node’s Bluetooth on.) The
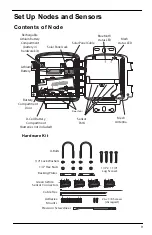
Bluetooth status LED will blink blue. See the illustration on page 9:
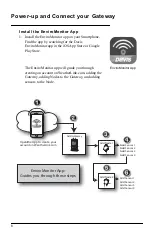
4. In the app, select the Gateway to which this Node will send its data.
5. Tap
Add Node
.
6. Bring the phone close to the Node.
7. Follow the prompts in the app as it finds the Node and connects it to the
Gateway. This transmits the Gateway’s identifying information to the Node
and allows its data to be received by the Gateway. Having specific
identification for each Gateway/Node pair allows you to have multiple
Gateways without cross transmission.
Using the app, you will be see this Node’s serial number appear on the list for
the Gateway.
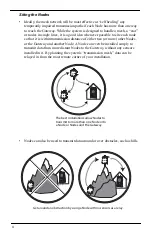
You will know the Node has found its “mesh parent” (a Gateway or another
Node) when you see the Bluetooth status LED go solid blue. If it cannot “find”
its parent, try moving the Node to a different location. If the location of the
Node cannot be changed, consider installing another Node closer to the parent,
to act as a repeater. It does not need to have any sensors installed.
When the connection is complete, the mesh status LED will turn solid green.
See the illustration on page 9:
.
Install the Sensor(s)
The list of sensors your EnviroMonitor system supports is constantly growing.
Check www.davisinstruments.com/em-sensors for the current list.
Note:
Wiring diagrams for each sensor are shown in the EnviroMonitor app.
Each Node has four sensor ports.You can install the sensors before or after
mounting the Node. For example, if you plan to mount the node on a tower, you
will want to install the sensor first.


