Page 2
Protected Junction Box
T
OOLS
AND
M
ATERIALS
N
EEDED
In addition to the components listed above, you may need some of the follow-
ing tools and materials. Please be sure you have everything you need before
beginning the installation.
✦
Medium Slotted Screwdriver
✦
Sheet of Small Labels
D
ISCONNECTING
THE
E
XISTING
J
UNCTION
B
OX
If necessary, consult your weather station manual for instructions on discon-
necting the cables from your existing junction box and removing the existing
junction box from its mounting location.
Note:
Do not throw away your existing junction box. The surge absorbers in the Protected Junction Box
may “blow” if they absorb a direct or near lightning strike. In this case, you may use your old
junction box to keep the station operating while the Protected Junction Box is repaired (provided
your sensors haven’t “blown” as well).
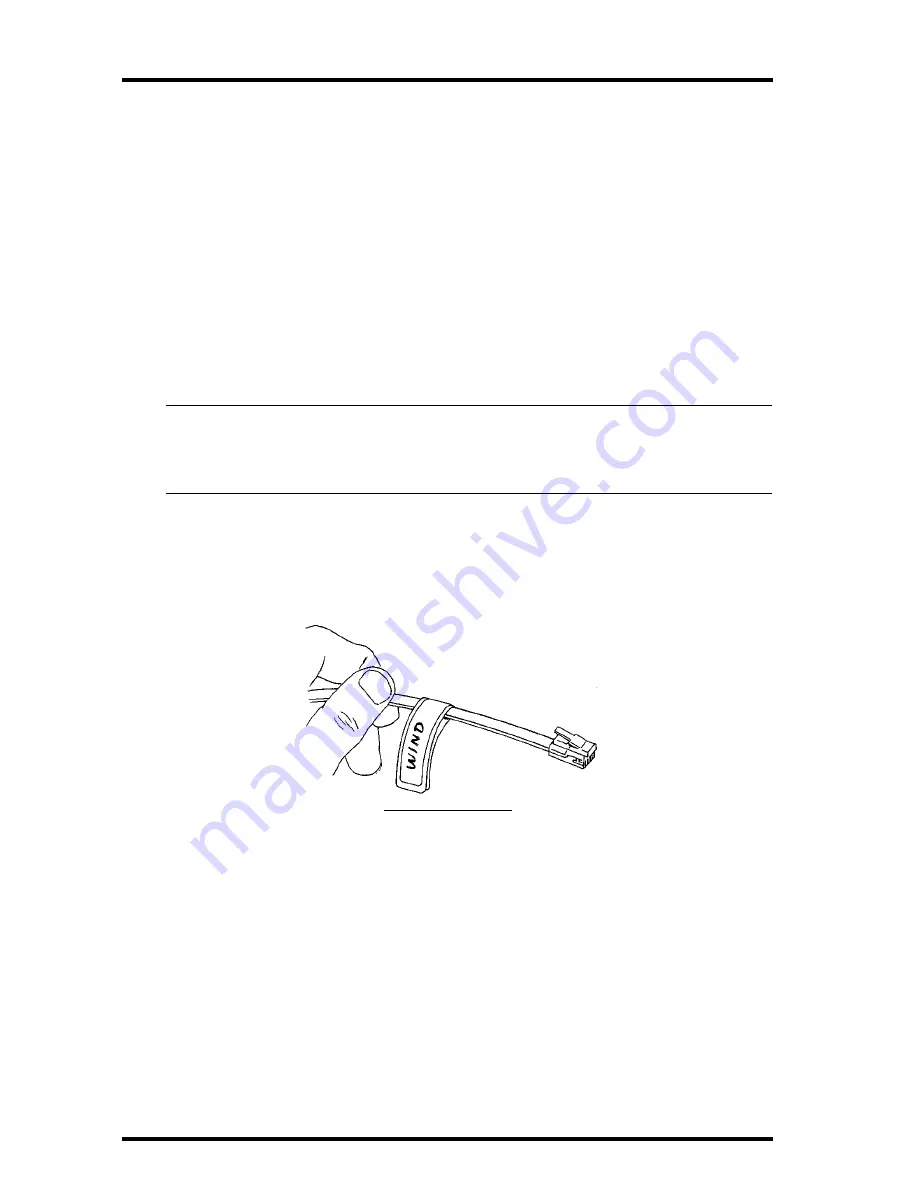
We recommend that you label the end of each cable as you disconnect it. For
example, write “WIND” onto one half of a small label (not provided) and then
wrap that label around the anemometer cable about 3” (75 mm) from the
phone plug. This will help you identify the cables when attaching to the Pro-
tected Junction Box.
L
ABELING
Y
OUR
C
ABLES


