3
3. The blue LED light will begin flashing indicating that the device is ready to
connect to the smartphone app.
Tip:
The device will “go to sleep” and the blue LED will turn off if you don’t connect the
device within a few minutes. You can “wake it up” when you are ready to proceed by
touching the capacitive touch pad. (See the image on page 1.)
4. With WeatherLink Live “awake,” and your phone next to it, follow the
prompts to connect WeatherLink Live to the internet.
Tip:
If the device doesn’t find your Wi-Fi network, try repeating these steps.
5. The LED will go solid when the smartphone is connected to the internet.
Note:
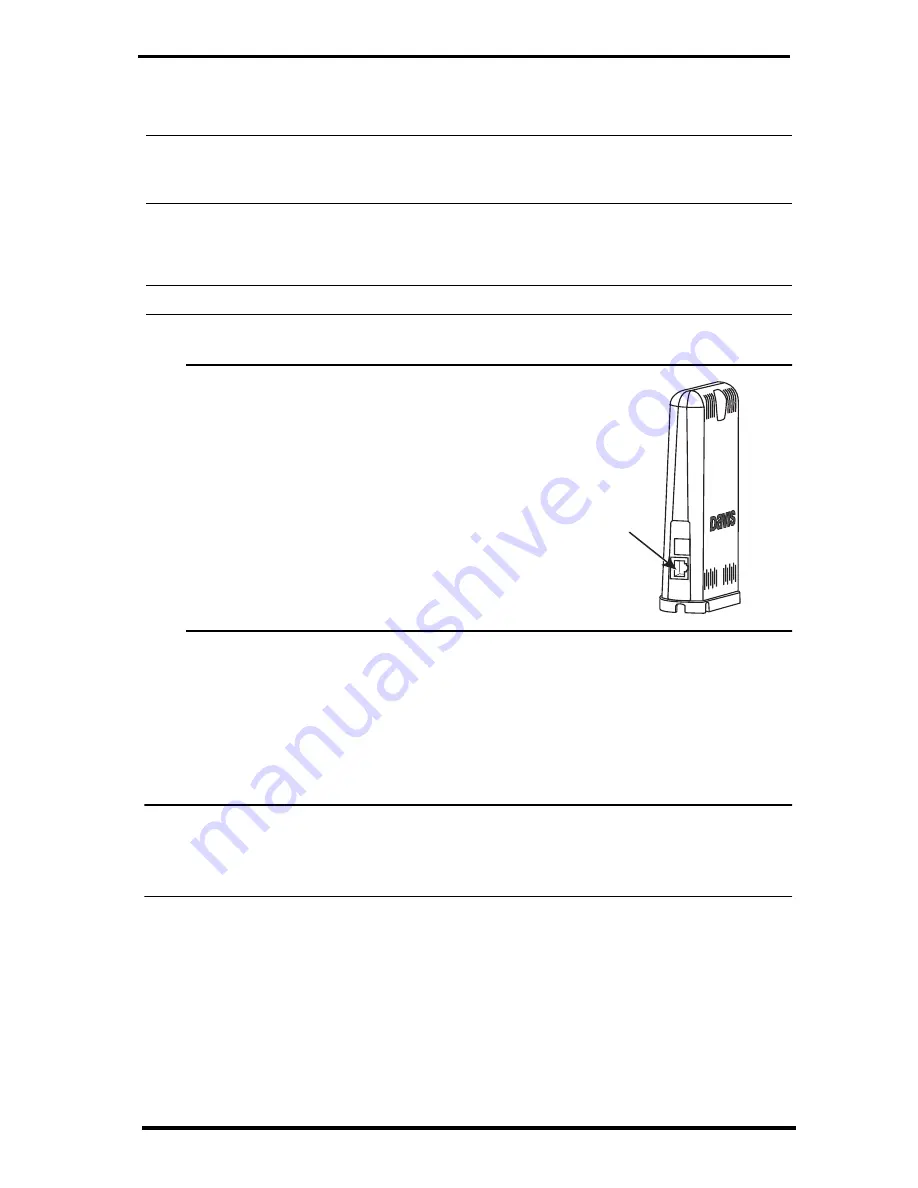
Connecting via Ethernet cable:
If wireless
internet is intermittent or not available, you
can use an Ethernet cable to connect your
device to your internet system. You will still
need to use the smartphone app to setup
the WeatherLink Live.
Plug the included Ethernet cable into the
socket on the WeatherLink Live. Connect
the other end of the cable to your router.
You will see green and amber lights when
the connection has been established.
Set Up Your WeatherLink Live
6. When you are prompted to do so, enter a name for your WeatherLink Live,
such as “Downtown Hayward Weather.” Remember that this name will be
visible to all WeatherLink users if you make your station “public.” (The
Device ID and activation date will be entered automatically.)
Note:
The field labeled “Archive Rate” refers to the number of data records that are
included in your WeatherLink.com database archives. (It is
not
the update rate.) The
default rate of 15 minutes is appropriate for most users. To learn how to change this
rate, see page 5: How can I change my archive rate?
7. In the next screen, a map opens with the location of your station. You can
change this by moving the pin. Tap
Save
.
8. In the next screens, choose Wi-Fi or Ethernet. For Wi-Fi, select your Wi-Fi
network and enter the network password. Tap
Connect.
Ethernet
Cable
Socket


