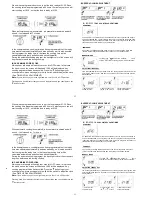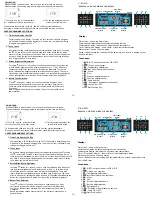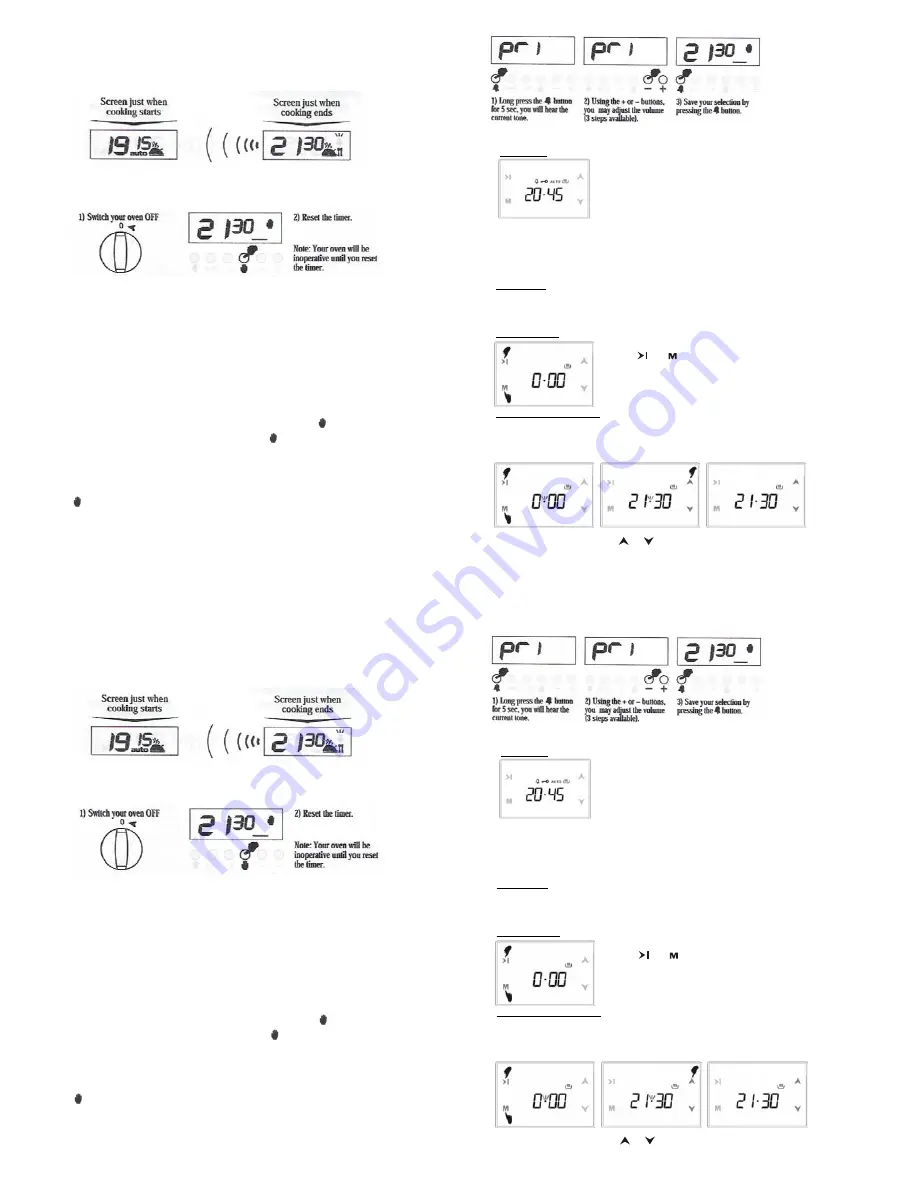
AUTOMATIC COOKING PROGRAM
If you want to start cooking immediately , you just have to give in the
cooking time.
Example:
We placed our food into the oven and want it to be cooked for 2
hours and 15 minutes.
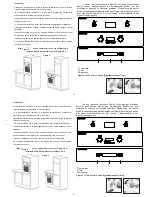
4) After a few seconds, the screen
will indicate that cooking has started
and show the current time.
Now , you have programmed you oven to cook the food for 2 hours and 15
minutes. Please do not forget to bring the function and / or temperature
knobs of your oven to appropriate positions.
Note:
You may cancel the automatic cooking mode any time by pressing the button.
In the above example, cooking immediately started after giving in the
cooking period. By pressing the
button, you can see the ready time, ie.
The time when the food will be ready to serve, and if you want, you can also
change it. In the example below, the ready time will be changed to 21:30.
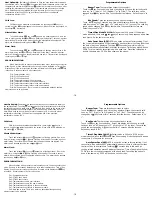
We now have programmed our oven to get the food ready at 21:30. Since
the cooking time was preprogrammed as 2 hours 15 minutes,your oven will
start cooking at 19:15 , so that the food is ready at 21:30.
When automatic cooking is completed , a buzzer alarm is heared and will
sound , if not stopped for 7 minutes.
In the example shown, cooking time has been programmed first, the ready
time was calculated automatically and was edited by us. It is also possible
first to program the ready time, in that case the cooking time will be
calculated automatically and should be edited thereafter.
During the automatic cooking program, the backlight color of the screen will
be green before and red during cooking.
IN CASE MAINS POWER LOSS
Mains power interrupts will switch your oven into OFF mode. In that case
the hand icon on the screen will flash and 12:00 will be displayed. Any
cooking program will also be cancelled. Press the button to get your
oven operative, press once again to the button switch to adjust the clock
( See TIME OF DAY ADJUSTMENT)
Note:
If you will not use your oven right now, be sure that it is in OFF position.
Flashing hand icon indicates that your oven is inoperative and you should press the
button to reset.
BUZZER VOLUME ADJUSTMENT
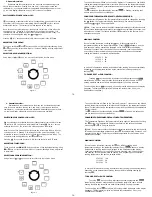
CHANGING OVEN LAMP
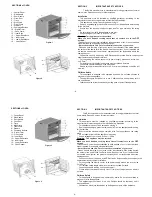
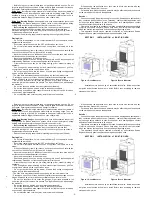
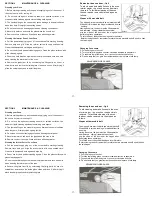
Removing the oven door - fig 9
To aid cleaning and make Access to the oven
interior easier , the oven door can be simply
removed. To facilitate cleaning of the oven ,
the door can be removed via the hinges as
follows:
Hinges with movable bolt
The hinges A are provived with two movable bolts B
When bolt B is raised, the hinge is released from its
housing .
Having done this, the door must be lifted upwards
and removed , sliding it towards the outside;
grip the sides of the door near the hinges when
performing these operations.
To refit the door firstly slide the hinges into their slots.
Before closing the door remember to rotate the two movable bolts B used to hook
the two hinges.
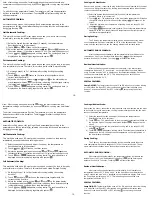
Changing Oven Lamp
1.
Pull the plug out of socket.
2.
Turn the lamp fixing glass counter-clockwise direction to seperate it.
3.
To seperate lamp from body turn it to counter-clockwise direction.
4.
Fix new lamp that you gain from authorised service in place of old lamp.
AUTOMATIC COOKING PROGRAM
If you want to start cooking immediately , you just have to give in the
cooking time.
Example:
We placed our food into the oven and want it to be cooked for
hours and 15 minutes.
4) After a few seconds, the screen
will indicate that cooking has started
and show the current time.
Now , you have programmed you oven to cook the food for 2 hours and 1
minutes. Please do not forget to bring the function and / or temperature
knobs of your oven to appropriate positions.
Note:
You may cancel the automatic cooking mode any time by pressing the button.
In the above example, cooking immediately started after giving in the
cooking period. By pressing the
button, you can see the ready time, i
The time when the food will be ready to serve, and if you want, you can al
change it. In the example below, the ready time will be changed to 21:30.
BUZZER VOLUME ADJUSTMENT
AUTOMATIC COOKING PROGRAM
If you want to start cooking immediately , you just have to give in the
cooking time.
Example:
We placed our food into the oven and want it to be cooked for 2
hours and 15 minutes.
4) After a few seconds, the screen
will indicate that cooking has started
and show the current time.
Now , you have programmed you oven to cook the food for 2 hours and 15
minutes. Please do not forget to bring the function and / or temperature
knobs of your oven to appropriate positions.
Note:
You may cancel the automatic cooking mode any time by pressing the button.
In the above example, cooking immediately started after giving in the
cooking period. By pressing the
button, you can see the ready time, ie.
The time when the food will be ready to serve, and if you want, you can also
change it. In the example below, the ready time will be changed to 21:30.
We now have programmed our oven to get the food ready at 21:30. Since
the cooking time was preprogrammed as 2 hours 15 minutes,your oven will
start cooking at 19:15 , so that the food is ready at 21:30.
When automatic cooking is completed , a buzzer alarm is heared and will
sound , if not stopped for 7 minutes.
In the example shown, cooking time has been programmed first, the ready
time was calculated automatically and was edited by us. It is also possible
first to program the ready time, in that case the cooking time will be
calculated automatically and should be edited thereafter.
During the automatic cooking program, the backlight color of the screen will
be green before and red during cooking.
IN CASE MAINS POWER LOSS
Mains power interrupts will switch your oven into OFF mode. In that case
the hand icon on the screen will flash and 12:00 will be displayed. Any
cooking program will also be cancelled. Press the button to get your
oven operative, press once again to the button switch to adjust the clock
( See TIME OF DAY ADJUSTMENT)
Note:
If you will not use your oven right now, be sure that it is in OFF position.
Flashing hand icon indicates that your oven is inoperative and you should press the
button to reset.
CHANGING OVEN LAMP
Removing the oven door - fig 9
To aid cleaning and make Access to the oven
interior easier , the oven door can be simply
removed. To facilitate cleaning of the oven ,
the door can be removed via the hinges as
follows:
Hinges with movable bolt
The hinges A are provived with two movable bolts B
When bolt B is raised, the hinge is released from its
housing .
Having done this, the door must be lifted upwards
and removed , sliding it towards the outside;
grip the sides of the door near the hinges when
performing these operations.
To refit the door firstly slide the hinges into their slots.
Before closing the door remember to rotate the two movable bolts B used to hook
the two hinges.
Changing Oven Lamp
1.
Pull the plug out of socket.
2.
Turn the lamp fixing glass counter-clockwise direction to seperate it.
3.
To seperate lamp from body turn it to counter-clockwise direction.
4.
Fix new lamp that you gain from authorised service in place of old lamp.
TOUCH CONTROL OVEN TIMER
OVERVIEW:
OT-4000-LED, is an electronic timer, which enables your oven to get the food ready to
serve at the desired time. The only thing to be done is to program the cooking time and
ready time. It can also be used as an alarm clock, where you just give in the amount of
time after which it should remind you by a buzzer tone.
POWER UP:
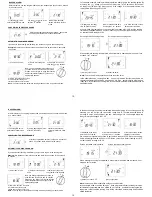
Upon power up, flashing digits and AUTO icon, the oven is inoperative. Press M to
return to manual mode and adjust the time of day using up and down buttons.
MANUAL MODE
Touching & at the same time, manual m
ode is
entered. Any previous cooking program will be cancelled.
ADJUSTING TIME OF DAY
Time of day adjustment is onl y allowed, when no c ooking program is in progress. First
enter manual mode as descr ibed above. The point bet ween the hours and minutes
display flashes.
1) Switch into time
2) Adjust the time using 3)
After a few seconds,
adjustment mode.
the or buttons.
screen will stabilize.
B
)
BO
6352
AUTOMATIC COOKING PROGRAM
If you want to start cooking immediately , you just have to give in the
cooking time.
Example:
We placed our food into the oven and want it to be cooked for
hours and 15 minutes.
4) After a few seconds, the screen
will indicate that cooking has started
and show the current time.
Now , you have programmed you oven to cook the food for 2 hours and 1
minutes. Please do not forget to bring the function and / or temperature
knobs of your oven to appropriate positions.
Note:
You may cancel the automatic cooking mode any time by pressing the button.
In the above example, cooking immediately started after giving in the
cooking period. By pressing the
button, you can see the ready time, i
The time when the food will be ready to serve, and if you want, you can al
change it. In the example below, the ready time will be changed to 21:30.
BUZZER VOLUME ADJUSTMENT
AUTOMATIC COOKING PROGRAM
If you want to start cooking immediately , you just have to give in the
cooking time.
Example:
We placed our food into the oven and want it to be cooked for 2
hours and 15 minutes.
4) After a few seconds, the screen
will indicate that cooking has started
and show the current time.
Now , you have programmed you oven to cook the food for 2 hours and 15
minutes. Please do not forget to bring the function and / or temperature
knobs of your oven to appropriate positions.
Note:
You may cancel the automatic cooking mode any time by pressing the button.
In the above example, cooking immediately started after giving in the
cooking period. By pressing the
button, you can see the ready time, ie.
The time when the food will be ready to serve, and if you want, you can also
change it. In the example below, the ready time will be changed to 21:30.
We now have programmed our oven to get the food ready at 21:30. Since
the cooking time was preprogrammed as 2 hours 15 minutes,your oven will
start cooking at 19:15 , so that the food is ready at 21:30.
When automatic cooking is completed , a buzzer alarm is heared and will
sound , if not stopped for 7 minutes.
In the example shown, cooking time has been programmed first, the ready
time was calculated automatically and was edited by us. It is also possible
first to program the ready time, in that case the cooking time will be
calculated automatically and should be edited thereafter.
During the automatic cooking program, the backlight color of the screen will
be green before and red during cooking.
IN CASE MAINS POWER LOSS
Mains power interrupts will switch your oven into OFF mode. In that case
the hand icon on the screen will flash and 12:00 will be displayed. Any
cooking program will also be cancelled. Press the button to get your
oven operative, press once again to the button switch to adjust the clock
( See TIME OF DAY ADJUSTMENT)
Note:
If you will not use your oven right now, be sure that it is in OFF position.
Flashing hand icon indicates that your oven is inoperative and you should press the
button to reset.
-
11-
AUTOMATIC COOKING PROGRAM
If you want to start cooking immediately , you just have to give in the
cooking time.
Example:
We placed our food into the oven and want it to be cooked for 2
hours and 15 minutes.
4) After a few seconds, the screen
will indicate that cooking has started
and show the current time.
Now , you have programmed you oven to cook the food for 2 hours and 15
minutes. Please do not forget to bring the function and / or temperature
knobs of your oven to appropriate positions.
Note:
You may cancel the automatic cooking mode any time by pressing the button.
In the above example, cooking immediately started after giving in the
cooking period. By pressing the
button, you can see the ready time, ie.
The time when the food will be ready to serve, and if you want, you can also
change it. In the example below, the ready time will be changed to 21:30.
We now have programmed our oven to get the food ready at 21:30. Since
the cooking time was preprogrammed as 2 hours 15 minutes,your oven will
start cooking at 19:15 , so that the food is ready at 21:30.
When automatic cooking is completed , a buzzer alarm is heared and will
sound , if not stopped for 7 minutes.
In the example shown, cooking time has been programmed first, the ready
time was calculated automatically and was edited by us. It is also possible
first to program the ready time, in that case the cooking time will be
calculated automatically and should be edited thereafter.
During the automatic cooking program, the backlight color of the screen will
be green before and red during cooking.
IN CASE MAINS POWER LOSS
Mains power interrupts will switch your oven into OFF mode. In that case
the hand icon on the screen will flash and 12:00 will be displayed. Any
cooking program will also be cancelled. Press the button to get your
oven operative, press once again to the button switch to adjust the clock
( See TIME OF DAY ADJUSTMENT)
Note:
If you will not use your oven right now, be sure that it is in OFF position.
Flashing hand icon indicates that your oven is inoperative and you should press the
button to reset.
BUZZER VOLUME ADJUSTMENT
AUTOMATIC COOKING PROGRAM
If you want to start cooking immediately , you just have to give in the
cooking time.
Example:
We placed our food into the oven and want it to be cooked for 2
hours and 15 minutes.
4) After a few seconds, the screen
will indicate that cooking has started
and show the current time.
Now , you have programmed you oven to cook the food for 2 hours and 15
minutes. Please do not forget to bring the function and / or temperature
knobs of your oven to appropriate positions.
Note:
You may cancel the automatic cooking mode any time by pressing the button.
In the above example, cooking immediately started after giving in the
cooking period. By pressing the
button, you can see the ready time, ie.
The time when the food will be ready to serve, and if you want, you can also
change it. In the example below, the ready time will be changed to 21:30.
We now have programmed our oven to get the food ready at 21:30. Since
the cooking time was preprogrammed as 2 hours 15 minutes,your oven will
start cooking at 19:15 , so that the food is ready at 21:30.
When automatic cooking is completed , a buzzer alarm is heared and will
sound , if not stopped for 7 minutes.
In the example shown, cooking time has been programmed first, the ready
time was calculated automatically and was edited by us. It is also possible
first to program the ready time, in that case the cooking time will be
calculated automatically and should be edited thereafter.
During the automatic cooking program, the backlight color of the screen will
be green before and red during cooking.
IN CASE MAINS POWER LOSS
Mains power interrupts will switch your oven into OFF mode. In that case
the hand icon on the screen will flash and 12:00 will be displayed. Any
cooking program will also be cancelled. Press the button to get your
oven operative, press once again to the button switch to adjust the clock
( See TIME OF DAY ADJUSTMENT)
Note:
If you will not use your oven right now, be sure that it is in OFF position.
Flashing hand icon indicates that your oven is inoperative and you should press the
button to reset.
BUZZER VOLUME ADJUSTMENT
TOUCH CONTROL OVEN TIMER
OVERVIEW:
OT-4000-LED, is an electronic timer, which enables your oven to get the food ready to
serve at the desired time. The only thing to be done is to program the cooking time and
ready time. It can also be used as an alarm clock, where you just give in the amount of
time after which it should remind you by a buzzer tone.
POWER UP:
Upon power up, flashing digits and AUTO icon, the oven is inoperative. Press M to
return to manual mode and adjust the time of day using up and down buttons.
MANUAL MODE
Touching & at the same time, manual m
ode is
entered. Any previous cooking program will be cancelled.
ADJUSTING TIME OF DAY
Time of day adjustment is onl y allowed, when no c ooking program is in progress. First
enter manual mode as descr ibed above. The point bet ween the hours and minutes
display flashes.
1) Switch into time
2) Adjust the time using 3)
After a few seconds,
adjustment mode.
the or buttons.
screen will stabilize.
B
)
BO
6352
-
11-


