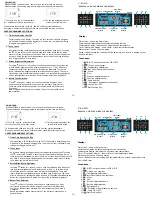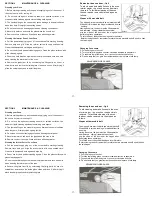
COOKING WITHOUT A PROGRAM (MANUAL)
It means that you start and finish
cooking
without
making
any
programming. If there is any
programme in the memory you need
to reset the programme. Press the
button to reset.
1. If there is a programme in the memory, it will be reset when the
button is pressed and manual cooking will be started.
2. After putting in the oven the food that you want to cook set the
oven control button to the concerned position shown in the
cooking table.
3. Your oven works manually. Check your food with certain
intervals and finish cooking by switching the oven control button
to off (zero) position (since there is no programme).
Now you finished cooking. Your food is ready for servicing.
SEMI AUTOMATIC PROGRAMMING
It is the instant start of cooking and stopping after a
predetermined period. In this programme, you need to enter the
cooking time.
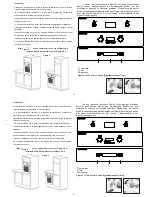
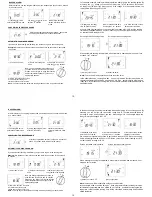
1) The time is 18:30
2) Switch to the cooking 3) Enter the time length.
time setting mode
by + or - keys.
1. Switch the oven selector switch and thermostat button to the
positions indicated on the cooking table.
2. Enter the cooking time by pressing the (+) button in 5 seconds
after pressing the
button. You can reduce the time by the (-)
button. During setting
icon starts flashing and after 5
seconds the display is fixed showing the time.
THE FLASHING HAND ICON INDICATES THAT THE OVEN IS SWITCHED OFF
AND THAT YOU NEED TO PRESS THE
BUTTON TO SWITCH TO THE
NORMAL POSITION.
3. As an example you can enter the desired period as 2 hours 15
minutes. Cooking starts. After 5 seconds clock setting will appear
on the display. You can view the remaining time by pressing the
button any time during cooking.
Page
2
/
7
1.
General Overview:
Resistance and fan combinations in the menu can be selected using touch
keys in the user interface. Cooking time, end time ( if meat probe is used end
temperature ) , cooking temperature are adjustable. Additionally keep warm, heat
up, real time display, stopwatch, and key lock functions are available.
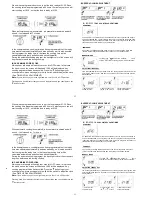
SWITCHING THE CONTROL ON or OFF:
key activates or deactivates the control (independently from child lock). When
the control is OFF, the screen is completely blank. Pressing key for 1 second,
activates the control. The current time of day appears on the display.
Note: In case of any occurred power interrupt, the current time of day will not be
correct any more. A flashing 0:00 will appear on the time of day display. It is
impossible to use any features of the control without setting the time of day. The
correct time can be adjusted using the and keys.
Pressing for 1 second as control is ON, sets the control in the OFF state.
ADJUSTING TIME OF DAY:
Touch and hold both and buttons until time of day digits start flashing. Using
or keys, set the correct time. Wait for 7 seconds, flashing will stop, adjustment
is completed.
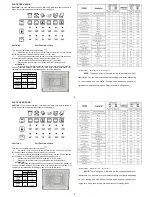
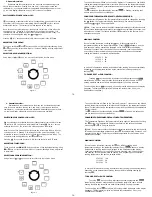
SELECTING A COOKING FUNCTION :
Using either of or keys, you may scroll through the function menu.
The current function will flash on the Function Display for 7 seconds and the default
cooking temperature assigned to this function will appear on the temperature display
(Note: For some functions, a temperature control is not possible and the temperature
display is blank).
The
is steady on the status display, whereas
is flashing, indicating that
you are ready to cook but not started yet.
CHANGING THE ASSIGNED DEFAULT OVEN TEMPERATURE:
The Temperature Setting on the Temperature Display might be changed by touching
the button- the Temperature Display starts flashing- and setting the desired
value using or in 5 degree intervals.
(!)Note: If you want to replace the default temperature setting for this function with
this adjusted temperature permanently, touch for approximately 5 seconds, until
a buzzer tone is heard. The factory set default temperature for this function is now
permanently changed.
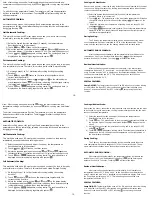
MANUAL COOKING:
Once a function is selected, touching the
key, initiates cooking with a
temperature setting on the temperature display (if any).
disapears , and the
time passed in cooking starts to be displayed on the timer/meat probe display.
Cooking will continue until it is ended by the user manually ( see: to pause,edit or
end cooking) or the maximum allowed cooking time, depending on the selected
cooking temperature, has passed, as listed below:
050-120 C 10h
121-200 C 6h
201-250 C 3h
In half and full automatic cooking, as described later, cooking is ended automatically
depending on the parameters entered by the user before initiating cooking (by
touching
)
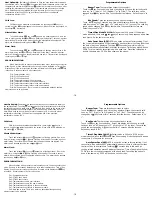
TO PAUSE, EDIT or END COOKING:
Touching
during cooking, interrupts the cooking progress and
starts flashing, whereas other portions of the display remain the same. All oven
heating elements and turbo fan are disabled temporarily. Cooking is paused.
To end cooking, touch
once again, all cooking related indications on the display
disappear. The temperature display will indicate the residual heat ,if any ( see:
Residual Heat Indication ).
-
1
4
-
-
1
4
-


