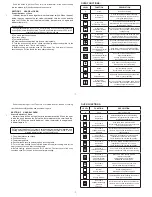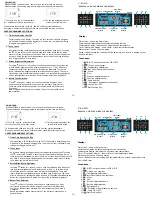
Traditional Oven Cooking
By turning the thermostat knob, a desired temperature of 50
C
C to 250
3
C
can be selected. The yellow light will go off when the oven has reached the desired
temperature. It is recommended that the oven is pre-heated before introducing the
food.
Central Grill Element
By turning the thermostat knob, a desired temperature of 50°C to
250°C can be selected, keeping the door closed.
Recommended use: for grilling smaller items of food.
Double Grill Element
By turning the thermostat knob, a desired temperature of 50°C to 250°C
can be selected, keeping the door half-open or closed. In the latter case the
use of the grill deflector is not necessary. Recommended use: for grilling larger
area of food.
Semi Forced air Convection
The thermostat has to be set at the desired temperature between 50°C and
250
5
C. The fan and the grill clement allow a fast and deep cooking for particular
food. It is recommended that the oven be pre-heated for a few minutes.
Upper + lower Fan
Termostat , signal lamp,fan, upper heater and lower heater start
working.
Turbo Fan + Rezistans
The fan and the circular element come on. The heat is diffused bv the fan
to give an even temperature in the oven by adjusting the thermostat, a desired
temperature of 50'C to 250°C can be obtained. It is not necessary to pre-heat the
oven before introducing the food.
Bottom Elemet + Fan.
Termostat signal lamps ,fan and lower heater start working.
Oven Lamp
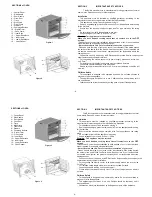
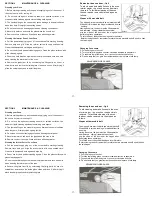
PLATE OPEN DOOR
CAUTION :
The oven door has to be open with using plate open door as shown in
figure. Keep children away while duration of functioning grill.
SECTION 6
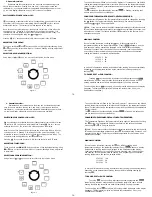
Grill Function of Oven
Turn the oven temperature button to position
�
We advise you to use grill wire that put into the tray when you are grilling.
By the way leaped or flowed oil can not make your oven dirty.
�
If you use grill wire that placed on shelf, put a tray into one of lower shelves
for collecting oils. For cleaning it easily, please put some water in it.
�
Cover at half closeed position do preheating for 5-10 minutes.
�
Please oil the grill to prevent your grilling food from sticking on grill.
ATTENTION :
For preventing command buttons on control panel from heating, please set
its sheet centered between front cover and oven body without have blank. Our
company is not responsible for damage made by not using this sheet.
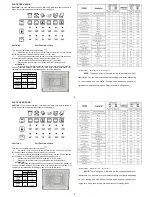
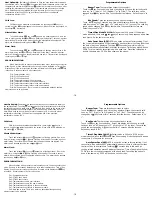
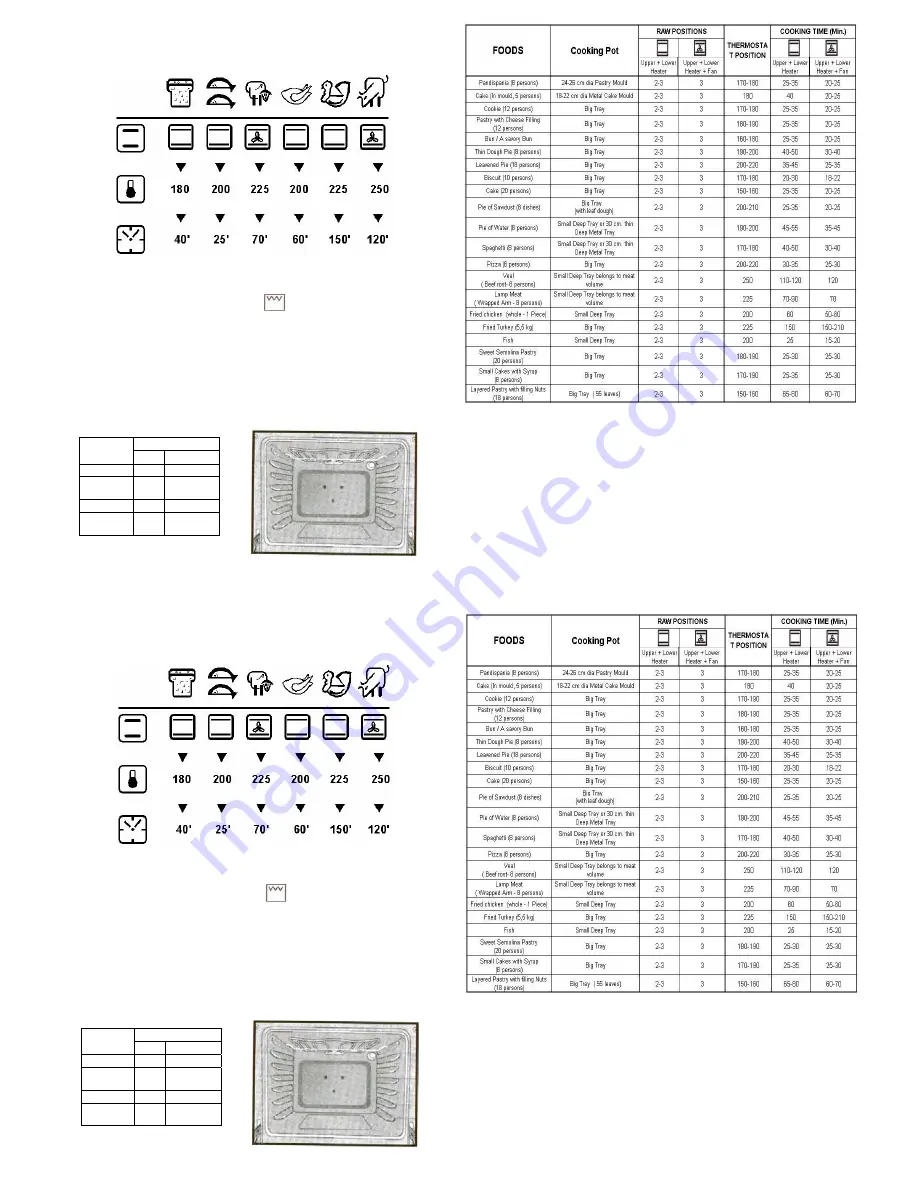
GRILL
Shelf Time (min.)
Lamb Meat 4-5
15
Lamb
Chops
4-5
15
Calf Chops 4-5
15-25
Sheep
Chops
4-5
15-25
NOTE:
The values given in the table are the values obtained in our
laboratories. You can obtain various tastes satisfying your tastes depending
on your cooking and use habits. Cooking times depend on quantity of
ingredients. Using cake forms gives better results for making cakes
SECTION 7 ADJUSTMENT of TIMER (Optional)
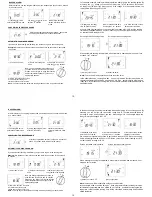
A) Adjustment of Mechanical Timer :
Mechanical Timer can be adjusted by its button on front panel. T
�
mer must
be adjusted to start the oven cooking. Cooking time can be adjusted between 5 to
90 minutes with mechanical timer. You should position the button to ‘ON’ manually
if cooking time will exceed 90 minutes.
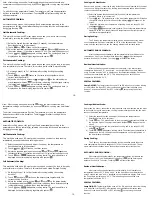
B) Adjustment of QT- 3000 Digital Timer :
OT- 3000 Programmable Options
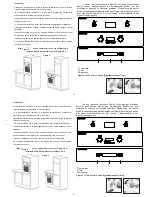
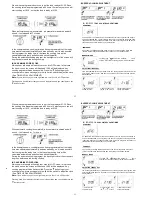
BUZZER TONE ADJUSTMENT
�
Press the
button for 5 seconds ( till you see ‘pr 1’ on the
screen).
�
Press the
button to decrease buzzer volume
�
Press the
button to increase buzzer volume (default is already
high)
�
Press the
button to record the last heard tone.
CREATING YOUR BACKLIGHT COLOUR
�
Press the
button for 5 seconds (till display indicates 'r xx' ,
where xx is a number between 00 and 100 indicating the red
content)
�
Press the
or
button to change the red colour content on
the display between 00 and 100
�
You may press
button to switch to green and blue and make
the same colour content adjustment via
or
as in red.
Raw Positions For 2 Trays : 4-6 For 1 Tray :
4
Traditional Oven Cooking
By turning the thermostat knob, a desired temperature of 50
C
C to 250
3
C
can be selected. The yellow light will go off when the oven has reached the desired
temperature. It is recommended that the oven is pre-heated before introducing the
food.
Central Grill Element
By turning the thermostat knob, a desired temperature of 50°C to
250°C can be selected, keeping the door closed.
Recommended use: for grilling smaller items of food.
Double Grill Element
By turning the thermostat knob, a desired temperature of 50°C to 250°C
can be selected, keeping the door half-open or closed. In the latter case the
use of the grill deflector is not necessary. Recommended use: for grilling larger
area of food.
Semi Forced air Convection
The thermostat has to be set at the desired temperature between 50°C and
250
5
C. The fan and the grill clement allow a fast and deep cooking for particular
food. It is recommended that the oven be pre-heated for a few minutes.
Upper + lower Fan
Termostat , signal lamp,fan, upper heater and lower heater start
working.
Turbo Fan + Rezistans
The fan and the circular element come on. The heat is diffused bv the fan
to give an even temperature in the oven by adjusting the thermostat, a desired
temperature of 50'C to 250°C can be obtained. It is not necessary to pre-heat the
button for 5 seconds ( till you see ‘pr 1’ on the
screen).
�
Press the
button to decrease buzzer volume
�
Press the
button to increase buzzer volume (default is already
high)
�
Press the
button to record the last heard tone.
CREATING YOUR BACKLIGHT COLOUR
�
Press the
button for 5 seconds (till display indicates 'r xx' ,
where xx is a number between 00 and 100 indicating the red
content)
�
Press the
or
button to change the red colour content on
the display between 00 and 100
�
You may press
button to switch to green and blue and make
the same colour content adjustment via
or
as in red.
oven before introducing the food.
Bottom Elemet + Fan.
Termostat signal lamps ,fan and lower heater start working.
Oven Lamp
SECTION 7 ADJUSTMENT of TIMER (Optional)
A) Adjustment of Mechanical Timer :
Mechanical Timer can be adjusted by its button on front panel. T
�
mer must
be adjusted to start the oven cooking. Cooking time can be adjusted between 5 to
90 minutes with mechanical timer. You should position the button to ‘ON’ manually
if cooking time will exceed 90 minutes.
B) Adjustment of QT- 3000 Digital Timer :
OT- 3000 Programmable Options
BUZZER TONE ADJUSTMENT
�
Press the
-
8-
oven before introducing the food.
Bottom Elemet + Fan.
Termostat signal lamps ,fan and lower heater start working.
Oven Lamp
PLATE OPEN DOOR
CAUTION :
The oven door has to be open with using plate open door as shown in
figure. Keep children away while duration of functioning grill.
SECTION 6
Grill Function of Oven
Turn the oven temperature button to position
�
We advise you to use grill wire that put into the tray when you are grilling.
By the way leaped or flowed oil can not make your oven dirty.
�
If you use grill wire that placed on shelf, put a tray into one of lower shelves
for collecting oils. For cleaning it easily, please put some water in it.
�
Cover at half closeed position do preheating for 5-10 minutes.
�
Please oil the grill to prevent your grilling food from sticking on grill.
ATTENTION :
For preventing command buttons on control panel from heating, please set
its sheet centered between front cover and oven body without have blank. Our
company is not responsible for damage made by not using this sheet.
GRILL
Shelf Time (min.)
Lamb Meat 4-5
15
Lamb
Chops
4-5
15
Calf Chops 4-5
15-25
Sheep
Chops
4-5
15-25
NOTE:
The values given in the table are the values obtained in our
laboratories. You can obtain various tastes satisfying your tastes depending
on your cooking and use habits. Cooking times depend on quantity of
ingredients. Using cake forms gives better results for making cakes
SECTION 7 ADJUSTMENT of TIMER (Optional)
A) Adjustment of Mechanical Timer :
Mechanical Timer can be adjusted by its button on front panel. T
�
mer must
be adjusted to start the oven cooking. Cooking time can be adjusted between 5 to
90 minutes with mechanical timer. You should position the button to ‘ON’ manually
if cooking time will exceed 90 minutes.
B) Adjustment of QT- 3000 Digital Timer :
OT- 3000 Programmable Options
BUZZER TONE ADJUSTMENT
�
Press the
Raw Positions For 2 Trays : 4-6 For 1 Tray :
4
-
8-


