24
Assembly
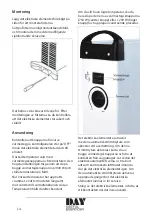
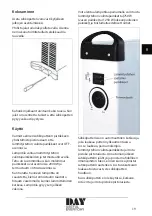
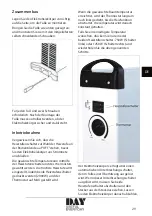
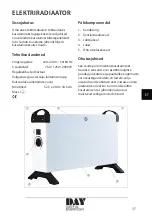
Carefully lay the electric radiator on its side
to attach the feet.
Position the feet as shown below, and secure
them using the accompanying self-tapping
screws.
Each foot requires two screws. Once the
feet are attached, you should check that the
electric radiator stands steady and stable.
Use
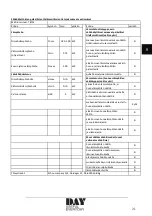
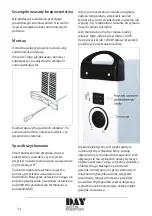
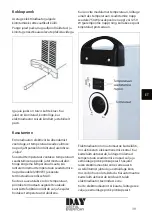
Check that the buttons for selecting the heat
setting on the control panel are switched to
“OFF” before connecting the radiator to the
mains power.
The required temperature is selected using
the heat setting buttons and the thermostat.
The highest setting is obtained by switching
both heat setting buttons to (2,000 W) and
turning the thermostat to MAX.
Once the room reaches the required
temperature, turn the thermostat slowly to
the left until the heat function switches off .
The temperature is then kept constant.
If you require a lower temperature, you
should only switch one of the heat setting
buttons to (750 W (left button) or 1,250
W (right button)) and repeat the above
procedure.
The electric radiator is equipped with an
automatic circuit breaker which is activated
in the event of overheating. If this circuit
breaker is activated, you should switch off
both heat setting buttons and pull the plug
out of the socket. Then allow the electric
radiator to cool off and remove anything
that may be blocking the � ow of air before
turning the electric radiator back on. If
the automatic circuit breaker is activated
repeatedly, the electric radiator needs to be
serviced.

