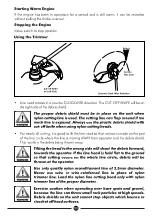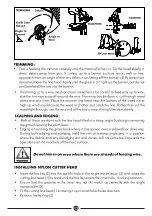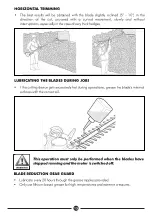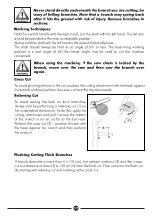
24
WARNING
Before every cut, mark sure that the cutting attachment stops
turning when the engine idles.
Checking and Replacing the Chain Sprocket
Ÿ
Remove the chain sprocket cover, chain and guide bar.
Replace the Chain Sprocket
Ÿ
After using two saw chains or sooner.
Ÿ
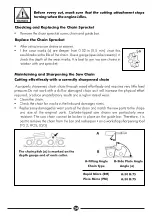
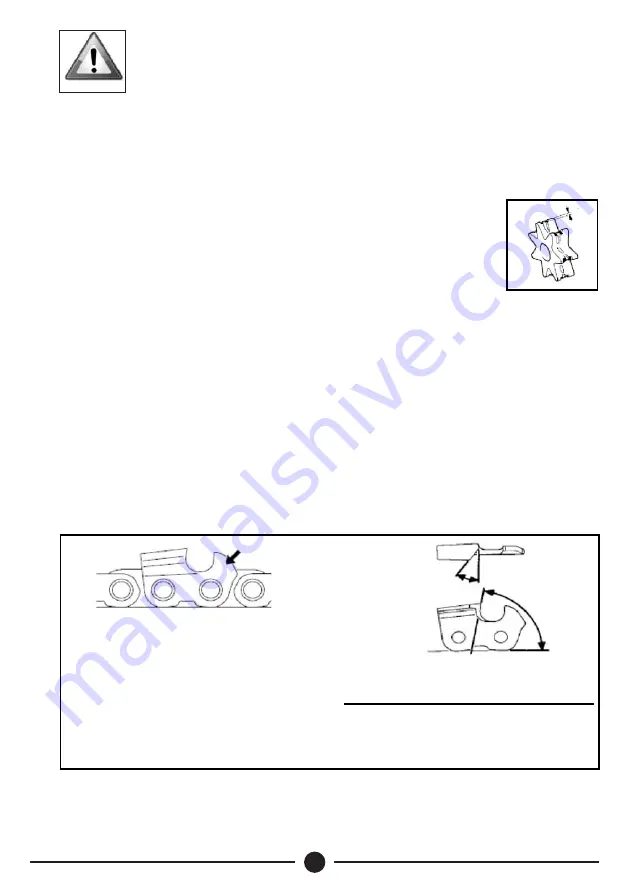
If the wear marks (a) are deeper than 0.02 in (0.5 mm) since this
would reduce the life of the chain. Use a gauge (special accessory) to
check the depth of the wear marks. It is best to use two saw chains in
rotation with one sprocket.
Maintaining and Sharpening the Saw Chain
A properly sharpened chain slices through wood effortlessly and requires very little feed
pressure.Do not work with a dull or damaged chain as it will increase the physical effort
required, produce unsatisfactory results and a higher rate of wear.
Ÿ
Clean the chain.
Ÿ
Check the chain for cracks in the links and damaged rivets.
Ÿ
Replace any damaged or worn parts of the chain and match the new parts to the shape
and size of the original parts. Carbide-tipped saw chains are particularly wear
resistant. The saw chain cannot be locked in place on the guide bar. Therefore, it is
best to remove the chain from the bar and resharpen it on a workshop sharpening tool
(FG 2, HOS, USG)
Cutting effortlessly with a correctly sharpened chain
a
The chain pitch (a) is marked on the
depth gauge end of each cutter.
A-Filling Angle
Chain Type
B-Side Plate Angle
Angle (o)
a
Rapid Micro (RM)
Picco Micro (PM)
A:30 B:75
A:30 B:75
A
B


