4
71230 Is5
© Performance Health International Ltd. 2021
Introduction
The Days Lightweight Rollator is a durable walker manufactured from painted aluminium tubing with four solid tyre wheels. It incorporates a
rest seat, storage bag and locking brakes. This walker also has height adjustable handles and can be folded for storage
or transportation.
Before using your new Days Lightweight Rollator, it is essential that you read and fully familiarise yourself with the instructions for use.
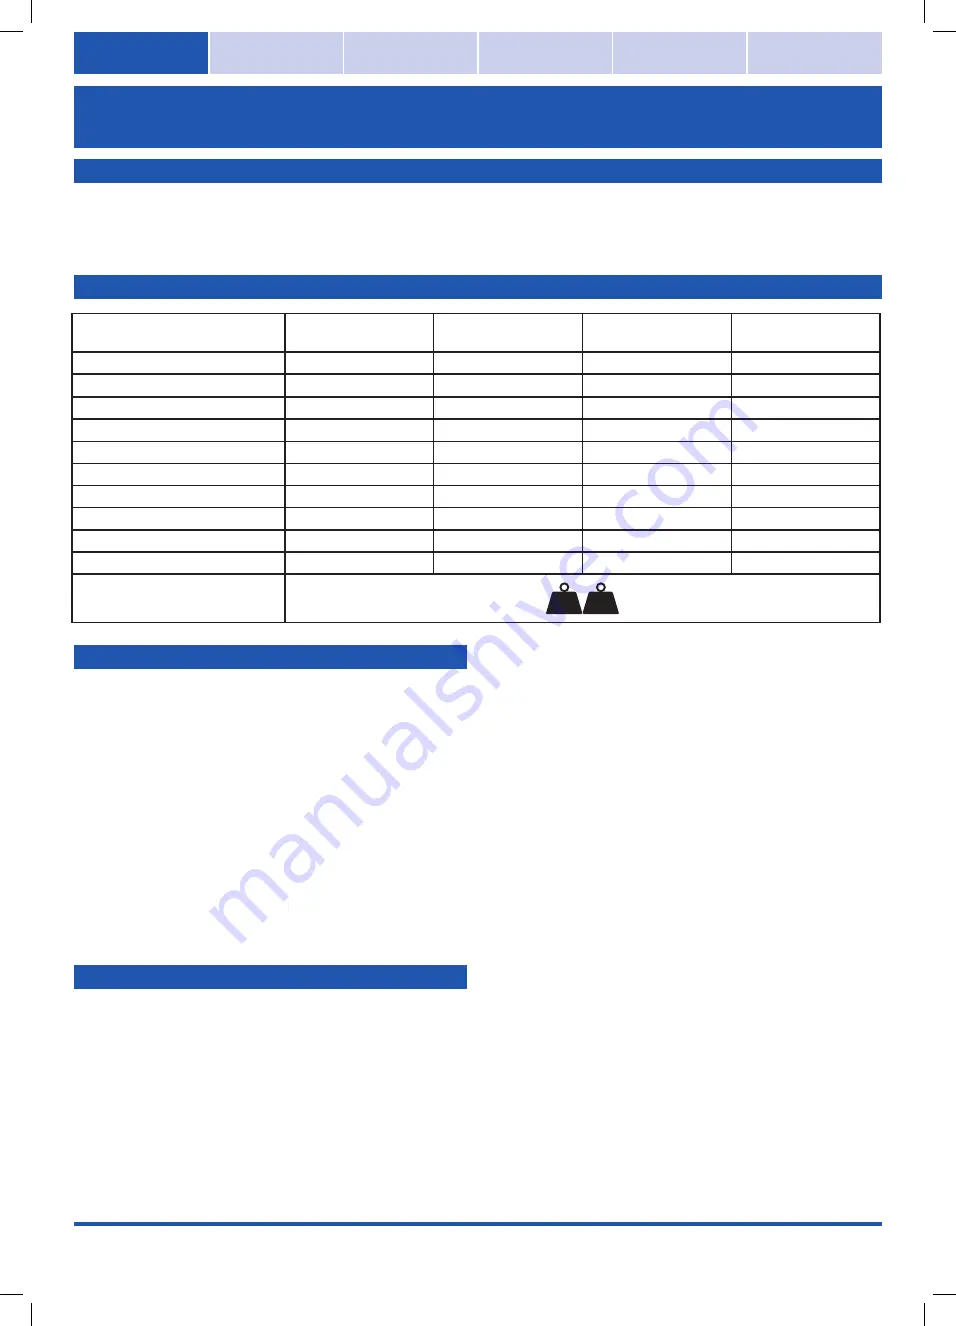
Specifications
Assembly Instructions
1.
Remove all packaging and examine all parts for signs of shipping
damage.
Do not use Rollator if it is damaged or any parts are
missing
.
2.
Open the Rollator frame fully. Push the folding hinge until straight
to secure the Rollator in the correct position. Make sure all wheels
make contact with the floor and the Rollator is stable.
(See Fig. 1)
3.
Insert a handle with the pre-assembled locking loop brake into
each handle tube. Ensure that the brake cable runs down the
outside of the frame.
(See Fig 2)
4.
Depress the pin clips on the backrest and slide it into the tubes at
the front of the Rollator. You should hear a “click” as the pin clips
lock into the securing holes. Ensure both sides of the backrest are
in place with the pin clips protruding through
the holes.
(See Fig 3)
5.
Remove the protective plastic covering from the tyres.
Setting the Handle Height
1.
The handles have five settings at 25mm intervals.
2.
To determine the correct height of the handle
(See Fig 4)
;
• Stand upright behind the Rollator with your shoulders
relaxed and arms slightly bent at 15°.
• Set the handle height to be level with your wrists
3.
To adjust each handle to the desired height, line up the holes
appropriately. Slide the bolts through the holes from the inside of
the frame and screw the tightening knobs until secure.
4.
Ensure that the bolt heads are countersunk within the holes, the
tightening knobs are fully tightened and the handles are secure
and stable.
When using the Rollator be aware that stability is dependent on all
four wheels being in contact with a flat surface. Care should be taken
when negotiating uneven ground, inclines and kerbs for example, as
stability will inevitably be reduced.
Hand Brake Operation
(See Fig 5)
The Rollator is fitted with locking brakes for added security. Before
use test the brake by rotating the rear wheels and applying
the brakes.
Note:
Always engage and disengage brakes on both sides
1.
To apply the brakes, squeeze both brake handles.
2.
To lock the brakes, push both brake handles down until the click
securely into the locked position.
3.
To release the brakes simply pull up on the brake handles until
they click.
Adjusting the Brake Pressure
(See Fig. 6)
If the brakes are too hard to apply, the pressure can be adjusted by
reducing the tension in the spring above the brake shoe.
•
The pressure needed to brake can be adjusted by turning the
knurled knob whilst holding the hexagonal nut below it.
•
Both the knob and nut are located above the brake shoe.
•
Turning the knob anti-clockwise increases the pressure needed
to brake by moving the brake shoe nearer to the wheel and
compressing the spring.
•
Turning the knob clockwise decreases the pressure needed to brake.
102
X-Small
103
Small
105
Medium
106
Large
Overall Height
755-875mm
790-910mm
825-945mm
875-995mm
Overall Width
620mm
605mm
620mm
620mm
Overall Depth
640mm
655mm
655mm
670mm
Seat Height
505mm
540mm
545mm
630mm
Seat Width
350mm
350mm
350mm
350mm
Seat Depth
320mm
320mm
320mm
320mm
Width between Arms
460mm
460mm
460mm
460mm
Backrest Height
750mm
800mm
800mm
870mm
Diameter of Wheels
150mm
200mm
200mm
200mm
Weight
6kg
7kg
7.2kg
7.3kg
Max. User Weight
26
st
165
kg
EN
FR
DE
ES
IT
NL
Days 100 Series Lightweight Rollators


