Chapter 3 – Connecting Additional Peripherals
Genesis MP
42
◆
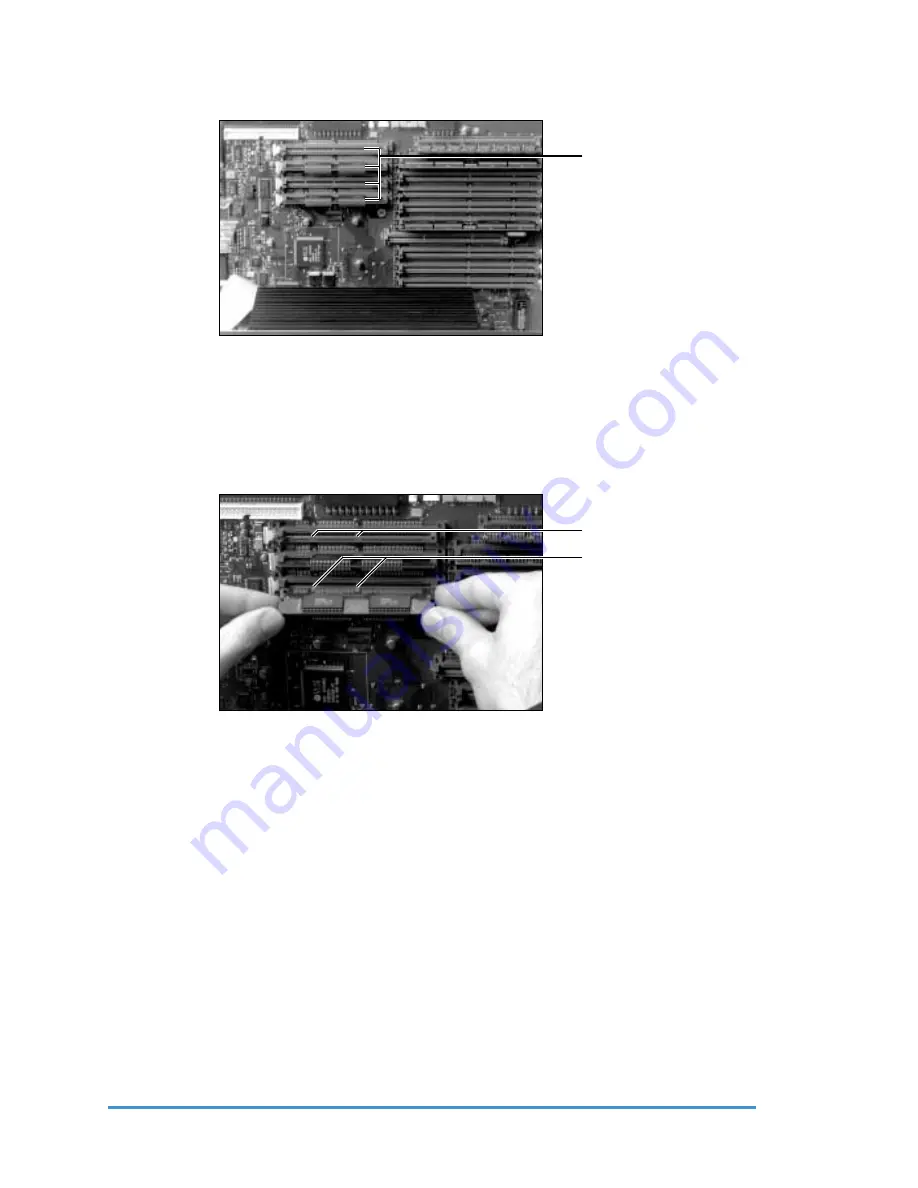
3. Locate the two empty VRAM DIMM sockets on the motherboard
Locating VRAM Sockets
4. Being careful not to touch the VRAM DIMMs edge connector, align them over the
VRAM DIMM sockets.
Note: VRAM DIMMs are designed to fit into a VRAM DIMM socket in only one
direction. Be sure to match the notches in the VRAM DIMM connector to the ribs in
the VRAM DIMM socket for proper orientation.
Installing VRAM
6. Push down firmly on the VRAM DIMM until it snaps into place.
7. Close the side door panel by tightening the four screws that are attached to it.
8. Turn on your Genesis MP.
If your Genesis MP starts up properly, select the Monitors Control Panel under the
Apple menu in the Finder and select millions of colors.
If you experience problems when starting up your machine, or millions of colors is not
listed in the Monitors Control Panel, review this section to make sure that your VRAM
DIMMs are firmly and properly installed.
If you continue to have problems, it is possible that one or both of the VRAM DIMMs
you installed is malfunctioning. Contact your DayStar Authorized Reseller or VRAM
DIMM vendor for further assistance.
Ribs in VRAM socket
Notches in VRAM DIMM
Empty VRAM Sockets


