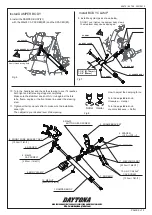
INSTRUCTION MANUAL
1. Read all instructions before use.
2. After installation, check to see if all the parts are correctly
installed, and see if all the screws are torqued properly.
3. Do not adjust the damper while riding.
4. Periodical inspection of the installed parts is required every
500km (300mile). If anything unusual may be found while
riding, pull over at a safe place to check.
Thank you for purchasing DAYTONA STEERING DAMPER KIT.
Product Features
- Stabilizes steering especially at high speed.
-
Prevents the front forks from being twisted during high speed
cornering.
- Bolt-on mount. The kit inclides application specific brackets and
all hardware for easy mounting.
Install
80675 / 84758 : 20210915
STEERING DAMPER KIT
for H-D XL1200/883 (’07~) ,
XL1200X FOURTY-EIGHT(~’15)
PAGE 1 of 2
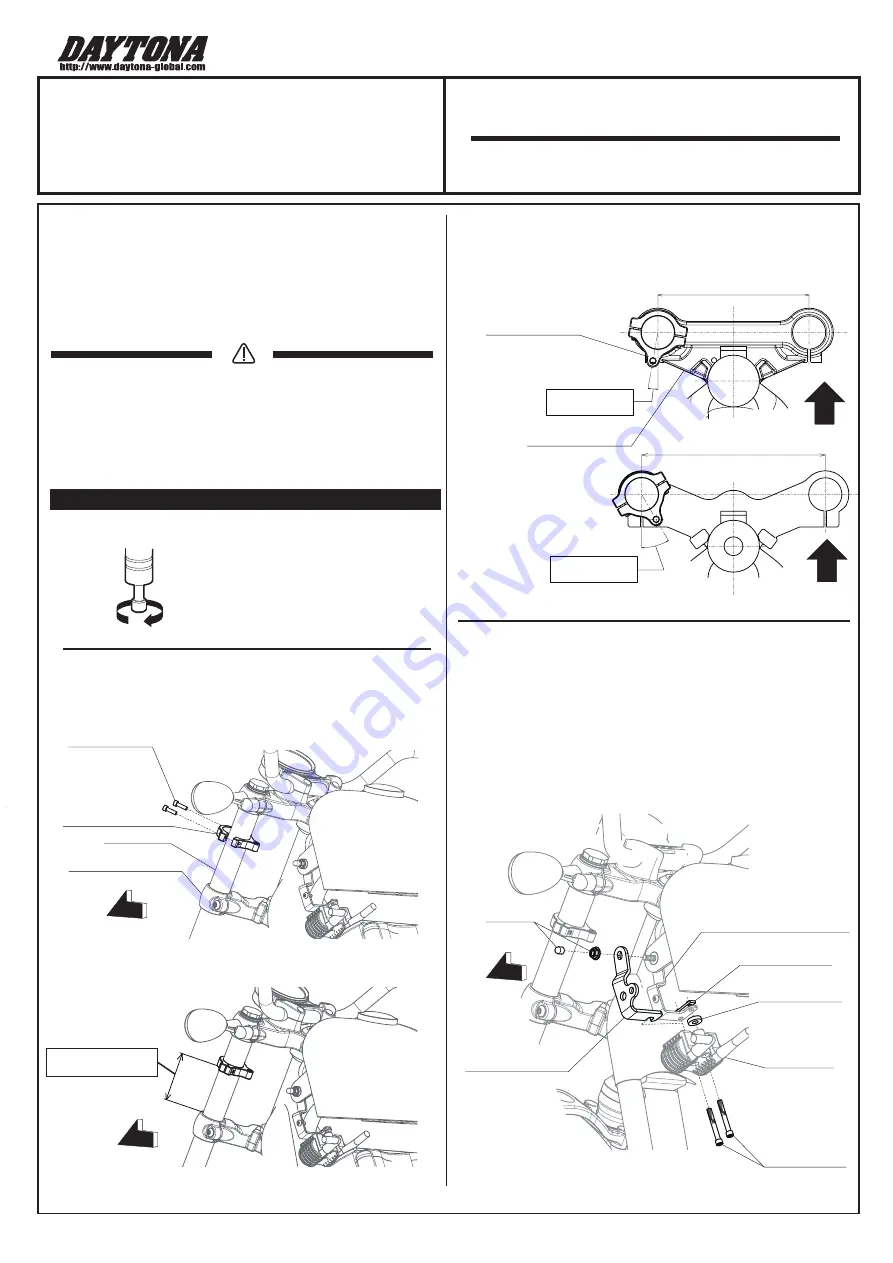
7” (177.8mm)
8.5” (215.9mm)
3-3/4” (95.25mm)
FWD.
FWD.
Before installing, turn the adjustable knob
counter-clockwise to the end.
Fig.1
Softer
Fig.2
Fig.3
Fig.4
Fig.5
#2. FORK BRACKET SET
LOWER TRIPLE CRAMP
L-FORK TUBE
#2. FORK BRACKET
LOWER TRIPLE CRAMP
30 degrees
M6X20 CAP SCREW
#3. FRAME BRACKET
PLATE NUT (STOCK)
10 degrees
#10. CAP SCREW
UNC 1/4-20 x 2”
#4. SPACER
φ6.5
x
φ20
x
5mm
IGNITION COIL BRACKET (STOCK)
(STOCK)
IGNITION COIL
FWD.
FWD.
FWD.
Install FORK BRACKET
Install FRAME BRACKET
*Install stabilizer on the left side of motorcycle.
1. Attach fork bracket(#2) on the left front fork tube.
2. Remove the front side installation bolt of fuel tank.
3. Remove the installation bolt of the ignition coil.
6. Install a supplied frame bracket(#3) over the ignition coil bracket
on front side.
7. install a supplied spacer(#4) in backside bitween ignition coil
bracket and ignition coil, and then fix the ignition coil with
cap screws(#10).
The orientations of brackets for models with different fork pitches are
shown below.


