Raider-Classic 150 (Oil-cooled&Internal Gearbox): Service Manual (single/ double-seat) EEC Version;3.0 Feb..2005
39
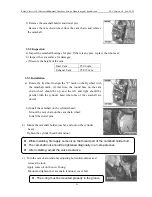
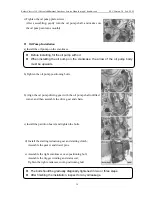
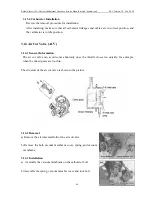
e) Remove the auto side starter cover, positioning bolts and pieces;
Remove the auto side starter;
Inspect the auto side starting valve and fuel injection needle for wear.
Inspect the O-ring for wear.
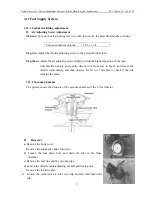
3.13 Float Chamber
3.13.1 Removal
a) Remove the carburetor.
b) Remove the clamp and float chamber.
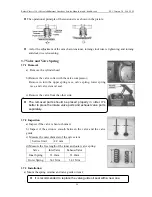
c) Remove the O-ring, and turn out the float chamber screw.
d) Remove the float pin float and float valve.
e) Remove the choke adjusting screw and air adjusting screw.
f) Remove the main fuel injection nozzle and fuel injection needle seat.
3.13.2 Inspection
a) Inspect the float for any damage and fuel in the float.
b) Inspect the float valve and float valve seat for wear. If there is any wear, they should be
replaced.
c) Clear every fuel line and airline on the carburetor body with the compressed air
3.13.3 Installation
a) Install the main fuel injection nozzle and fuel injection needle seat.
b) Install the air adjusting screw and choke adjusting screw, and turn them according to the
noted number of turns while removing.
c) Assemble the float valve, float, and float pin.
d) Tighten the float pin positioning screw.
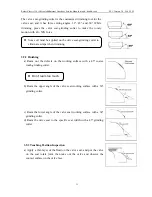
e) Measure the fuel level.
Fuel level
18.5 mm
f) Inspect the float for any damage and inspect the float valve for excess wear.
g) Confirm the up and down movement of the float is normal.
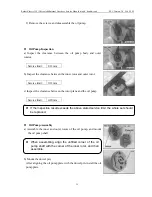
Before removing, tighten the two screws gently and meanwhile counter the number
of turns, then remove the screws.
Don’t use too much force; otherwise it will damage the air adjusting screw head
surface.
Summary of Contents for Raider-Classic 150
Page 1: ......


