
The
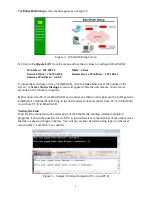
EtherPath Setup
screen should appear as in Figure 2:
5:
Click on
Configure LAN
from the menu and use these values to configure EtherPath B:
IP Address = 192.168.1.2
Mode = Client
Network Mask = 255.255.255.0
Remote Device IP Address = 192.168.1.1
Gateway IP Address = 0.0.0.0
To make these changes active on EtherPath B, click the
Save
button near the bottom of the
screen. A
Server Status Message
screen will appear while the unit reboots. Wait several
seconds for the reboot to complete.
6:
Disconnect the PC from EtherPath B and connect an ethernet cable between the LAN ports of
EtherPath A and EtherPath B. Plug in the null modem serial port cables from PC A to EtherPath
A and from PC B to EtherPath B.
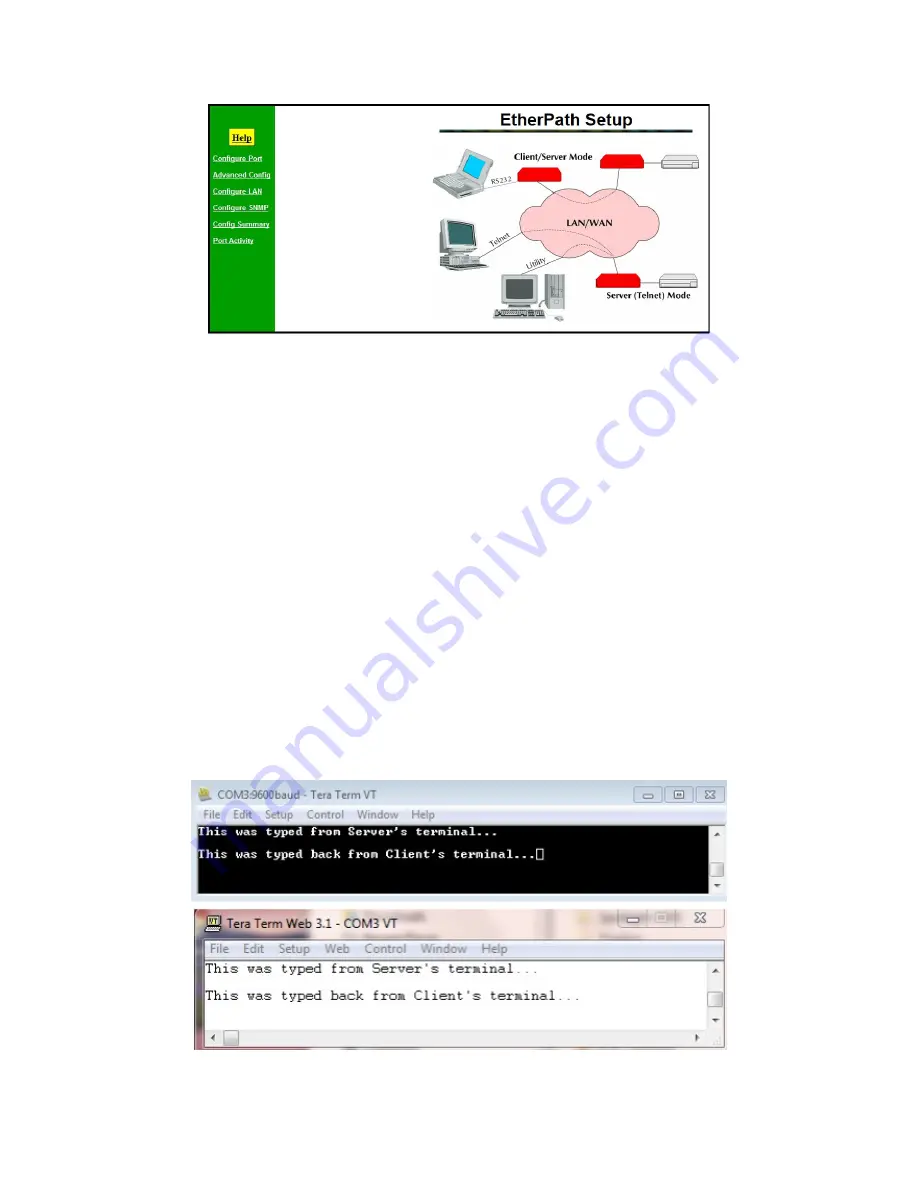
Testing the Link
With the PCs connected to the serial ports of the EtherPaths, running terminal emulation
programs, it should be possible for each PC to send characters to the terminal of the other across
the link, as shown in Figure 3 below. You will not see the characters being typed on the local
screen unless “Local Echo” is enabled.
Figure 3 – Sample Terminal Output for PC A and PC B
2
Figure 2 – EtherPath Setup Screen


