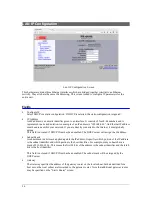
Configuration
4. It will reboot pausing at a login screen.
For initial setup, enter the login name “setup” in lower
case letters. No password is required.
5. You will then be asked if you wish to set ALL parameters to factory defaults. If you have previously
changed any values and want to return to the factory defaults, answer “Y”, otherwise answer “N”.
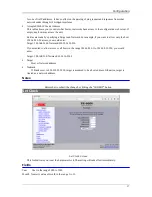
Default Screen
6.You are then asked if you wish to configure the unit as a DHCP client. If you want it to pick up a DHCP
address from a local DHCP server connected to LAN1, answer “y”, otherwise answer “n”.
DHCP Screen
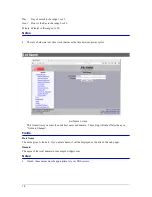
7. If you answered no to that question, you will be prompted to enter the unit’s IP address and subnet
mask. Enter the values. Note that all three ports share the same IP address.
8. The configuration is now saved to flash memory. Do not cycle power during this time or the unit may
be rendered inoperable.
9. The PR-6606 will now reboot.
9
-------- PR-6606 Setup Program --------
Welcome to Setup. This setup will establish the PR-6606 in
a known state so that you can configure it via a Web Browser.
It will allow you to configure the Ethernet IP address
subnet mask, and gateway. You also have the option to set all
parameters to default, which is the only method to remove
security parameters.
HTTP port: 80
LAN1 Configuration:
IP: 192.168.1.56
SM: 255.255.255.0
GW:
Set ALL parameters to default (y/[n])?
Should LAN1 use DHCP to get an IP address (y/[n])? n
Saving Configuration. Do not cycle power...
Setup complete.
After rebooting the system, you will be able to configure
the unit from a Web Browser. Use the URL
http://11.22.33.44
rebooting system. .


