


PLANNING THE INSTALLATION
5
RECOMMENDED INSTALLATION INSTRUCTION
Install components in the following order:
A) Vent Hood
B) Backguard System
C) Range
1) Locate and level range according to range installation instructions.
2) Measure distance from floor to top of island trim on range adding 1/8” for backguard clearance.
3) Transfer this measurement to the wall. This will mark the bottom of your backguard.
4) From this line measure 28” up wall to mark top of 30” backguard. This is the minimum height
that the bottom of your vent hood can be installed.
6) Follow vent hood manufacturer’s installation instructions to install vent hood.
7) Follow backguard installation instructions to install backguard.
8) Connect gas and electric connections and slide range into position.
STEP 1:
MOVING AND PLACING THE RANGE
The ranges have shipping weights varying from
380lbs. to 600lbs. After removal of packing material,
it is recommended that the door(s), grates, front kick
panel, and drip pan (below knobs) be removed to
facilitate handling. This will reduce the weight for
ease of handling.
UNPACKING AND HANDLING
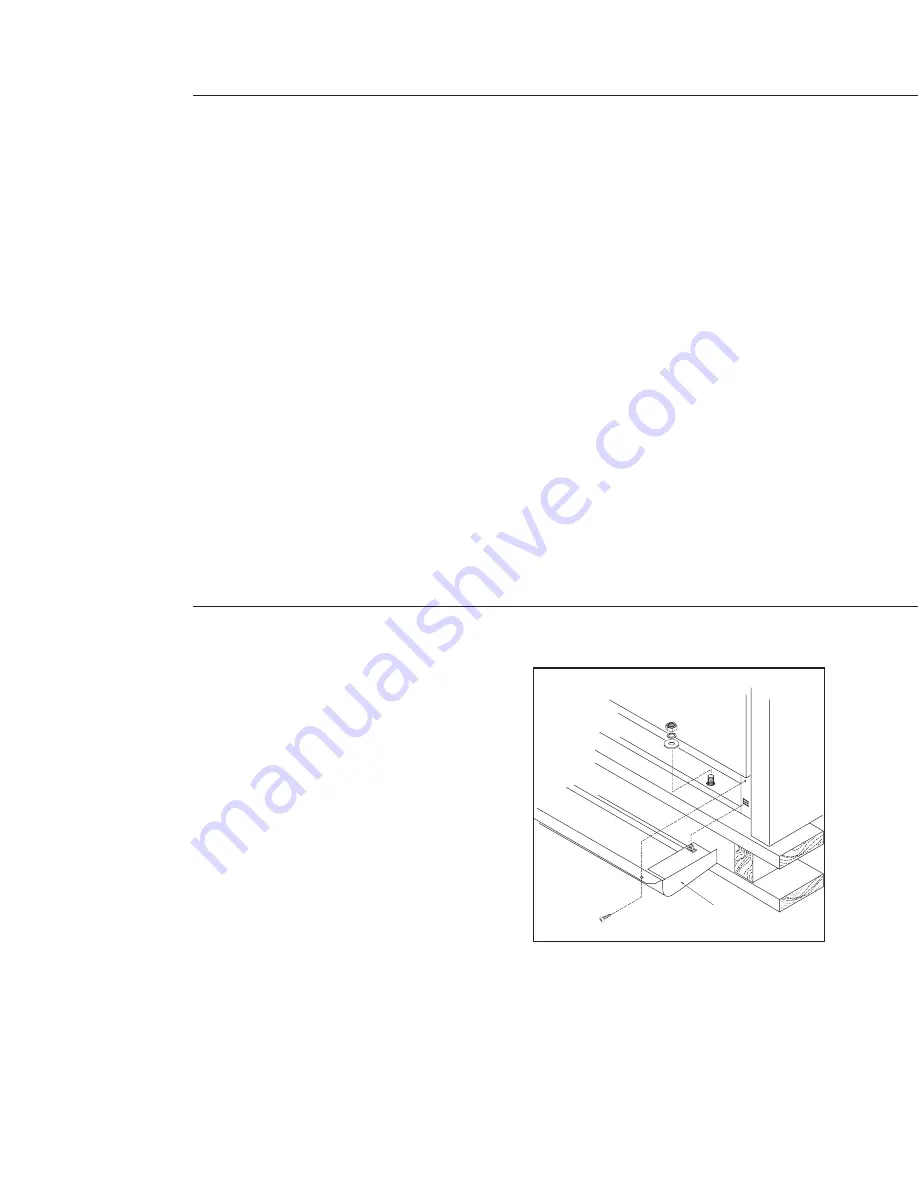
Kick Panel
Fig. 1
Summary of Contents for RGS-305
Page 18: ...RGS 48 WIRING DIAGRAM 17 ...
Page 19: ...RGS 36 WIRING DIAGRAM 18 ...
Page 20: ...RGS 48 36 SCHEMATIC 19 ...
Page 21: ...RGS 485 WIRING DIAGRAM 20 ...
Page 22: ...RGS 485 SCHEMATIC 21 ...
Page 23: ...RGS 305 WIRING DIAGRAM 22 ...
Page 24: ...RGS 305 SCHEMATIC 23 ...
Page 27: ...NOTES 26 ...
Page 28: ...NOTES 27 ...
Page 29: ...NOTES 28 ...


