16
US
CA
Ice maker
Your refrigerator is equipped with an ice system that automatically makes cubed ice.
Once your refrigerator has been plumbed in (see pages 8 and 9) and the ice maker turned on
(see below) you can enjoy this great feature.
Caution!
To avoid personal injury or property damage, observe the following:
Do not use sharp objects to break ice.
Do not put fingers, hands or any foreign objects into the ice maker.
Automatic ice maker
Connect the ice maker to the water supply as instructed on pages 8 – 9. Proper water flow and a
level refrigerator are essential for optimal ice maker performance.
Note: energy rating guides that are posted on the refrigerator at the time of purchase do not
include optional ice maker energy usage.
Operating instructions
To start ice making
Confirm ice storage bin is securely in place.
Lower the wire arm inside the ice bin gently.
Once the freezer compartment has reached 0°F (-18°C),
the ice maker will fill with water.
Approximately three to six hours after installation the first
batch of ice will be produced.
After the initial ice batch is made, a complete batch will be
made every two to three hours.
Discard ice made in the first 12 hours of operation.
The ice maker will continue to make ice until the ice level
raises the wire arm, and stops production.
To stop ice production
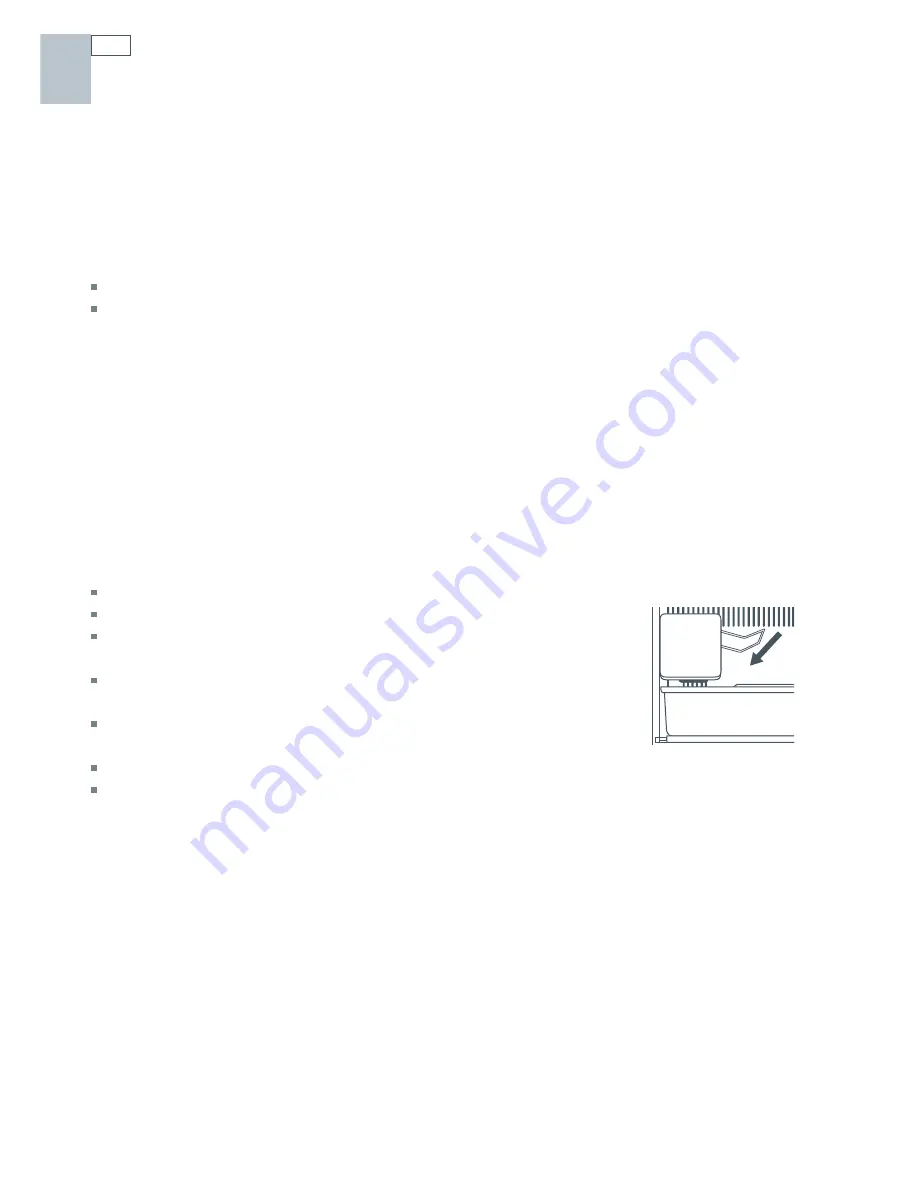
Lift the wire arm inside the ice bin until a click is heard.
The ice maker will not make or dispense ice until the arm
is lowered.
To remove the ice bin
Stop ice production by raising the wire arm.
Lift the ice bin up slightly and pull forward.
Fig.15 Ice maker
(inside freezer)


