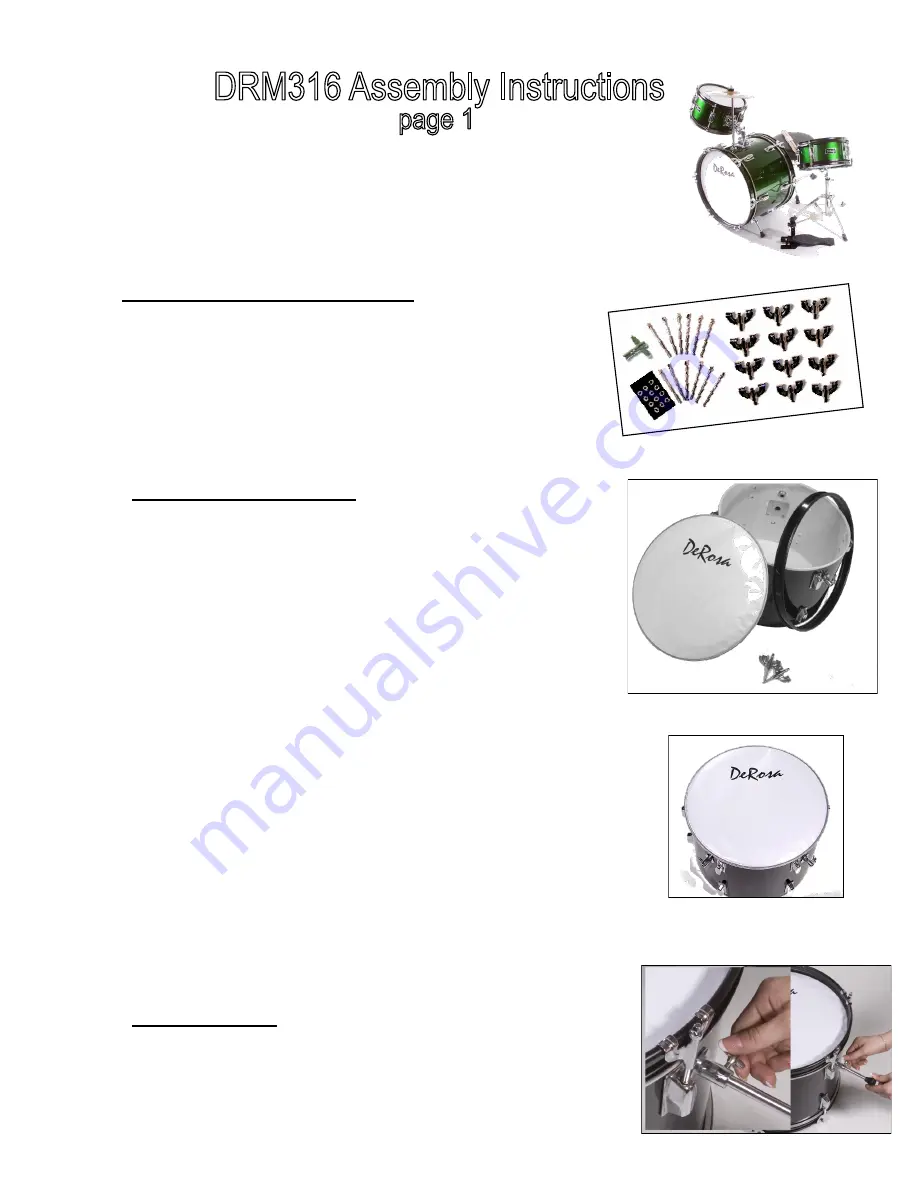
Congratulations on your purchase of the De Rosa DRM316
Drum Kit by Bridgecraft, Inc. We suggest you take your time and
read over these set up instructions before you begin to assemble
your DRM316 Drum Kit.
1) Sort and Identify all your Parts
Find the spot where you are going to place your drum kit.
The best place to assemble your kit is
in the same area where you are going to be using
your kit. If you are going to put your kit on hardwood
or tile floor we suggest that you get a small area rug to
place your kit upon.
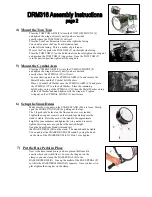
Open the box carefully and sort all the parts and match
them with the pictures provided. Parts List on page 3
2) Assemble the Bass Drum
Locate the BASS DRUM SHELL (A), the LUG BOLTS (L),
the DRUM KEY (K), the CLASP (C), the PLASTIC
WASHERS (W), 2 BASS DRUM SPURS (S),
1 TOM TOM ARM (TA), 2 BASS DRUM RIM (R),
2 BASS DRUM HEADS (H)
Place the BASS DRUM SHELL (A) on a flat surface face up.
When the BASS DRUM SHELL is face up the SPUR MOUNTS (1)
and CYMBAL MOUNT (2) will be close to the top.
Place the BASS DRUM HEAD (H) with the logo on top
of the BASS DRUM SHELL (A) and place the BASS DRUM RIM (R)
on top of the KICK DRUM HEAD (H). Align the logo on the
BASS DRUM HEAD (H) with the CYMBAL MOUNT (2) for an accurate
drum head position. Prepare the CLASP (C), LUG BOLTS (B)
and PLASTIC WASHER (W). Put the PLASTIC WASHER (W)
on to the LUG BOLT (L) and then add the CLASP (C).
Line up the CLASP (C) with the LUG (3) on the BASS DRUM SHELL (A)
and use the DRUM KEY (K) and loosely tighten.
Repeat this until all the CLASPS (C) and LUG BOLTS (L)
are in place. Slowly tighten each LUG BOLT (L) until
the BASS DRUM HEAD is taught. Do not over tighten.
The Pros put the same tension on each Clasp and Lug Bolt,
they check the tension by tapping on the Bass Drum Head and
hearing any difference in the pitch.
The higher the pitch the tighter the Lug Bolt.
Turn the BASS DRUM SHELL (A) over and repeat the same process.
3) Insert the Spurs
Insert the BASS DRUM SPRUS (S) into the SPUR MOUNTS (1).
The Bass Drum Spurs should be extended so the Bass Drum
Shell is slightly elevated off the floor about ½” and the tighten
into place so the Bass Drum Shell is stable and will not rock.


