Red Bull Racing RB7: Step by Step
™
494
03
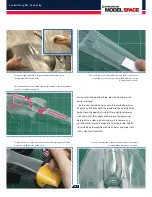
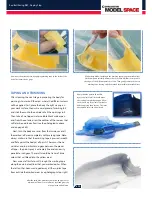
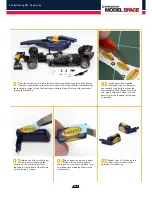
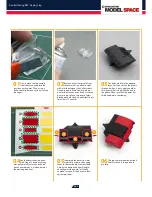
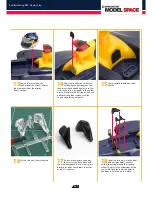
Holding one of the smaller logos
with tweezers, submerge the
decal in a dish of water for a minute,
then apply it to the front of the left side
mirror housing, as shown.
04
Next, repeat the process to apply
the first of the larger decals to
the top of the mirror housing. Make sure
you follow the positioning shown in the
photo exactly.
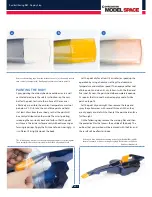
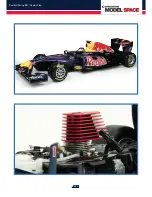
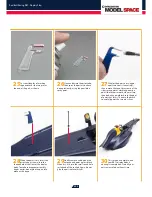
05
Repeat Steps 03-04 to apply the
remaining two stickers to the
right side mirror housing.
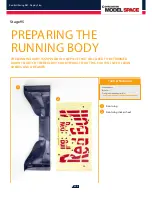
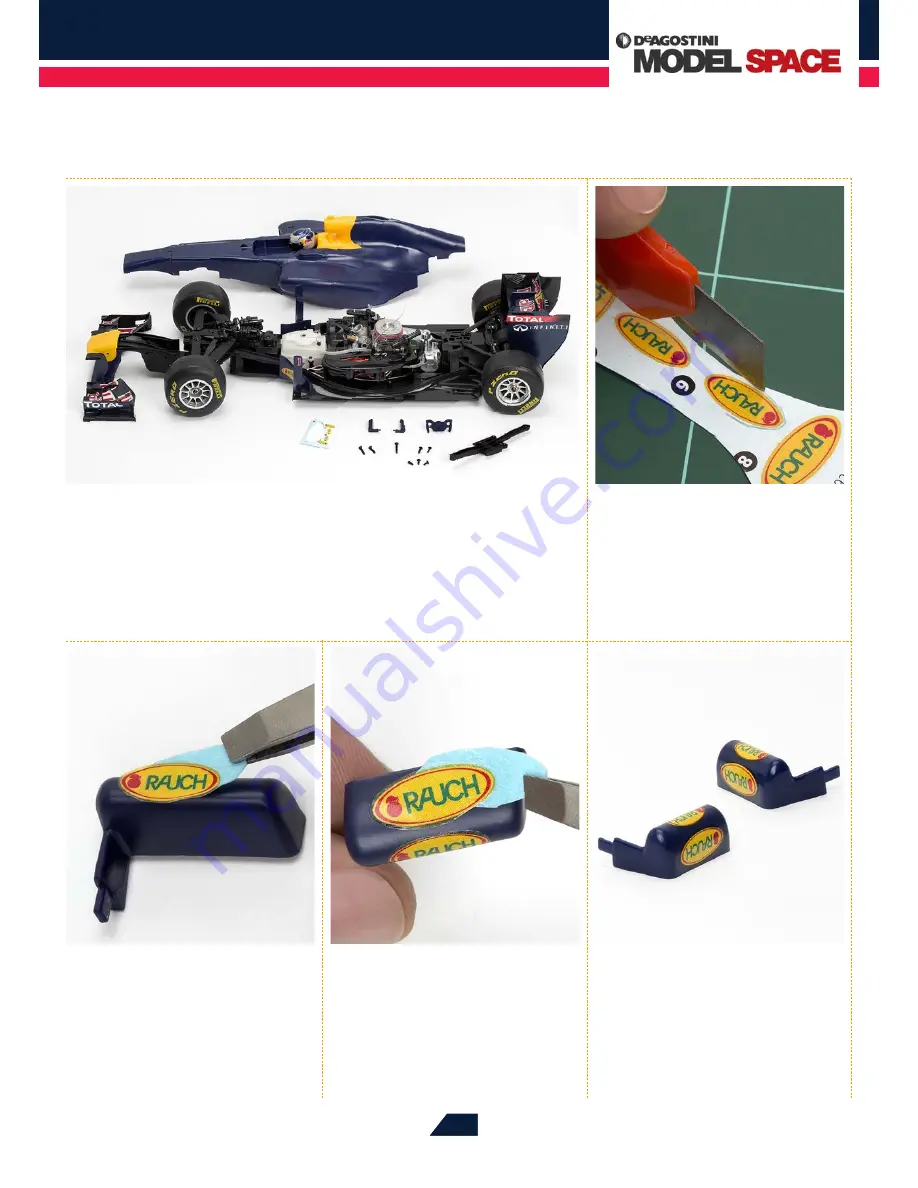
01
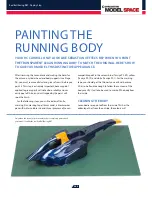
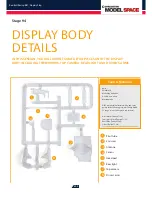
For this session, you will need the decal sheet supplied in Stage 92 and the display
body as assembled over the previous stages. You will also need the components for
the lower nose (Stage 29) and the front wing assembly (Stage 88), along with your model,
so keep these to hand.
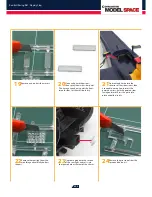
02
Lay the decal sheet supplied
with Stage 92 on a cutting mat,
and carefully use a knife to cut out the
four remaining RAUCH logos (two small,
two large, numbered 8 and 9). Trim the
decals as close to the edges of the logos
as possible.


