8.4 Black or Too Dark Prints
8.4 Black or Too Dark Prints
Either the test print is entirely black or the black areas of the text
or graphics appear heavy or smudged because too much toner was
deposited. Do the following:
1.
The density adjuster must be set to 7. Adjust the density using
the Print density and Miscellaneous submenus from the Set-Up
Key menu. See Section A.1 key menu map.
2.
Swap the EP-ED cartridge
3.
Inspect the GND contact of the EP-ED cartridge and connector
block. See Figure 2–12. Clean any dirt or replace the damaged
component.
4.
Inspect the connectors and wiring between J210 on the DC
controller board and J401/J742 on the HVPSA.
5.
Swap the following:
a.
HVPSA
b.
DC control board
c.
Scanner assembly
d.
HVPSA/Fuser interconnect
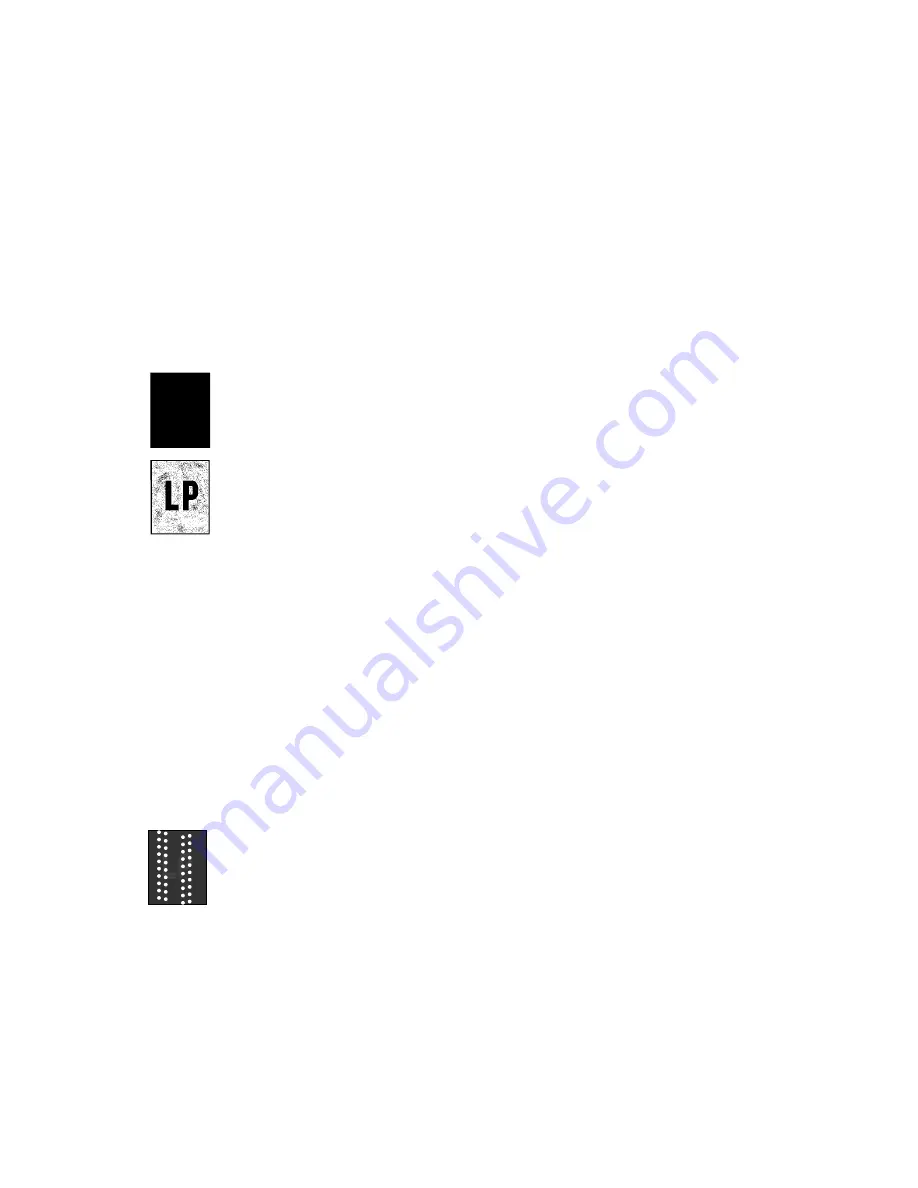
8.5 In-line Vertical Dots
Do the following when rows of white dots appear on a chaotic,
muddy, and dark background:
1.
Inspect and clean the static charge eliminator for damage, dirt,
or loose grounds.
2.
The surface of the transfer roller might be contaminated and you
need to swap it.
3.
Swap the static eliminator, which is integral to the HVPSA
contact plate.
FIPs For Fixing Image Defects 8–5
Summary of Contents for DEClaser 5100
Page 10: ......
Page 13: ...DSG 000172 Notes 1 ...
Page 14: ......
Page 61: ...2 5 HVPSA Figure 2 12 EP ED Cartridge DSG 000612 2 1 3 4 5 6 7 Technical Description 2 25 ...
Page 62: ...2 5 HVPSA DSG 000172 Notes 2 26 Technical Description ...
Page 70: ...3 2 Control Panel Operation DSG 000172 Notes 3 8 Operating the Control Panel ...
Page 90: ......
Page 124: ...7 5 Phantom Jams DSG 000172 Notes 7 8 FIPs for Fixing Paper Jams ...
Page 167: ...9 12 Board DC Control 1 2 4 5 7 8 9 6 3 10 DSG 000657 Removing and Replacing FRUs 9 31 ...
Page 224: ...10 1 Field Replaceable Units DSG 000172 Notes 10 4 FRU Part Numbers ...
Page 254: ...B 4 Connecting to OpenVMS VAX or ULTRIX Systems DSG 000172 Notes B 10 General Information ...
Page 264: ...D 3 Tools DSG 000172 Notes D 4 Training Documentation and Tools ...
Page 274: ......


