9.2 Assembly, Control panel
9.2 Assembly, Control panel
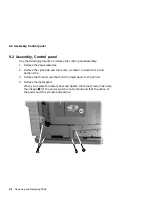
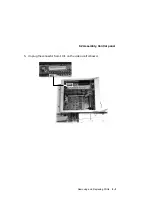
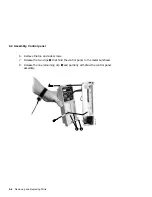
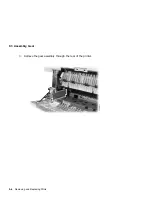
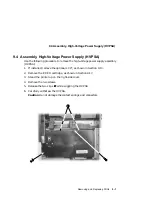
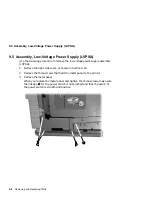
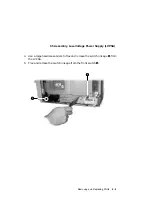
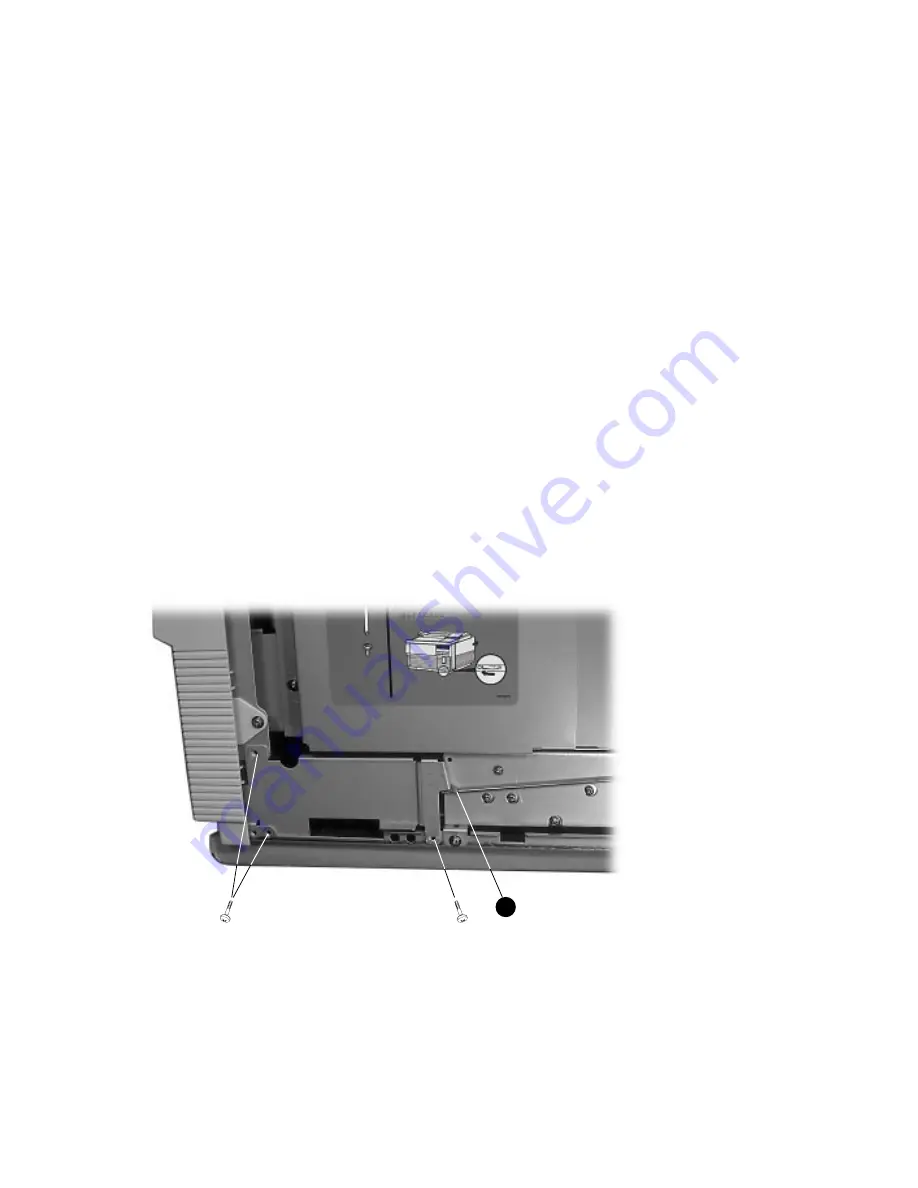
Use the following procedure to remove the control panel Assembly:
1.
Remove the paper cassettes.
2.
Remove the right-side and top covers, as shown in Section 9.19 and
Section 9.20.
3.
Remove the three screws that hold the metal panel to the printer.
4.
Remove the metal panel.
When you replace the metal panel and tighten the three screws, make sure
the linkage
!
for the power switch is not pinched and that the action of
the power switch is smooth and positive.
1
DSG-000635
9–2 Removing and Replacing FRUs
Summary of Contents for DEClaser 5100
Page 10: ......
Page 13: ...DSG 000172 Notes 1 ...
Page 14: ......
Page 61: ...2 5 HVPSA Figure 2 12 EP ED Cartridge DSG 000612 2 1 3 4 5 6 7 Technical Description 2 25 ...
Page 62: ...2 5 HVPSA DSG 000172 Notes 2 26 Technical Description ...
Page 70: ...3 2 Control Panel Operation DSG 000172 Notes 3 8 Operating the Control Panel ...
Page 90: ......
Page 124: ...7 5 Phantom Jams DSG 000172 Notes 7 8 FIPs for Fixing Paper Jams ...
Page 167: ...9 12 Board DC Control 1 2 4 5 7 8 9 6 3 10 DSG 000657 Removing and Replacing FRUs 9 31 ...
Page 224: ...10 1 Field Replaceable Units DSG 000172 Notes 10 4 FRU Part Numbers ...
Page 254: ...B 4 Connecting to OpenVMS VAX or ULTRIX Systems DSG 000172 Notes B 10 General Information ...
Page 264: ...D 3 Tools DSG 000172 Notes D 4 Training Documentation and Tools ...
Page 274: ......


