1.1.20
www.deckorators.com
3.
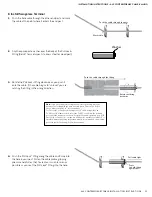
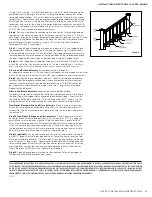
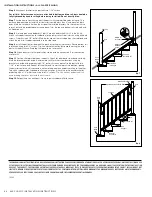
Push the Pull-Lock
®
fitting along the cable and firmly into
the hole in your post. While holding the Pull-Lock
®
fitting
against the end post, pull the bare end of the cable to
remove as much slack in the cable as possible.
F. Tension Cables
1.
Return to the Threaded Stud end post. Insert an 1/8” hex wrench into broached opening on the tip of the stud.
Tighten the locknut with a 7/16” wrench while holding the hex wrench to prevent the stud from turning.
.
2.
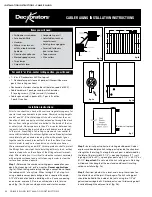
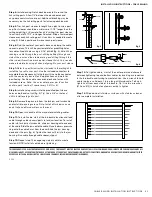
Tension all cables to desired amount in sequence, beginning with the center cables,
moving up and down toward the top and bottom. As you tension each cable, give
it a sharp pull downward mid-span to help set the wedges, then re-tension as
necessary in the same sequence. Be aware that the cable may move as much as
3/16” toward the tensioning terminal as the wedges seat.
G. Trim Excess Cable
1.
When all of the cables are tight, cut off any exposed thread as near to the locknut as
possible by using a cut-off wheel or hack saw.
2.
Twist the cap over the locknut.
3.
Return to the swageless terminal. Cut the cable flush with
the hole in the back of the fitting using a cut-off wheel.
4.
Twist the cap onto the lip of the Pull-Lock
®
fitting.
Cut off
Twist cap
onto lip
Press
to hold fitting
against post
Pull cable tight
Cut off
Cut off
Press
cap over
locknut
Hex
wrench
h
Hex
wrench
INSTALLATION INSTRUCTIONS • ALX CONTEMPORARY CABLE RAILING
32 ALX CONTEMPORARY CABLE INSTALLATION INSTRUCTIONS

