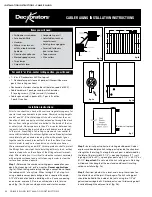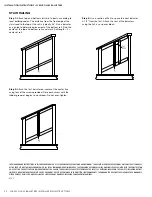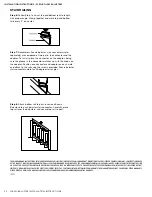
ESTATE BALUSTERS INSTALLATION INSTRUCTIONS 51
INSTALLATION INSTRUCTIONS • ESTATE BALUSTERS
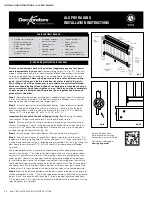
ESTATE BALUSTER
INSTALLATION INSTRUCTIONS
Kit Contents:
Items You Will Need:
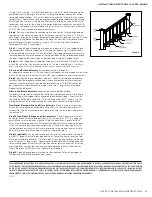
INLINE RAILING
Prior to construction, check with your local regulatory agency for
special code requirements in your area. Common railing height is
36
"
. Structural support should come from either the continuation
of deck support posts that extend up through the deck floor or
from railing posts that are bolted to the inside of the rim or outer
joist.
6' on-center post spacing is recommended. Never span
more than 8' on-center between railing posts.
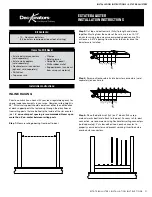
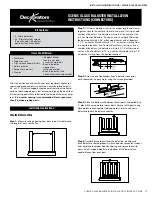
Step 1:
Measure railing opening, from post to post.
Installation Instructions:
Step 2:
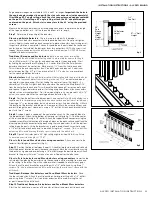
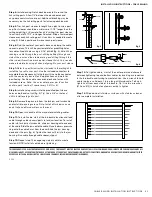
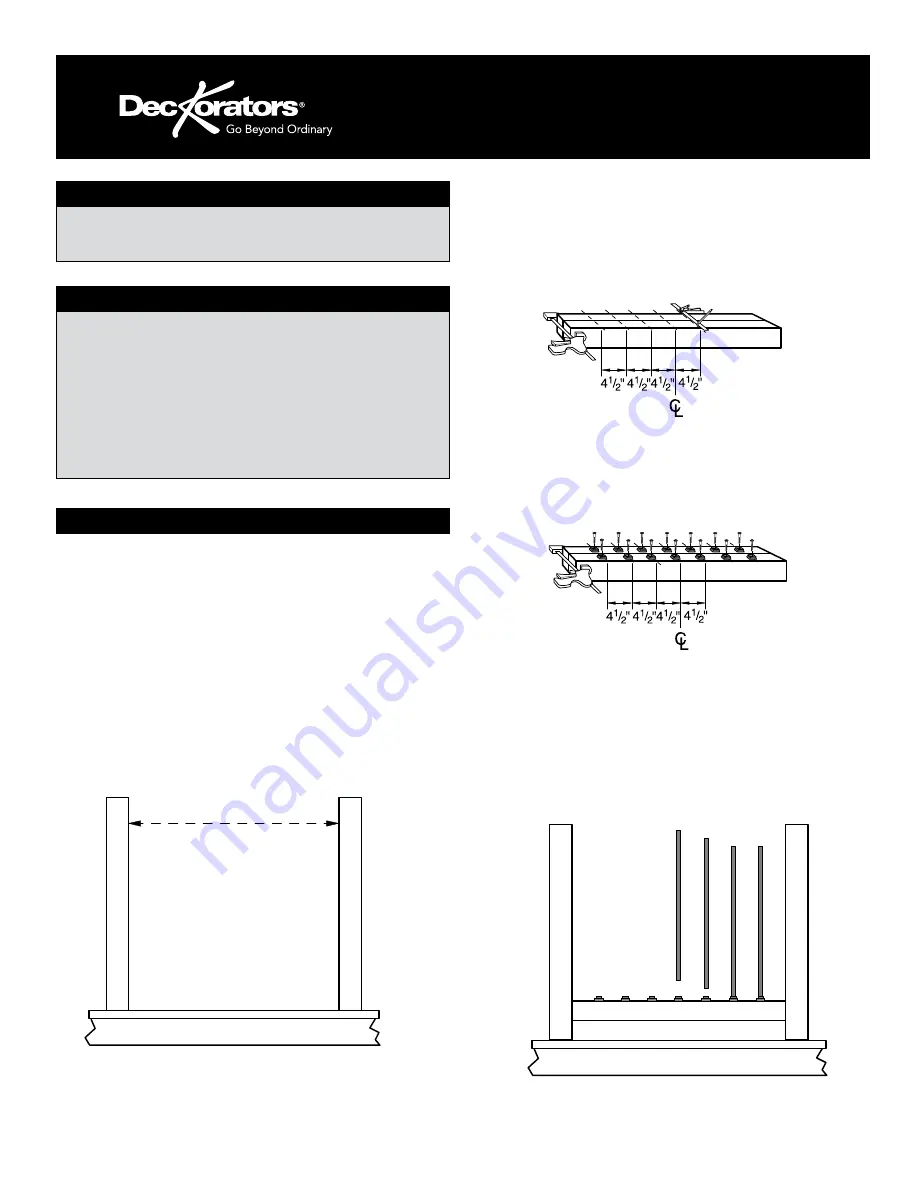
Cut top and bottom rails (2x4s) to length and clamp
together. Starting from the center of the rails, mark out 4-1/2
"
on-center using a tape measure or marked speed square. This
will leave a 3-3/4
"
opening from baluster to baluster once the
balusters are installed.
Step 3:
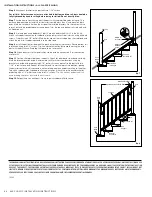
Screw on Deckorators Estate baluster connectors (sold
separately) on each mark.
• Estate baluster connectors
(sold separately)
• Estate stair adaptors
(sold separately)
• Deckorators rail connectors
(optional, sold separately)
• Drill driver
• Tape measure
• Clamps
• Safety glasses
• Carpenter’s pencil
• White rubber mallet
• Support blocks (can be cut
from scrap rail material)
• 10 - Aluminum balusters
(2.5 balusters required per linear foot of railing)
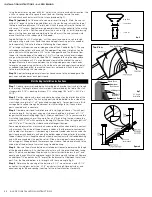
Step 4:
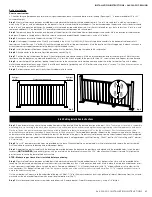
Place the bottom rail (2x4) on 3
"
blocks (2x4 scrap
material works best) and attach to the post. For easy rail-to-post
connection, we recommend using Deckorators railing connectors
(sold separately). Put clear adhesive on each connector to
properly secure balusters and prevent spinning. Insert balusters
over baluster connectors.


