INSTALLATION INSTRUCTIONS • POST CAPS
POST CAP INSTALLATION INSTRUCTIONS
Installation
Post Caps
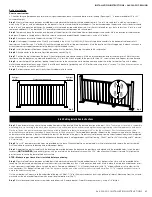
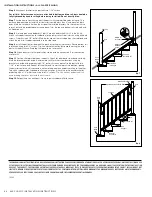
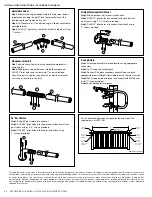
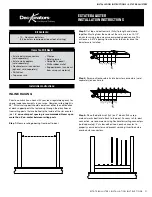
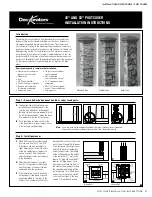
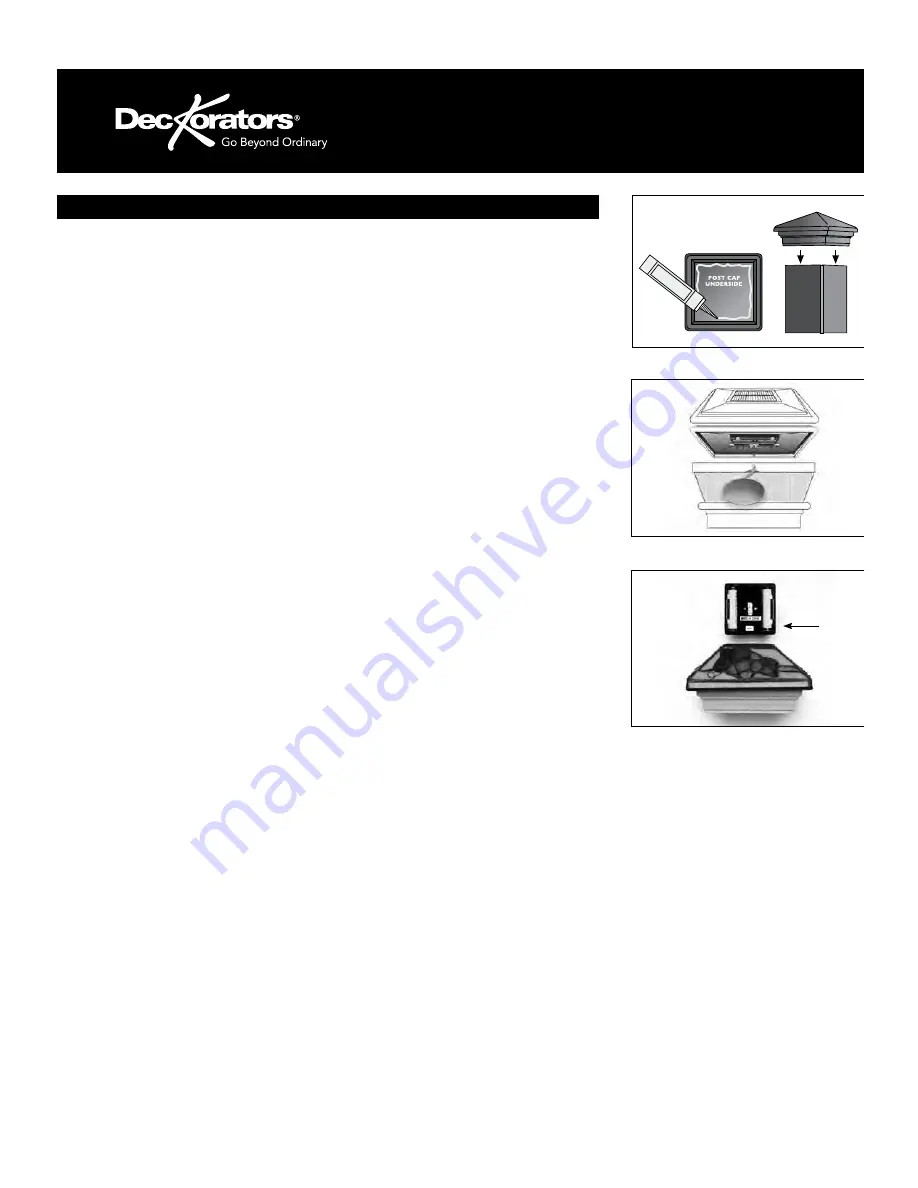
To attach each post cap style to the post, apply an exterior-grade silicone adhesive to the under-
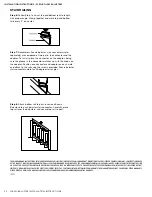
side of the post cap and place firmly on the post (Figure 1).
Solar Post Caps
Important:
All solar panels within post caps and lights need 24 hours of direct sunlight to fully
charge.
To activate your new solar post cap:
Step 1
Access the inside of the solar light by pressing inward on the side of the clear lens,
grasping the edge of the top and lifting it off (Figure 2), or grasping the top and twisting coun-
terclockwise.
Step 2
Remove the plastic tab from the battery compartment to allow connection to the termi-
nal. Ensure battery is firmly in place.
Step 3
Replace top by snapping onto side panels or twist the top counterclockwise into place.
Step 4
Your solar post cap light is now ready to be attached to your post (Figure 1).
Batteries are included with solar post caps but may not be installed. Ensure batteries are seated
firmly in place when installed.
Solar Post Caps with Removable Solar Collector Unit
To activate:
Step 1
Remove the solar panel by lifting it straight up from the top of the cap (Figure 3).
Step 2
Remove the plastic tab from the battery compartment to allow connection to the termi-
nal. Ensure battery is firmly in place (remove: switch is in “on” position - there is no on/off switch).
Step 3
Replace the solar panel.
Step 4
Your solar post cap light is now ready to be attached to your post (Figure 1).
Solar
Panel
Figure 1
Figure 2
Figure 3
Concealed Solar Post Caps
Step 1
Access the inside of the solar light by grasping the top of the lens and twisting counterclockwise.
Step 2
Grasp the internal solar collector unit, twist counterclockwise and lift up to access the battery compartment.
Step 3
Remove the plastic tab from the battery compartment to allow connection to the terminal. Ensure battery is firmly in place.
Step 4
Nouveau Concealed solar post caps come with a wood screw which can be used to attach the cap to the top of the wood post. Attach
the cap to the wood post before replacing the solar panel battery compartment.
Step 5
Replace the solar panel battery compartment by twisting clockwise.
Step 6
Replace the lens by twisting clockwise into place.
Post and Stair Lights
Step 1
Slide plastic lens back to separate from top portion.
Step 2
Open battery compartment.
Step 3
Remove the plastic tab from the battery compartment to allow connection to the terminal.
Step 4
Ensure battery is firmly in place.
Step 5
Attach bracket to post using screws included in package.
Step 6
Slide the Post and Stair Light onto the bracket.
POST CAP INSTALLATION INSTRUCTIONS 59

