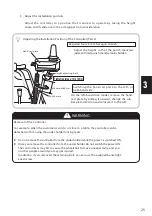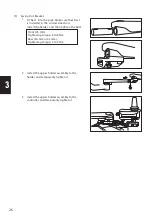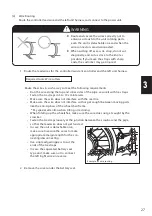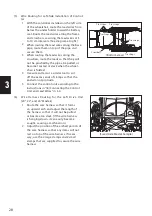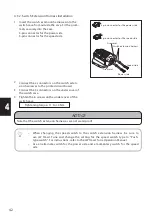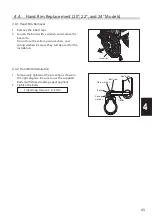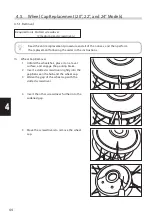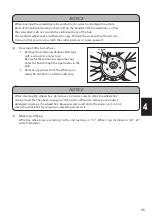
39
4
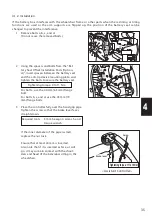
5 Check the backward, left, and right directions
using the same procedure.
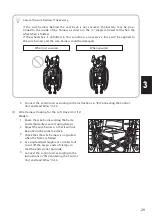
If an error is displayed in any direction, do not
use the joystick knob.
The combination of the joystick knob and spring
may be incorrect, or there could be a malfunc-
tion. Contact a wheelchair manufacturer service
representative.
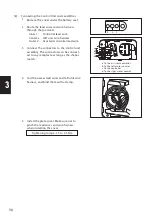
6 If the controller is installed to a flip-up type of
arm support, flip up the arm support, and then
tilt the joystick knob backward and slowly return
it to the neutral position. Perform the same con-
firmation described above.
7 After completing the inspection, return the driv-
ing parameters to the original settings.
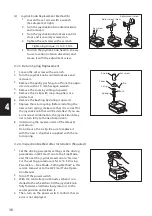
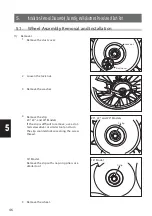
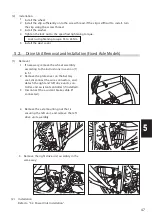
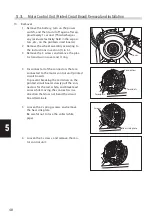
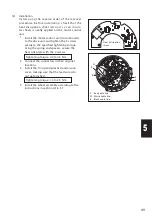
This procedure must be performed when the joystick knob or return spring is replaced.
[Setting Method]
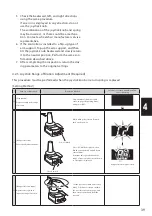
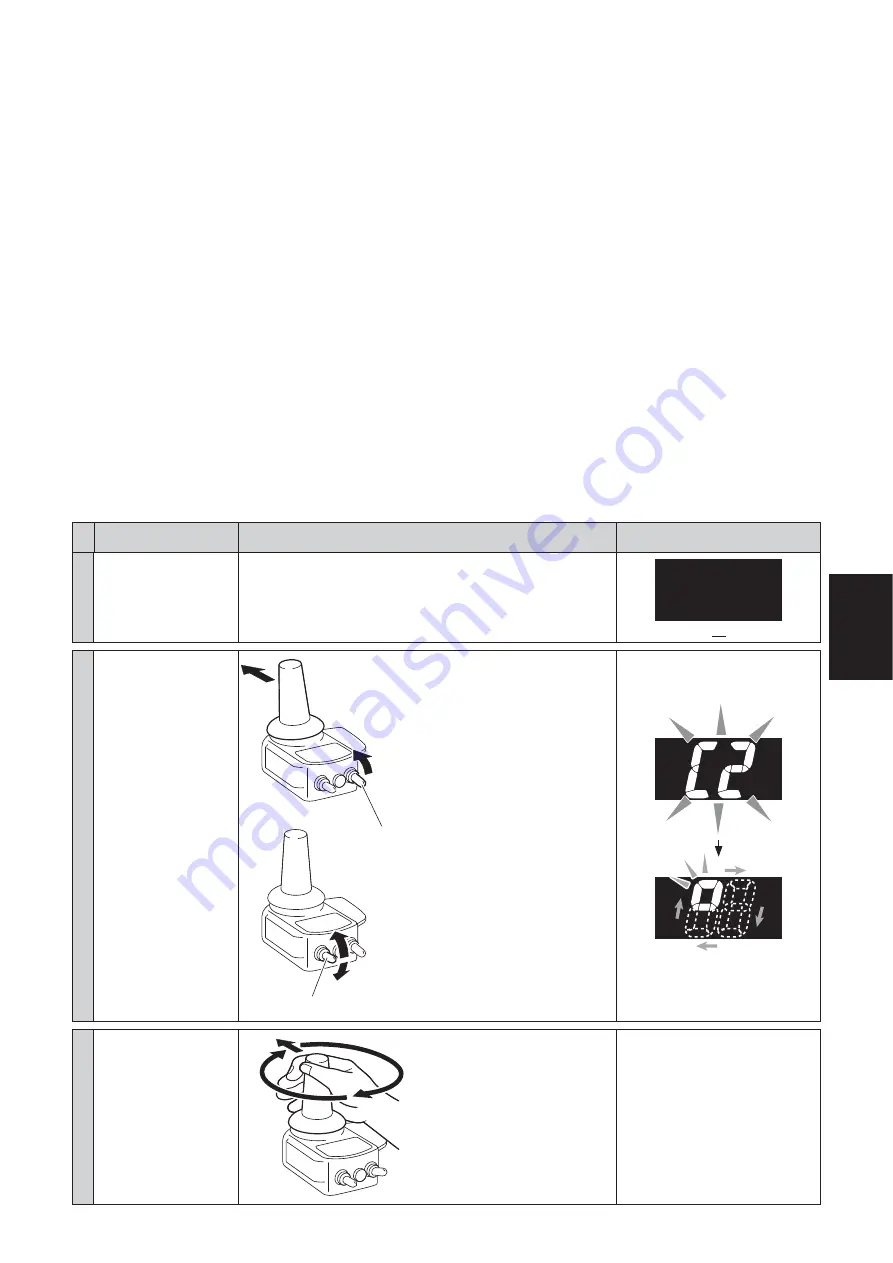
4.2.5. Joystick Range of Motion Adjustment (Required)
Purpose of Operation
Operation Method
Parameter Status during Operation
and Its Meaning
[1]
[Preparation]
Prepare to adjust the range
of motion.
Stop the wheelchair in a stable
state, engage the parking brake,
and power OFF.
Off
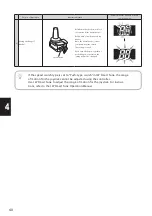
[2]
[Range of Motion]
Enter the adjustment mode.
Power switch
Speed switch
While tilting the joystick forward,
turn on the power.
Error “C2” will be displayed, then,
flip the speed switch up and down
several times.
Continue this operation until the
range of motion input screen shown
to the right is displayed.
Range of motion input screen
[3]
[Range of Motion Input]
Operate the joystick to
input the range of motion.
Tilt the joystick forward and slowly
make 2 clockwise rotations within
the possible operation range, and
then release your hand from the
joystick.

