8.2.7
Cleaning the condensate discharge pipe
A dust obstruction may cause poor condensates flow or even a risk of
excessive accumulation of water.
1. Check the cleanliness of the condensate discharge pipe.
8.3
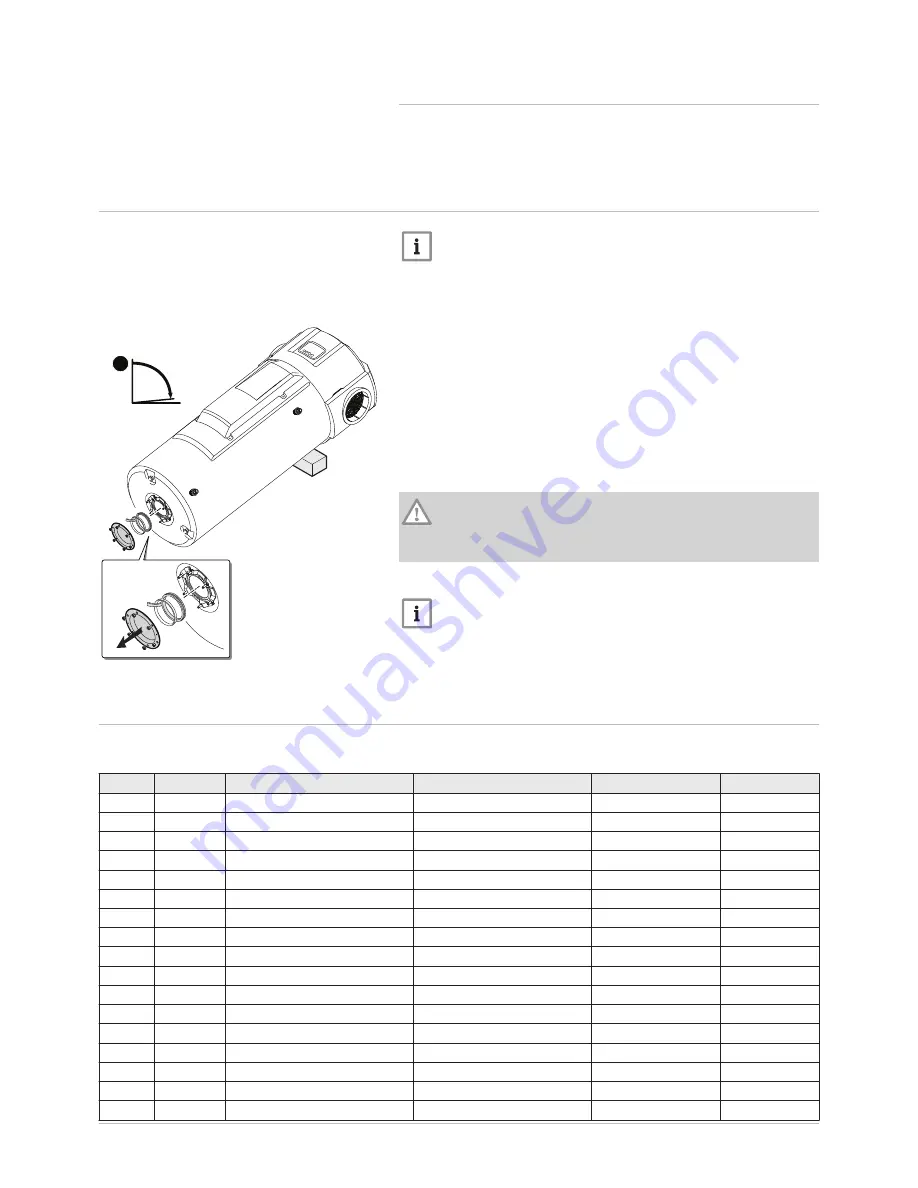
Accessing the bottom inspection trap
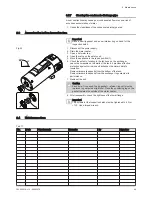
Important
Have a new lip gasket and a new retainer ring on hand for the
inspection hatch.
1. Disconnect the power supply.
2. Drain the water heater.
3. Open a hot water tap.
4. Open the valve on the safety unit.
5. Move the appliance to the repair position (1).
6. Check the extent of scaling in the tank and on the exchanger.
Leave the limescale on the walls of the tank: it provides effective
protection against corrosion and enhances the water heater's
insulation.
Remove limescale deposits from the bottom of the tank.
Remove limescale deposits from the exchanger to guarantee its
performance.
7. Remount the unit.
Caution
Each time it is opened, the lip retainer ring unit must be
replaced to guarantee a tight seal. Place the positioning lug on the
gasket towards the outside of the water heater.
8. After reassembly, check the tightness of the lower flange.
Important
The screws for the inspection hatch must be tightened to 6 N·m
+1/-0. Use a torque wrench.
8.4
Maintenance form
Tab.17
No.
Date
Checks made
Remarks
By
Signature
Fig.42
85°
1
C
00
31
9
0-C
8 Maintenance
300026515 - v10 - 28082018
49


