7
STEP 5: SETUP OTHER DEVICES
PROJECTOR;
Place PROJECTOR on small table.
Plug Power Cord in.
DVD PLAYER or LAPTOP;
Plug HDMI Cable into HDMI port of DVD PLAYER or LAPTOP. Plug other end into
PROJECTOR.
Plug Power Cord in.
SPEAKERS;
Place SPEAKERS on stands on each side of the screen. **TURN all volume knobs all the
all the way down (counter clockwise).
Attach XLR Cable from output of one SPEAKER to input of the other SPEAKER.
Connect Primary SPEAKER to DVD PLAYER or LAPTOP via IPOD CABLE.
Plug Power Cord in.
Power on PROJECTOR
Power on DVD PLAYER or LAPTOP
Power on SPEAKERS, adjust volume for sound check by playing DVD or video on LAPTOP.
IMAGE ALIGNMENT
Turn on DVD and/or video on LAPTOP to make any image adjustments using the adjustable
feet on PROJECTOR, as well as ZOOM, FOCUS, and KEYSTONE features of projector.
17
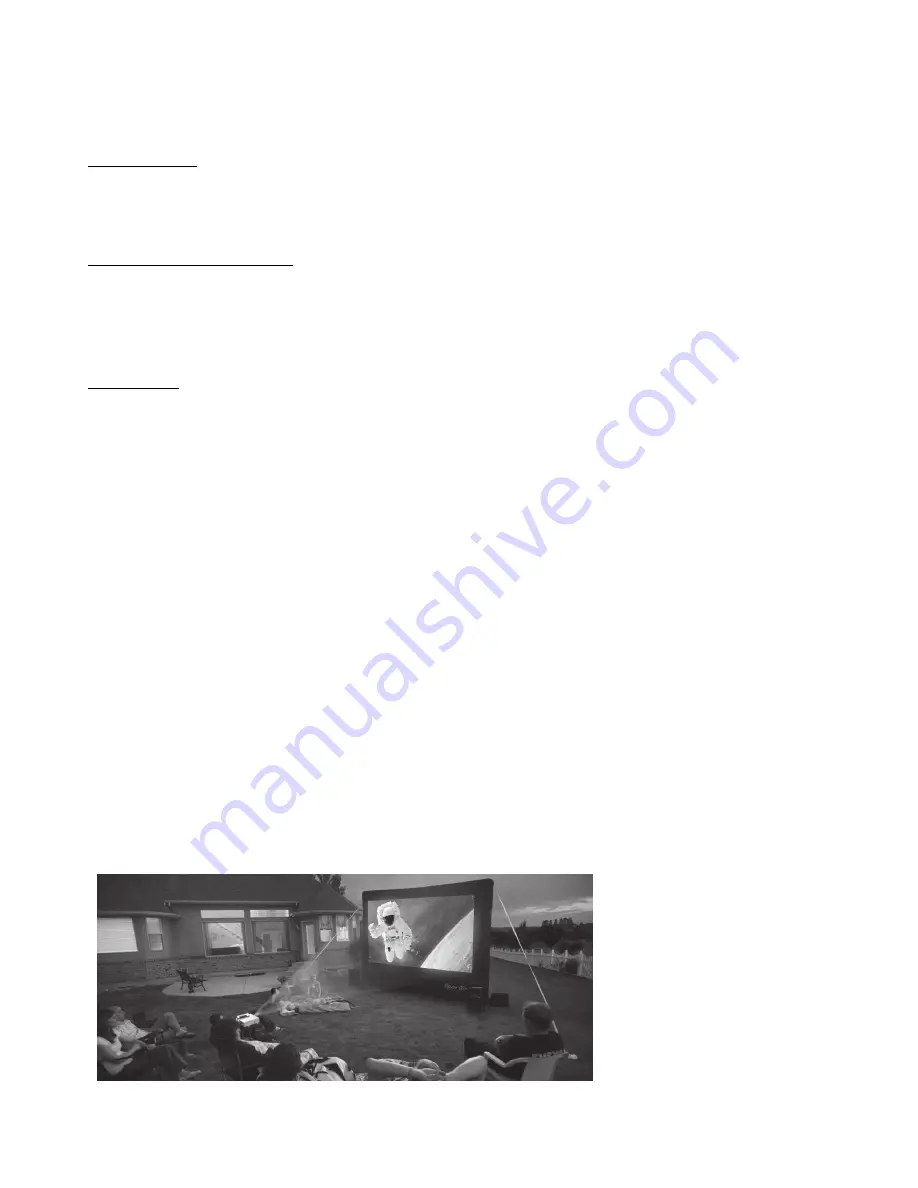
WATCH YOUR MOVIE
You’re all ready to watch your movie, so sit back, relax, and enjoy!
For troubleshooting steps, see next page.
SYSTEM TAKEDOWN
Power down projector by pushing power button on top of projector
or by using remote. Make sure projector cools down completely
before unplugging or turning off power source. Failure to do so
could result in projector or bulb damage.
Turn down all audio and other knobs on mixers and speakers.
Power down all electronic components and neatly coil all cables.
Zip up CineBox™ console. Take down speaker stands and return to
speaker stand cases (for 16’ and 20’ systems).
Turn off air blower and guide the screen down so that it folds in half
(top to bottom, as shown on step one of screen setup). Unzip the
air vent and disconnect the intake sleeve from air blower. Unclip or
untie tethers from stakes. Remove stakes from ground and clean off
any debris or dirt.
Fold the screen from back to front a few times until it is in a long
strip about two feet wide. Roll tightly and place in protective travel
bag.
ATTENTION: Prevent the projection surface from touching the
ground. Do not pack the screen if it is wet. Hang the screen
indoors if necessary to dry before storage.


