8
Mounting Instructions
Using the On-Wall bracket
The SoloCinema XTR system was designed to wall-mount near your thin wall-mounted
television. A bracket has been provided to secure and install your sound bar on the wall.
Note
: DO NOT mount the sound bar directly to the wall. You must use the supplied
bracket to ensure proper operation and reliability.
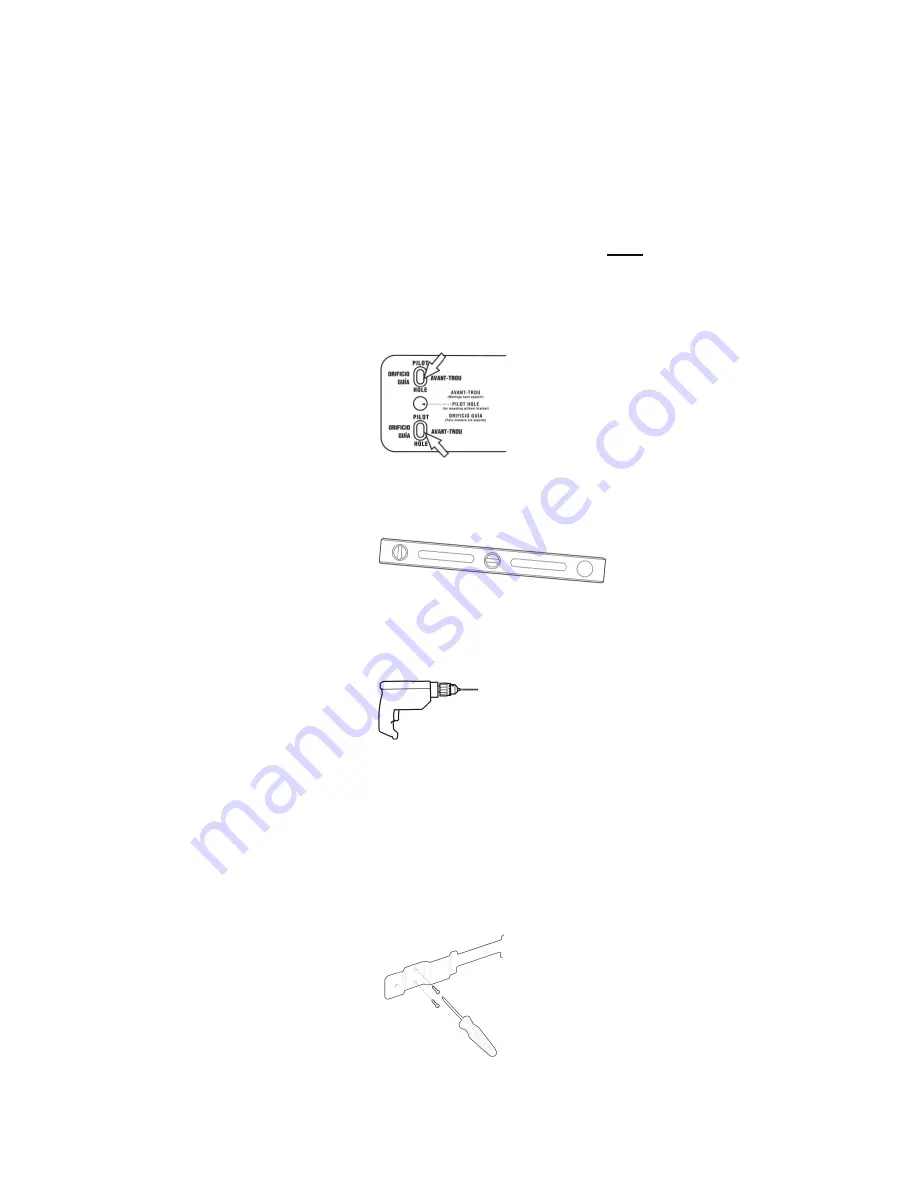
Use the Supplied Template:
A cardboard mounting template is provided. Temporarily
fix the template in the intended location with pins or tape.
Tips for Leveling Template:
Use a bubble level to make sure the template is level.
Mark holes with pencil; remove the template.
Drill Screw Holes in Wall:
Pre-drill the pilot-hole locations for mounting screws (not
included). Use screws rated to hold securely in the wall material and have screw heads
at least 0.33 inch (8.5mm) in diameter.
*NOTE* Measure Twice
Make sure the sound bar clears the ceiling, adjacent walls,
corners, beams, lighting fixtures and door/ window frames. Leave at least 1-2" (25-50
mm) above the sound bar location, to allow the soundbar to slide onto the screws. Make
sure the center of the template is centered with the TV screen’s center point.
Secure Bracket to Wall:
It is best if at least one screw hits a wall stud. If there is no
stud behind the pilot-hole location, install wall anchors (not included) to secure the
bracket screws. Drive screws in by hand.
Summary of Contents for SoloCinemo XTR
Page 2: ... WHAT S IN THE BOX tal _ _ ___ CONTENU DE L EMBALLAGE CONTENIDO DE LA CAJA I ...
Page 5: ... POWER SUBWOOFER CAISSON DE BASSE ALIMENTE CONECTAR SUBWOOFER c 6 3A J20V ON OFF 0 ...
Page 6: ... 7 0 REMOTE BAnERIES PILES DE LA TELECOMMANDE PILAS DEL CONTROL REMOTO I i ...
Page 11: ...1 SoloCinema XTR Owner s Manual September 20 2012 ...


