14
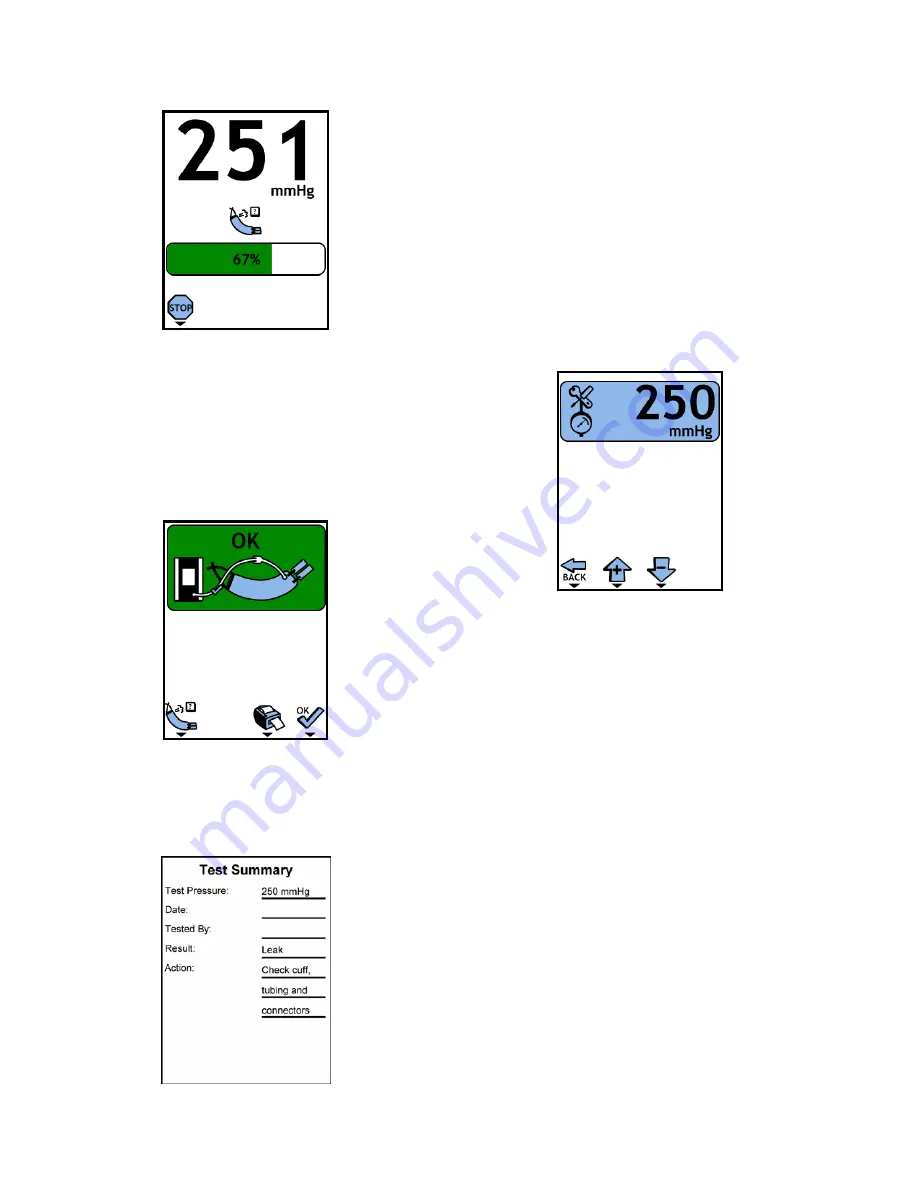
Figure
2.12
Leak
In
Progress
f)
The
cuff
will
inflate
to
approximately
250
mmHg
and
a
30
second
leak
test
will
commence.
At
the
end
of
the
test
the
cuff
will
automatically
deflate
and
the
test
result
will
display
(Figure
2.13).
Pressing
the
CUFF
LEAK
button
will
repeat
the
test.
Figure
2.13
Leak
Test
Complete
g)
Pressing
the
button
will
a
test
summary
if
the
optional
printer
is
connected
(Figure
2.14).
Figure
2.14
Printed
leak
test
summary
2.10
SET
DEFAULT
PRESSURE
The
pressure
set
point
will
be
set
to
the
default
pressure
when
the
system
is
powered
on.
a)
At
the
main
screen
(Figure
2.5)
press
the
settings
button
to
enter
the
settings
menu
(Figure
2.10).
b)
To
adjust
the
default
pressure
set
point,
move
the
highlighting
box
to
the
pressure
gauge
icon
and
press
the
OK
button.
c)
Use
the
increment
/
decrement
buttons
to
adjust
the
default
pressure
set
point
(Figure
2.15).
Use
the
OK
button
to
accept
the
new
default
pressure
set
point,
and
return
to
the
settings
menu.
Figure
2.15
Default
Pressure
Adjustment
2.11
SET
DEFAULT
TIME
LIMIT
The
time
limit
set
point
will
be
set
to
the
default
time
limit
when
the
system
is
powered
on.
a)
At
the
main
screen
(as
show
in
Figure
2.5)
press
the
settings
button
to
enter
the
settings
menu
(Figure
2.10).
b)
To
adjust
the
default
time
limit
set
point,
move
the
highlighting
box
to
the
clock
icon
and
press
the
OK
button.
c)
Use
the
increment
/
decrement
buttons
to
adjust
the
default
time
limit
set
point
(Figure
2.16).
Use
the
OK
button
to
accept
the
new
time
limit
set
point,
and
return
to
the
settings
menu.


