3.3 Connect to the cash regist er
1 Make sure the power switch of the printer is o ;
2 Insert the cash register connect ing cable into the cash register port on
t he back of the printer.
Warning: The cash register interface can only be connected to a cash register
device with a voltage of 12V (it should not be connected to a telephone line,
etc.).
3.5 Printing test
3.5.1 Printing a self-test page
When the printer is initially installed, or if there is any problem with the printer,
you can execute the self-check program to conrm the following sta-
tus.Hardware version, printer parameter setting status, if you conrm no prob-
lems with the printer after the self-check, such as printing quality and related
setting information of external devices, please check other devices or soft-
ware. This function runs independently with other devices or software.
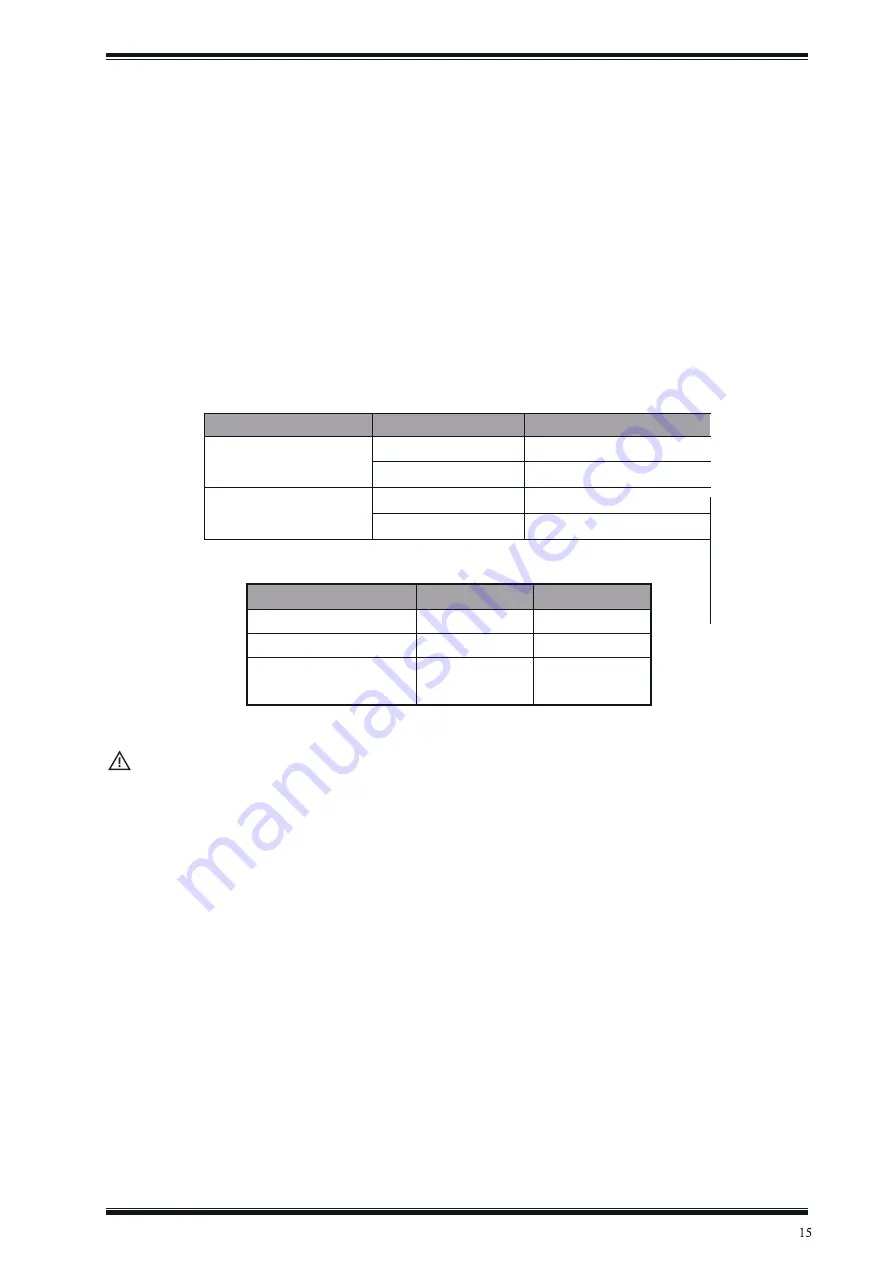
3.4 Descr iption of indicator
Funct ion description of Indicator
Description
Const ant ly on
The print er is funct ioning properly
O
The print er st ops funct ioning
Blinking
The printer is in error state
O
The print er is funct ioning properly
Description
Erroe indicator
The print er cover is open
On
On
On
On
On
Out of paper
Full of paper
lie down t he cover
not close t he cover
O
Power indicat or
(Green)
Error indicat or
(Red)
Status
Name
Note: The printer uses a thermistor to detect printer head temperature.
If the printer head temperature exceeds 70 °C, the printer will terminate its
work until the temperature drops below 60 °C.
Pow er indicator


