Delitek Waste Compactors – user -/service manual-rev 1.2
DT-200i “Green Ship” Waste Compactor – standard versions 10
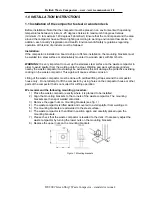
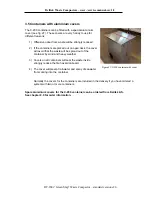
1.7 Access ramp
The compactor is equipped with an access ramp for easy loading
and unloading of containers. The access ramp (see figure 10) must
be folded out before use. The access ramp is marked with red colour in
figure 10, and showed in upright position.
1.8 Disassembling the compactor
Disassemble the compactor in the opposite order to which it has been assembled.
1.9 Pre- installation checklist
Place the waste compactor package as close as possible to the mounting area.
The compactor is normally packed on a wooden transport frame (ISPM#15), and covered
in plastic. Unpack the waste compactor and remove all crating and plastics. Check for
any damages.
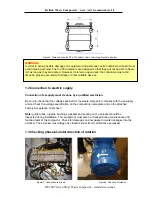
The compactor can be moved by using a jack-up-trolley or fork-lift. In addition, lifting
equipment such as a crane may be used, but note that certified lifting straps around the
compactor house must be used. Do not attempt to lift the compactor by using any holes
on the compactor house or other parts of the compactor that is not suited for a lifting
operation.
Place the compactor on the exact mounting position. See section 1.1 for mounting
details.
Open the el-panel and check that it contains the standard dipstick for the hydraulic oil
tank and the manometer for service/checks of hydraulic pressure. Contact Delitek AS if
these items missing. See sections 1.5 and 1.6 for installation procedures for dip-stick and
manometer.
An authorized electrician must connect the compactor to the onboard el-supply. See
section 1.2 and 1.3. Please check that the compactors el-specifications comply with the
onboard el-supply.
The temporary transport cap on the tank for the hydraulic oil must be replaced with
standard dipstick found in the el-locker. See section 1.5 for this procedure.
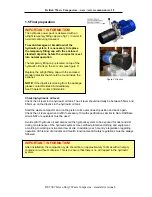
Check the rotating direction on the el-motor according to section 1.3. If the el-supply is
correctly connected, the el-motor will rotate counter clockwise according to the arrow
symbol on the el-motor.
CONGRATULATIONS WITH YOUR NEW WASTE COMPACTOR! 2.0 OPERATING
INSTRUCTIONS
Figure 10. Access ramp


