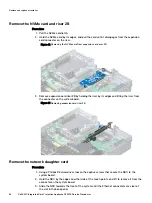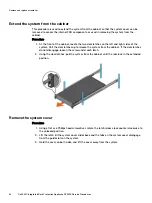
Note:
For instructions, see the documentation accompanying the card.
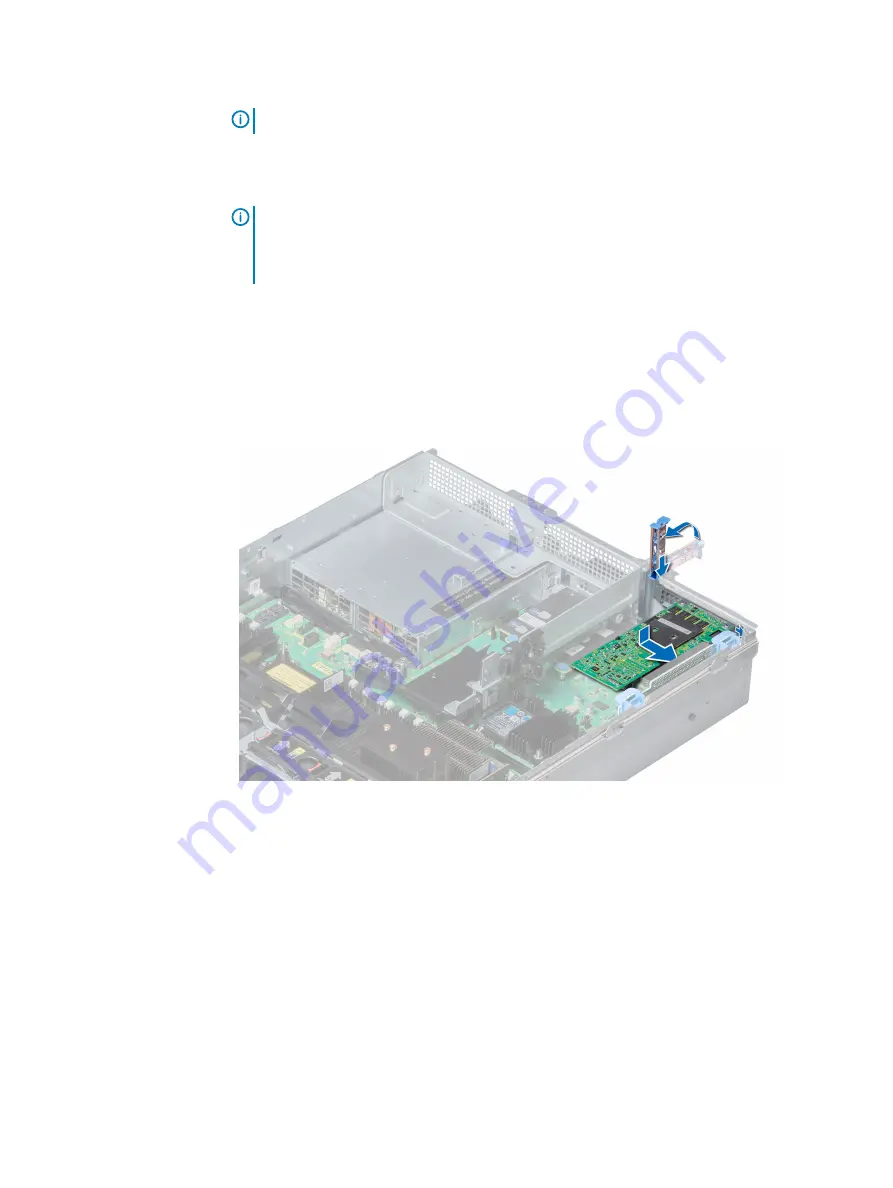
2. Pull the expansion card latch.
3. If installed, remove the filler bracket.
Note:
Store the filler bracket for future use. Filler brackets must be installed in empty
expansion card slots to maintain Federal Communications Commission (FCC)
certification of the system. The brackets also keep dust and dirt out of the system and
aid in proper cooling and airflow inside the system.
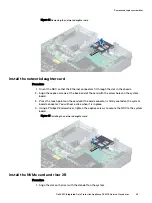
4. Hold the NIC card by its edges, and align the card edge connector with the expansion card
connector on the riser.
5. Insert the card edge connector firmly into the expansion card connector until the card is
fully seated.
6. Push the expansion card latch into the slot.
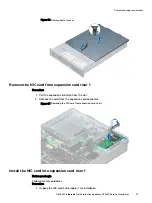
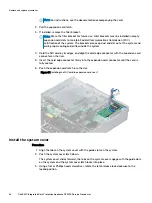
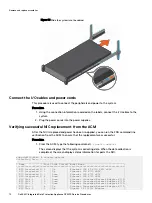
Figure 54 Installing the NIC card in expansion card riser 1
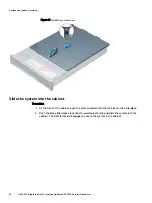
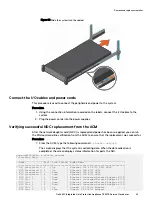
Install the system cover
Procedure
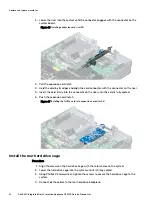
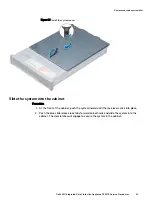
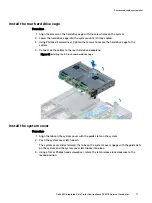
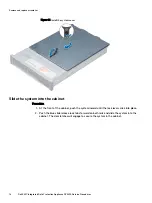
1. Align the tabs on the system cover with the guide slots on the system.
2. Push the system cover latch down.
The system cover slides forward, the tabs on the system cover engage with the guide slots
on the system and the system cover latch locks into place.
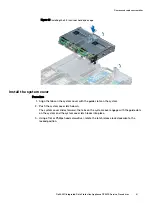
3. Using a flat or Phillips head screwdriver, rotate the latch release lock clockwise to the
locked position.
Remove and replace assemblies
68
Dell EMC Integrated Data Protection Appliance DP4400 Service Procedures

