1. Install all switches.
2. Install all nodes.
Switch installation
Secure your front and back-end switches in the rack.
Install switches in the rack
Mount inner rails on the switches, then install them in the rack.
Before you begin
Note
If you are installing front-end switches at the top of your rack, you will need a 5m
twinax to connect to the two nodes at the bottom of the rack.
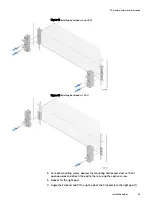
There are two mounting points for the inner rails, one 28" and the other 31" from the
front rail. It is recommended to use the default 28" mounting points for the inner rails.
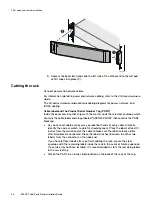
Once you have installed the switches, you can install the 1U bezels as described in the
following section:
.
Procedure
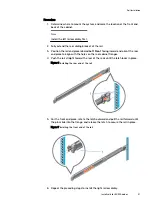
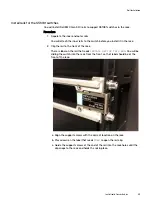
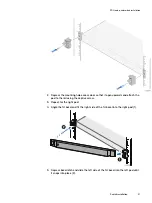
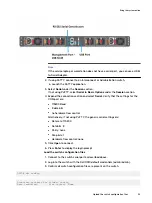
1. Attach the inner rails to the switch.
Make sure the ears at the end of the rails are pointing outward and are installed
at the back end of the switch.
a. Insert the mounting posts on the side of the switch into the large holes in
the rail.
b. Slide the rails toward the back of the switch to secure the mounting posts in
the smaller holes in the rail.
PDU, node, and switch installation
28
EX300
Third-Party Rack Installation Guide
Summary of Contents for ECS EX300
Page 1: ...ECS EX300 Third Party Rack Installation Guide 302 005 206 02 ...
Page 6: ...FIGURES 6 EX300 Third Party Rack Installation Guide ...
Page 7: ...Planning your lift 46 1 TABLES EX300 Third Party Rack Installation Guide 7 ...
Page 8: ...TABLES 8 EX300 Third Party Rack Installation Guide ...
Page 13: ...Third Party Rack Installation Overview Components for EX300 systems 13 ...
Page 14: ...Third Party Rack Installation Overview 14 EX300 Third Party Rack Installation Guide ...
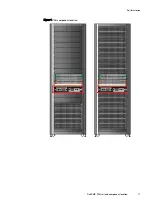
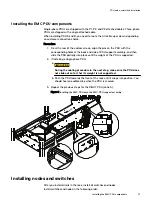
Page 17: ...Figure 1 PDU component location Rail Installation Dell EMC PDU rail and component location 17 ...
Page 42: ...Bring the system online 42 EX300 Third Party Rack Installation Guide ...


