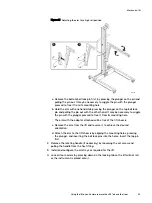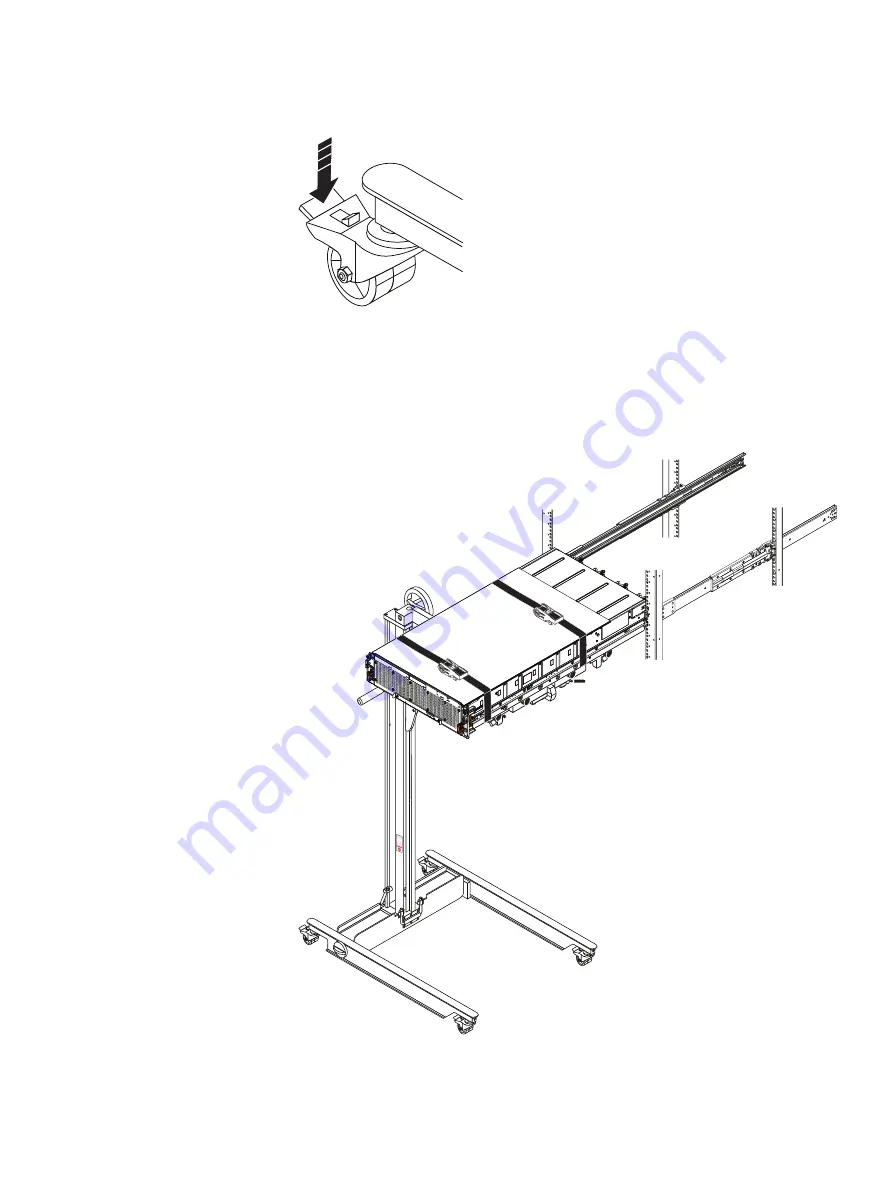
Figure 26 Locking the Casters
CL5423
5. Using the cordless drill that comes with the Voyager conversion kit, place the
cordless drill over the hex fitting and use the drill to raise or lower the arm to
the required height. With the enclosure extended from the rack on the rails, pull
the enclosure from the rails and onto the lift. Secure the enclosure to the
portable lift using the securing straps as follows:
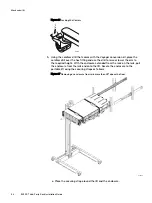
Figure 27 Removing an enclosure from rails more than 49" above the floor
CL5431
a. Place the securing strap around the lift and the enclosure.
Mechanical lift
54
EX300
Third-Party Rack Installation Guide
Summary of Contents for ECS EX300
Page 1: ...ECS EX300 Third Party Rack Installation Guide 302 005 206 02 ...
Page 6: ...FIGURES 6 EX300 Third Party Rack Installation Guide ...
Page 7: ...Planning your lift 46 1 TABLES EX300 Third Party Rack Installation Guide 7 ...
Page 8: ...TABLES 8 EX300 Third Party Rack Installation Guide ...
Page 13: ...Third Party Rack Installation Overview Components for EX300 systems 13 ...
Page 14: ...Third Party Rack Installation Overview 14 EX300 Third Party Rack Installation Guide ...
Page 17: ...Figure 1 PDU component location Rail Installation Dell EMC PDU rail and component location 17 ...
Page 42: ...Bring the system online 42 EX300 Third Party Rack Installation Guide ...


