Next step
1
Install the GPU power interposer board
.
Installing the GPU power interposer board
Prerequisite
Follow the safety guidelines listed in
Steps
1
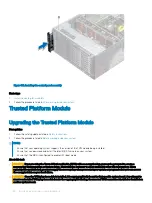
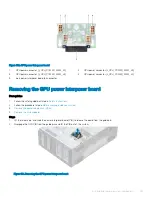
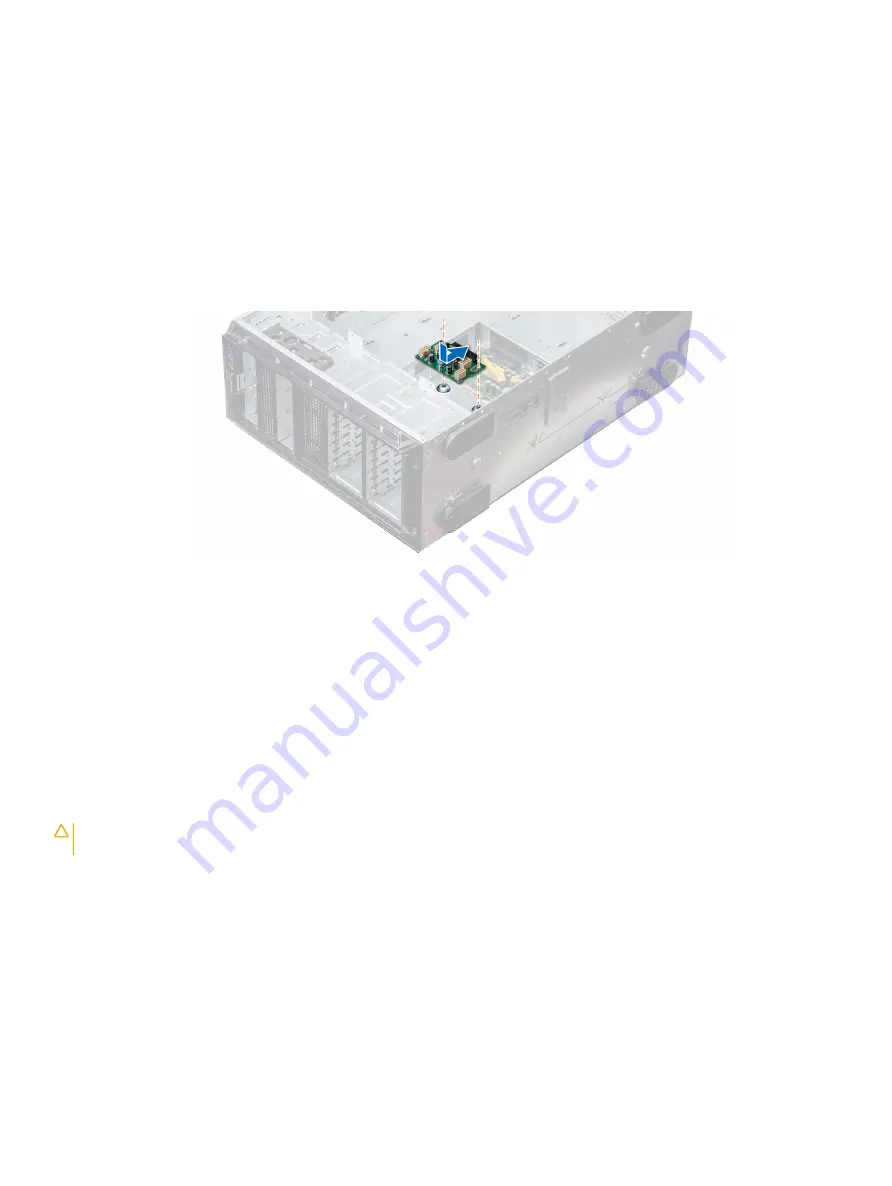
Align the guide slots on the GPU power interposer board (PIB) with the guide pins on the chassis.
2
Slide the GPU PIB until the release pin locks into place and secures the PIB.
Figure 111. Installing the GPU power interposer board
Next steps
1
.
2
.
3
Follow the procedure listed in
After working inside your system
.
Removing the main power interposer board
Prerequisites
CAUTION:
To prevent damage to the main power interposer board (PIB), you must remove the power supply units (PSUs) from
the system before removing the PIBs.
1
Follow the safety guidelines listed in
2
Follow the procedure listed in
Before working inside your system
.
3
.
4
.
5
If installed,
.
Steps
1
Disconnect all the power cables from the main PIB.
2
Using the Phillips #2 screwdriver, remove the screws that secure the main PIB to the system.
3
Lift the main PIB out of the system.
162
Installing and removing system components
Summary of Contents for PowerEdge T640
Page 23: ...Figure 16 Configuration and layout Dell EMC PowerEdge T640 overview 23 ...
Page 24: ...Figure 17 Electrical overview 24 Dell EMC PowerEdge T640 overview ...
Page 25: ...Figure 18 Memory information Dell EMC PowerEdge T640 overview 25 ...


