


Adding and Replacing Parts
165
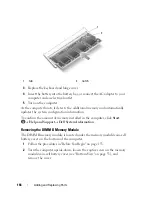
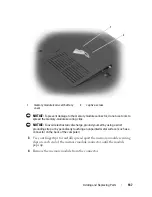
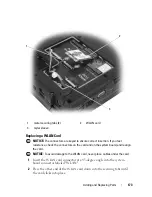
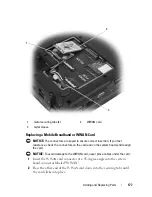
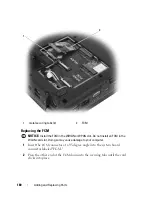
Replacing the DIMM A Memory Module
NOTICE:
To avoid electrostatic discharge, ground yourself by using a wrist
grounding strap or by periodically touching an unpainted metal surface (such as a
connector on the back of the computer).
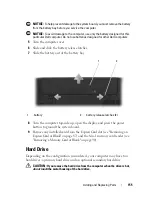
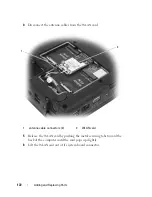
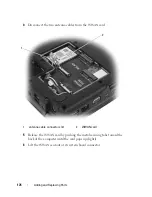
1
Align the notch in the module edge connector with the tab in the
connector slot.
2
Slide the memory module firmly into the slot at a 45-degree angle, and
rotate the module down until it clicks into place. If you do not feel the
click, remove the module and reinstall it.
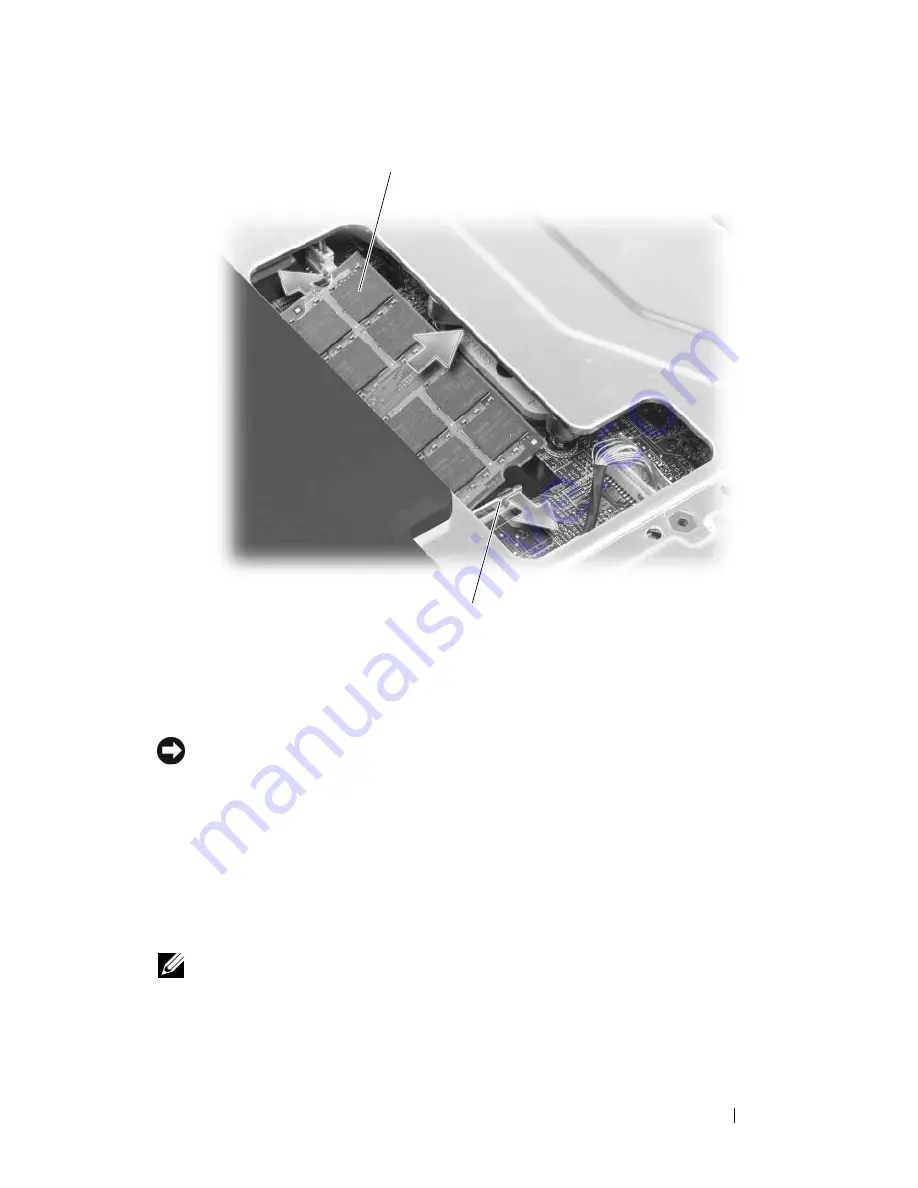
NOTE:
If the memory module is not installed properly, the computer may not boot.
No error message indicates this failure.
1
memory module (DIMM A)
2
memory-module securing clips (2)
1
2
Summary of Contents for 1700 - Personal Laser Printer B/W
Page 1: ...w w w d e l l c o m s u p p o r t d e l l c o m Dell Vostro 1700 Owner s Manual Model PP22X ...
Page 14: ...14 Contents ...
Page 20: ...20 Finding Information ...
Page 58: ...58 Using a Battery ...
Page 84: ...84 Using Multimedia ...
Page 88: ...88 Using ExpressCards ...
Page 104: ...104 Securing Your Computer ...
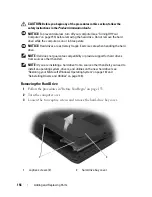
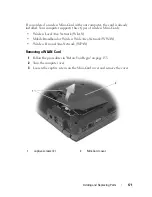
Page 175: ...Adding and Replacing Parts 175 1 captive screws 2 2 Mini Card cover 1 2 ...
Page 184: ...184 Adding and Replacing Parts ...
Page 186: ...186 Dell QuickSet Features ...
Page 196: ...196 Getting Help ...
Page 214: ...214 Appendix ...
Page 232: ...232 Glossary ...
Page 240: ...240 Index ...


