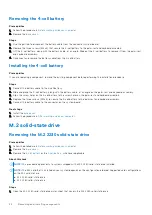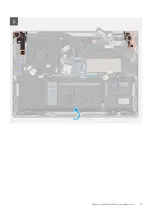
Removing the 4-cell battery
Prerequisites
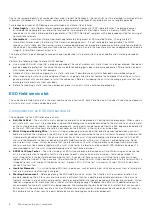
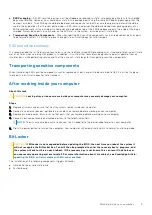
Before working inside your computer
.
2. Remove the
.
Steps
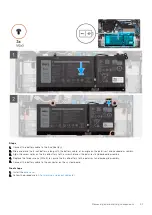
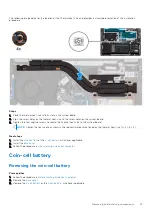
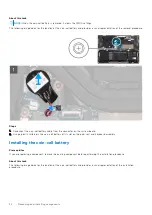
1. Use the pull tab to disconnect the battery cable from the connector system board.
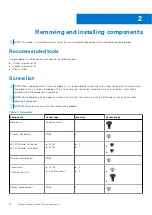
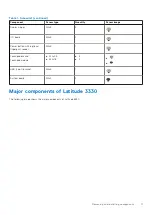
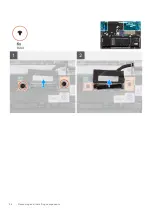
2. Remove the three screws (M2x3) that secure the 4-cell battery to the palm-rest and keyboard assembly.
3. Lift the 4-cell battery, along with the battery cable, at an angle. Slide out the 4-cell battery to remove it from the palm-rest
and keyboard assembly.
4. Disconnect and remove the battery cable from the 4-cell battery.
Installing the 4-cell battery
Prerequisites
If you are replacing a component, remove the existing component before performing the installation procedure.
Steps
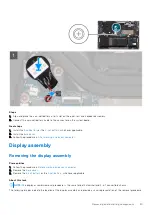
1. Connect the battery cable to the 4-cell battery.
2. Slide and place the 4-cell battery, along with the battery cable, at an angle on the palm-rest and keyboard assembly.
3. Align the screw holes on the 4-cell battery to the screw holes on the palm-rest and keyboard assembly.
4. Replace the three screws (M2x3) to secure the 4-cell battery to the palm-rest and keyboard assembly.
5. Connect the battery cable to the connector on the system board.
Next steps
1. Install the
.
After working inside your computer
.
M.2 solid-state drive
Removing the M.2 2230 solid-state drive
Prerequisites
Before working inside your computer
.
2. Remove the
.
3. Remove the
or the
, whichever applicable.
About this task
NOTE:
This procedure applies only to systems shipped with a M.2 2230 solid-state drive installed.
NOTE:
The M.2 card that is installed on your system depends on the configuration ordered. Supported card configurations
on the M.2 card slot are:
●
M.2 2230 solid-state drive
●
M.2 2280 solid-state drive
Steps
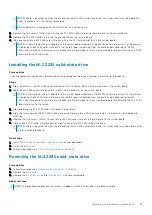
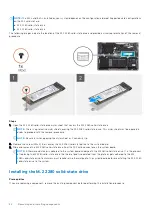
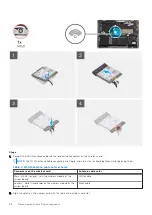
1. Open the M.2 2230 solid-state drive mylar sheet that covers the M.2 2230 solid-state drive.
22
Removing and installing components
Summary of Contents for 3330
Page 12: ...12 Removing and installing components ...
Page 15: ...Removing and installing components 15 ...
Page 17: ...Removing and installing components 17 ...
Page 36: ...36 Removing and installing components ...
Page 37: ...Removing and installing components 37 ...
Page 40: ...40 Removing and installing components ...
Page 41: ...Removing and installing components 41 ...

