In all others
, click
Start
®
Settings
®
Printers
.
3.
Double-click
Add Printer
.
4.
Click
Next
.
5.
Select Local printer attached to this computer, and then click
Next
.
6.
Select the port you want your printer to use, and then click
Next
.
7.
Select
Have Disk
.
8.
Browse to your CD drive and select the correct driver for your operating system.
9.
Click
Open
, and then click
OK
.
10.
Select the type of driver you wish to install (PCL or PS) in the
Manufacturer
list, and the printer model in the
Printers
list, and then click
Next
.
11.
Proceed through the rest of the
Add Printer Wizard
, and then click
Finish
to install the printer driver.
Macintosh
Mac OS 9.x or later is required for USB printing. To print locally to a USB-
attached printer, create a desktop printer icon (Mac OS 9), or create a queue in Print
Center/Printer Setup Utility (Mac OS X).
Creating a Queue in Print Center/Printer Setup Utility (Mac OS X)
1.
Install a PostScript Printer Description (PPD) file on the computer.
a.
Insert the
Drivers and Utilities
CD.
b.
Double-click the installer package for the printer.
c.
Click
Continue
on the
Welcome
screen and again after viewing the Readme file.
d.
Click
Continue
after viewing the license agreement, and click
Agree
to accept the terms of the agreement.
e.
Select a
Destination
, and click
Continue
.
f.
On the
Easy Install
screen, click
Install
.
g.
Enter the password, and click
OK
. All the necessary software is installed on the computer.
h.
Click
Close
when installation is complete.
2.
Open Finder, click
Applications
, and then click
Utilities
.
3.
Double-click
Print Center or Printer Setup Utility
.
4.
Do one of the following:
l
If the USB-attached printer appears in the
Printer
list, quit
Print Center
or
Printer Setup Utility
. A queue has been created for the printer.
l
If the USB-attached printer does not appear in the
Printer
list, make sure the USB cable is properly connected and the printer is turned on. After
the printer appears in the
Printer
list, quit
Print Center
or
Printer Setup Utility
.
Creating a Desktop Printer Icon (Mac OS 9.x)
1.
Install a PostScript Printer Description (PPD) file on the computer.
a.
Insert the
Drivers and Utilities
CD.
b.
Double-click
Classic
, and double-click the installer package for the printer.
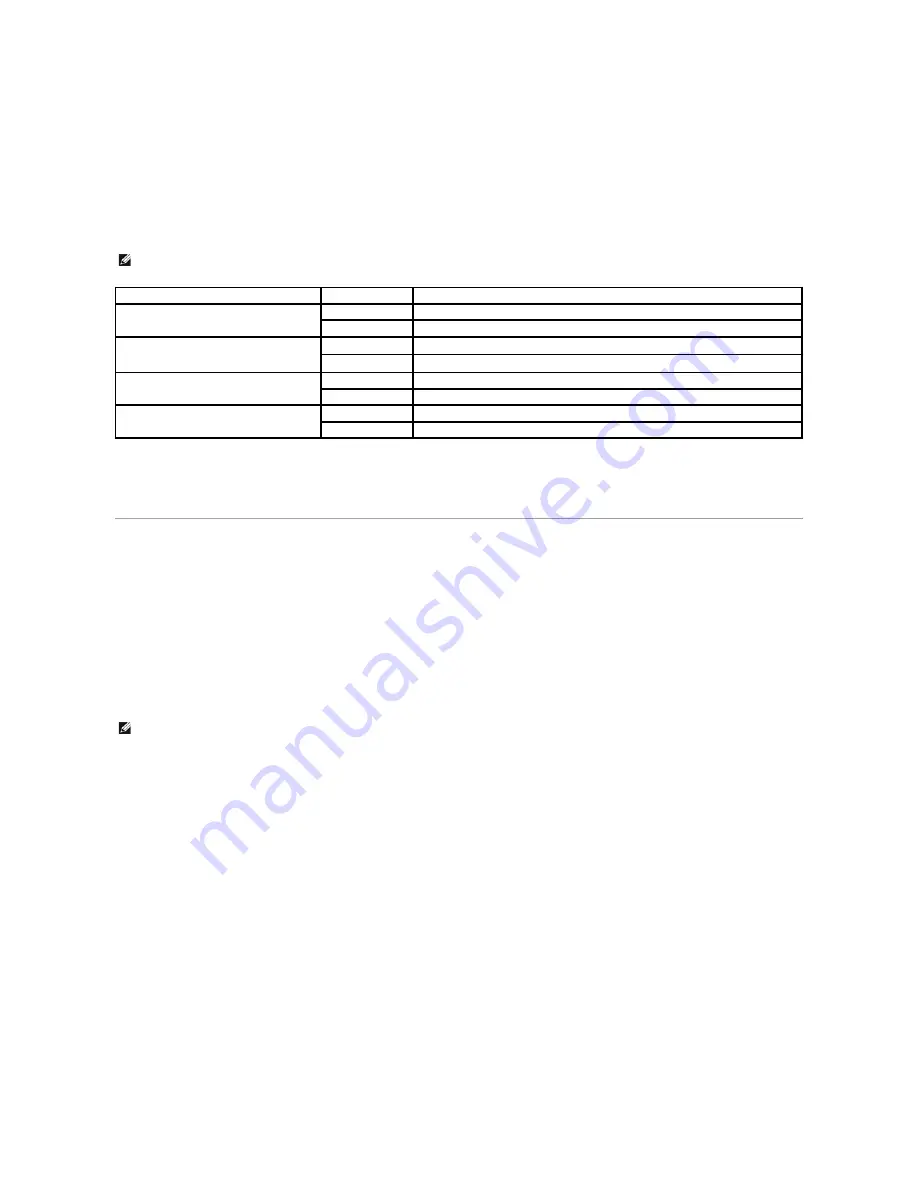
NOTE:
If you installed the printer drivers from the
Drivers and Utilities
CD before you connected the printer to your computer, the PCL driver for your
operating system was installed by default.
Operating System
Driver Type
Driver Name
Windows XP Professional x64
PCL
D:\Drivers\Print\x64\dkaatb40.inf
PS
D:\Drivers\Print\x64\dkaat940.inf
Windows XP
Windows 2003 Server
Windows 2000
PCL
D:\Drivers\Print\Win_2kXP\dkaat2da.inf
PS
D:\Drivers\Print\Win_2kXP\dkaat1da.inf
Windows NT
PCL
D:\Drivers\Print\Win_NT.40\dkaat2da.inf
PS
D:\Drivers\Print\Win_NT.40\dkaat1da.inf
Windows Me
Windows 98 SE
PCL
D:\Drivers\Print\Win_9xme\<your language>dkaat2da.inf
PS
D:\Drivers\Print\Win_9xme\<your language>dkaat1da.inf
NOTE:
A PPD file provides detailed information about the capabilities of a printer to the Macintosh computer.
Summary of Contents for 5210n Mono Laser Printer
Page 99: ......


